The Chaintech VNF4 Ultra : nForce 4 Ultra on a budget
BIOS and Overclocking
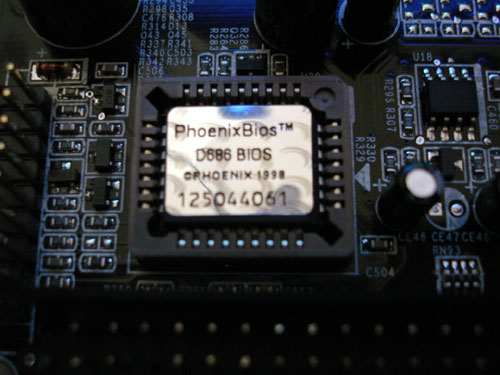
The VNF4 Ultra’s BIOS might be the simplest I’ve seen in quite some time. Nothing really complicated here. All the memory and FSB settings are very basic and easy to adjust, although when it came to the memory adjustments, there was no way of changing the command rate for this board. Chaintech released a new BIOS for this board shortly after sending it to me, I didn’t notice any real difference between the two, but I like the fact that they are continually improving the boards BIOS. I would very much like to see a wider range of adjustments for everything, but then again, I’m always tinkering with things. I also took issue with Chaintech board sensors. The CPU read 23C at default setting in the BIOS, with the chipset saying 36. By my own recordings, both temps were off by at least 10C, a pretty big discrepancy for a BIOS program.


One thing the BIOS did for me was cement the fact that this board was not built to be an overclocker. Between the BIOS adjustments, the memory layout, and the chipset cooling, I honestly feel this board is more of an entry level board geard toward those building a first sytem or those who are more concerned with stability.
One thing I would like to touch on, which I think Chaintech did very well with, was the boot codes. During the boot phase, there is a disply that sits in the upper right corner of the screen. This displays all of the boot codes while your system is running through its various steps. Chaintech saves you time and effort in diagnosing any problems, simply look up the error code, or write it down when contacting chaintech’s customer support and solve the problem!
Overclocking
I approached this segment of the board testing a little differently than normal. Usually when overclocking I try several different approaches to find the best possible overclock and performance I can get out of a board. With the Chaintech VNF4 Ultra I didn’t feel comfortable pusing things too far for a couple of reasons. First, I was limited in my cooling options. I only had AMD’s stock cooling solution for the socket 939 3500+Winchester I used for testing. Second, I was concerned with the chipset cooling solution that Chaintech uses on this board. I probably would have pushed things further if I had used active cooling, but after feeling the heat coming off the chipset’s heat sink I didn’t feel like pushing this board to its death. Lastly, with the poor spacing of the DIMM slots, I didn’t feel like killing my memory by burning it up.
I finally decided to find the max stable overclock at my processors default multiplier (11). The highest I was able to go and complete all of my testing was 225 on the FSB, which gave me 2.48GHz, not terrible, but not fantastic. while the processor stayed a reasonable 36C, the chipset heat sink was too hot to touch.
I honestly think with some active cooling on the chipset, a better HSF combo on the processor, and maybe some better ventilation around the DIMM slots would have given me a better overclock.
Comments are closed.