Super Talent SATA II Mini 2 PCIe MLC 64GB SSD
Installing the Drive and the Test System
Installing the drive is simple, but you will most likely need to flash the BIOS of your netbook prior to installing the drive. If you dont, the drive will not be recognized properly. To see what BIOS revision you have on your ASUS Eee PC, simply reboot into your BIOS and on the main tab it will tell you what revision you have. Super Talent lists on their website the minimum BIOS level that is needed for various Eee models to use the drive. They are as follows:
- ASUS Eee PC 900: 0906
- ASUS Eee PC 900A: 0703
- ASUS Eee PC 901: 1808
- ASUS Eee PC S101: Any
Since I have a 900 and Asus had released other BIOS updates after the 0906 I will be using the latest 1006 BIOS. With the BIOS updated we can install the drive. If you have files on the stock drive you want to keep dont forget to get them, otherwise you will be swapping things out again to get your files back.
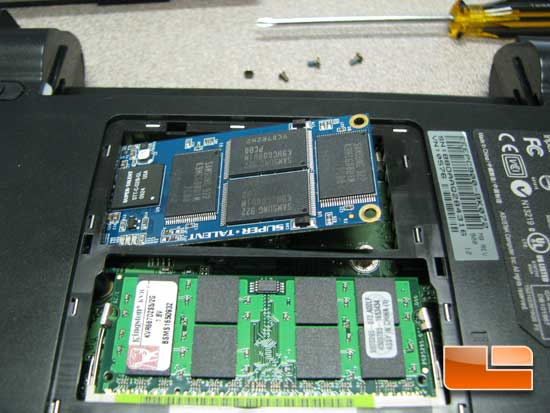
To get the drive out you remove the backing plate. Then, take out the two small screws that hold the drive down. Take care when removing the second screw as the drive will pop up as pressure is let off. If care isnt taken then you can lose one of the small screws down in the chassis, and that will be a real pain to get out.
The Test System
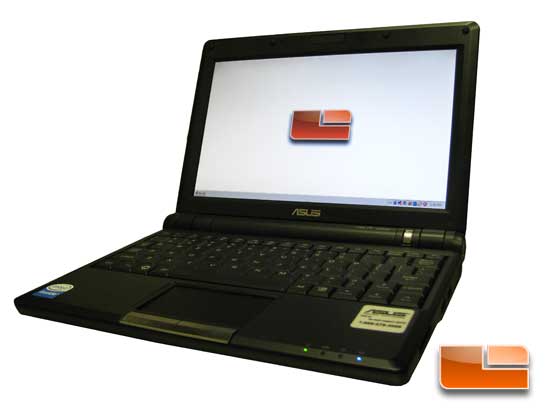
This is my ASUS Eee PC 900; its about as low on the 900s as you can go, I believe. It came with a 900MHz Celeron processor, 512MB of RAM, 4GB Mini PCIe SSD, and Asus Linux OS; no webcam and no on-board SSD. I have since upgraded the RAM to a 2GB Kingston memory module (KVR667D2S5/2G) for $24.50 plus shipping and replaced Linux with Windows XP Home SP3 for testing.
Comments are closed.