Fractal Design Define XL R2 Case Review
Hardware Installation Inside the Define XL R2
The ease of hardware installation is quite important when it comes to a case. I will take a quick look and provide my impression on how easy or difficult it was to install the various components inside the Define XL R2.
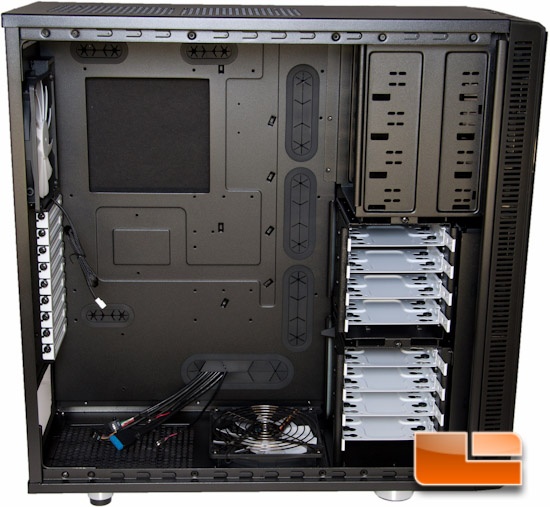
Mounting the ATX standoffs was easy as always, but Fractal Design makes it much easier. Included with the standoffs is a thumb “screw” that you just slide over the standoffs and twist away with ease.
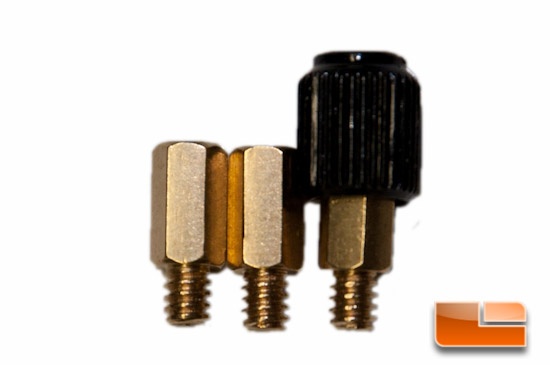
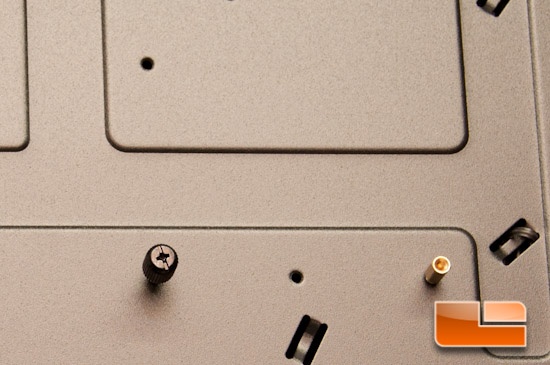
Fortunately I know where these standoffs will go from memory, but not everyone will, which is where the labeling would be nice. Sure you can consult your manual, but who reads those!? You can see the thumb screw in the lower left.
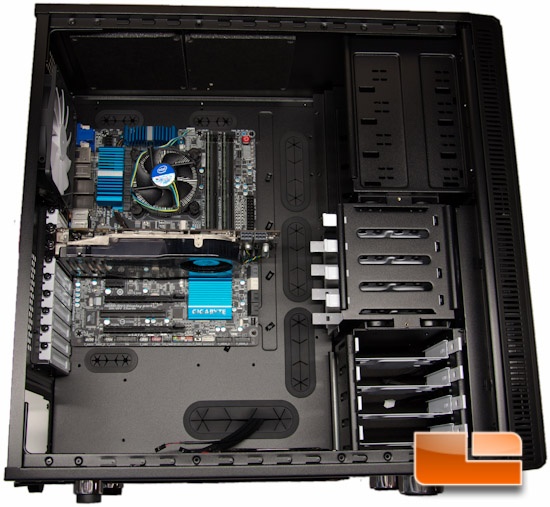
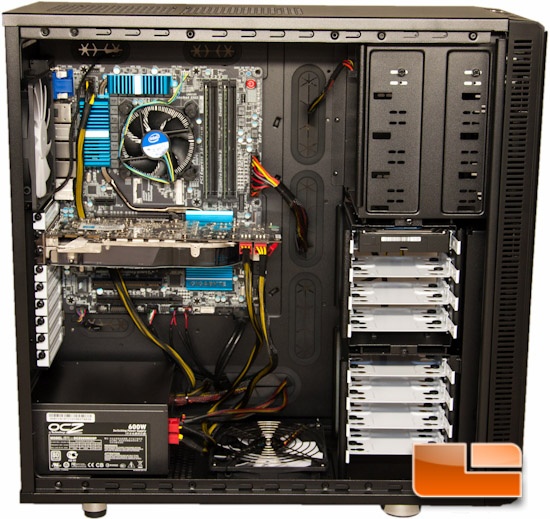
Installing the motherboard, CPU, and video card were plenty easy, as you have a ton of room. There is even room enough to mount a 330mm video card with the top HDD cage in place, or 480mm with it removed. The thumb screws for the expansion cards are a nice touch, but a completely tool-less option would have been even nicer yet. You can also see in my picture below that you can choose to turn the HDD cages if you wish, though I personally prefer how they came from the factory.
When popping in my ODD and HDD, I found everything to be simple enough. As previously mentioned, the 5.25” bays would have been a little nicer to work with, should they have had a screw hole that was only screw size, which would help ensure a completely even installation of your 5.25” drives or devices. Here is another spot where a completely tool-less option would be nice to have for ease of installation, but it isn’t the end of the world either. I was very happy to see that included with the case, were plenty of thumb screws to make it nearly tool-less.
HDD mounting itself was made simple enough, as you just squeeze the tray that the drive will mount to and it slides right out. You can then mount your screws to the underside of the drive and you’re good to go. Should you want to remove a tray or flip them around, you can do that by removing the thumb screw.
I had no issue installing my power supply. Unfortunately the one that I had available to me was not really designed with a full ATX chassis in mind, but I made do with it. You will see that I had to make the wires work via means that I would prefer to have not done, but oh well.
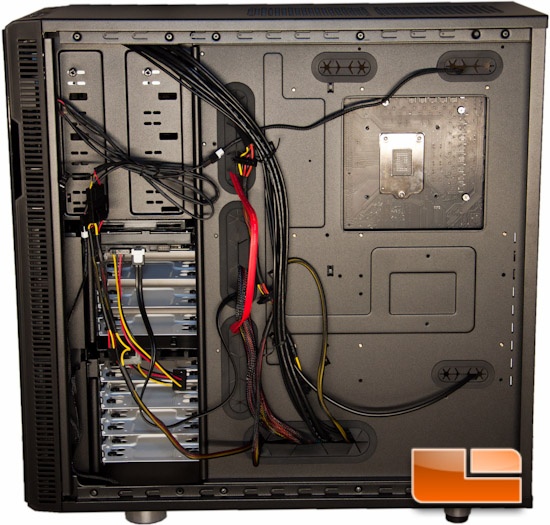
On the rear of the motherboard tray, you again have 26mm (approx 1 inch) of space to work with. You can be as messy or as neat as you’d like. I usually try to keep everything a little more on the neat side, but that doesn’t always happen.
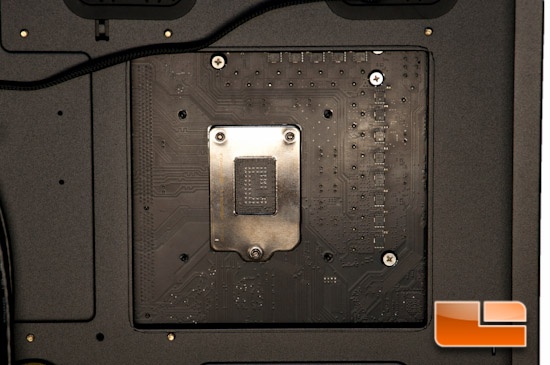
The cutout behind the CPU socket is quite nice and plenty large enough to pop your brackets on with ease.
One last shot of what it all looked like assembled:
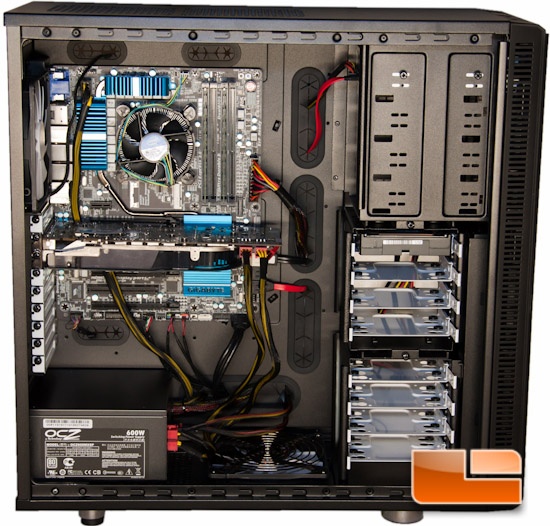
Overall I must say everything was very easy to work with, which is what I’ve found as a pattern with Fractal Design’s cases. The included fans are very quiet, even when at the full 12v setting.
I’m going to wrap up this review and provide my final thoughts and conclusion next.

Comments are closed.