Fractal Design Define XL R2 Case Review
Fractal Design Define XL R2 Interior Impressions
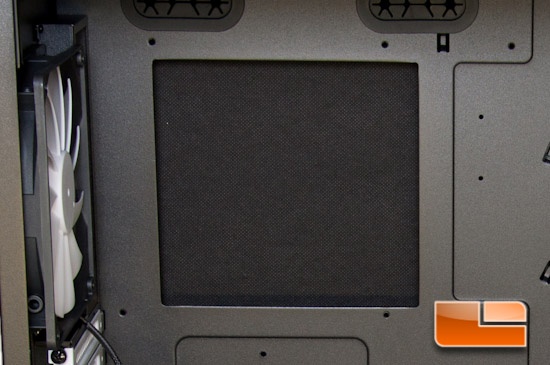
Popping the cover off on this left first, you can’t help but notice the weight. The covers have a nice dense sound deadening material attached to them. In place of where a fan could go is a ModuVent plate. Should you want to add additional cooling, or even ventilation, you are free to remove it.
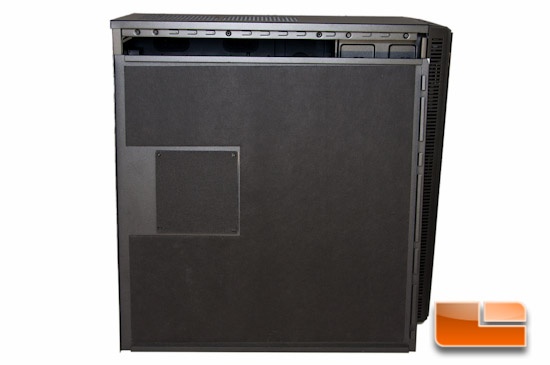
One thing to note about all of this sound deadening material in place, is while you gain the sound suppressing properties with it in place, you trade off airflow and ventilation. With that said, your case may get a little warmer with these ModuVent pieces in place.
You can’t help but notice the vast amount of grommets for wire management here! I love it! These look to be well thought out.
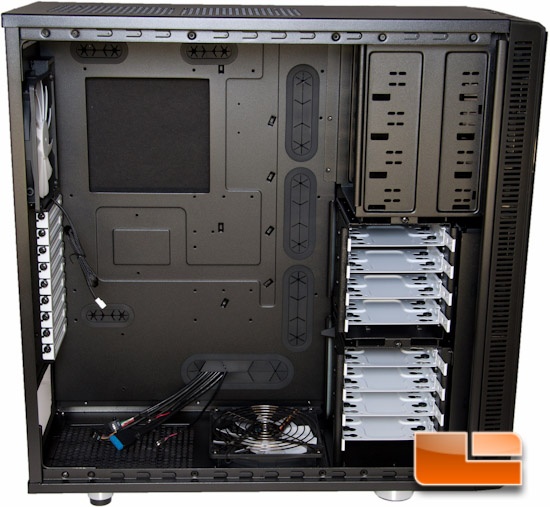
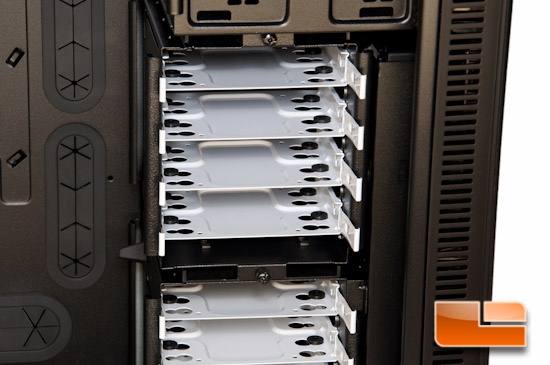
Starting with the HDD cages, you see Fractal Design’s white cages. These are easily removed by the thumb screw placed above them. They also have a nice rubber bumper at the HDD mounting points to reduce vibration. You’ll end up hooking up your connections on the opposite side, which will make for a very clean look inside the case. Should you want to add a radiator in the front of the case for water cooling, you can re-position the HDD cages.
Sticking on the lines of water cooling, Fractal Design says there is plenty of room for various sized radiators throughout. On the top you could mount a 240 or 280mm slim radiator, the front can take a 240mm, the bottom will accept a 120mm, and the rear can handle a 120 or 140mm radiator. That’s a ton of water cooling potential.
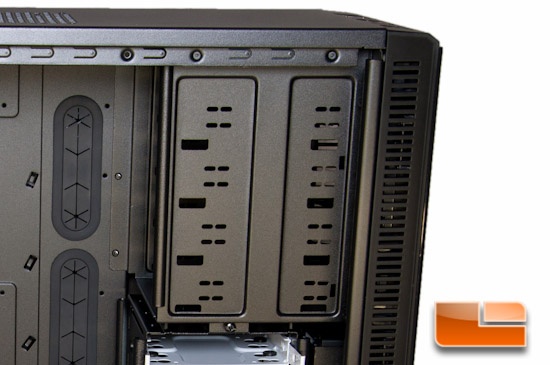
The mounting points for your 5.25” drives/devices are not at all tool-less, so you’re left with having to screw them in place. One thing that I’ve always liked on cases, if you are left to screw the drive in, is when one of the mounting holes is only as wide as the screw itself. This helps you get a fully even appearance out front.
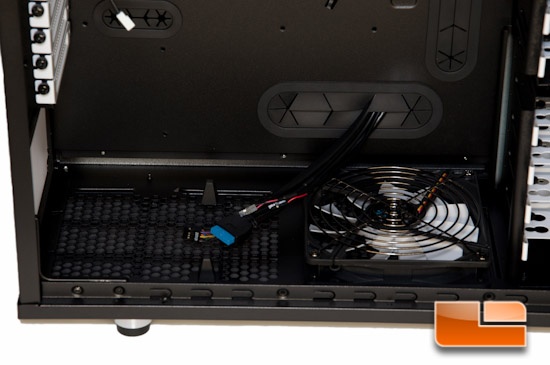
On the bottom of the case is a pre-installed Silent Series R2 140mm fan and enough room to mount a 190mm PSU. Should you need more room to mount a larger PSU, you can remove the fan and mount up to a 345mm long PSU.
Moving back up the case are the mounting holes for ATX, mATX, Mini ITX, E-ATX, XL-ATX. Unfortunately no standoffs are pre-installed, nor are the holes labeled. I guess it’s up to memory for those who are very familiar with the mounting locations, or one would have to consult instructions.
There is also a nice sized hole for adding a backing plate to the CPU socket, should you want to install a heavier cooler or water cooling without disassembling your system.
At the very top of the case are two more ModuVent plates. Here you can install two 120mm or 140mm fans of your choice, or you can install a 240mm radiator. 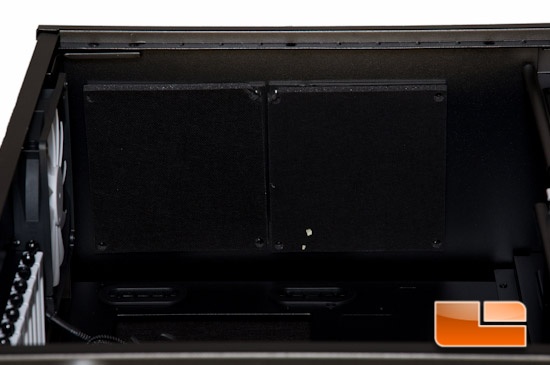
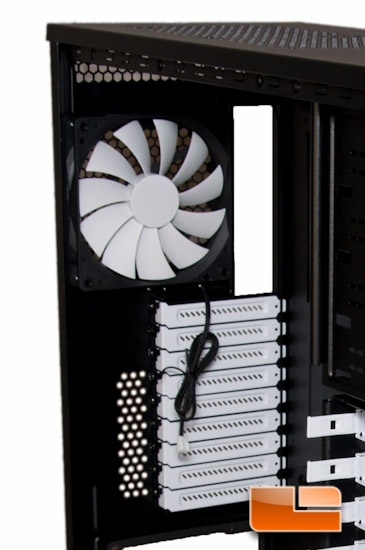
On the very back of the case is another pre-installed Silent Series R2 140mm fan. Below that is the mounting location for up to 9 expansion cards, each plate using a thumb screw.
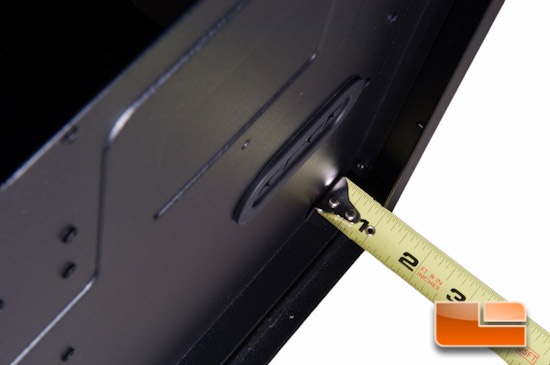
On the back side of the motherboard tray, you have roughly 1” (26mm) of space to work with, which is a nice and generous amount.
Up next I will install a motherboard and some components inside, and will let you know how easy this case is to work with. It sure looks plenty easy with all of that room inside, but only testing it out can tell!

Comments are closed.