Fractal Design Define R4 Case Review
Define R4 Interior Thoughts
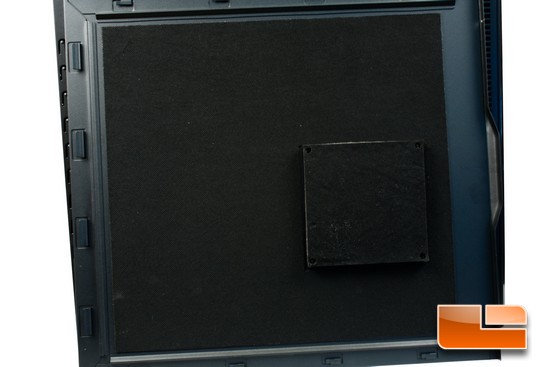
On both the of inner side of each side panel, Fractal Design uses a sound deadening material. And on each of the non-used fan mounts also contains a removable sound deadening material. This does add quite a bit more to the overall weight of not only the chassis but also to the side panels themselves. You may want to make sure you have a firm hold on these side panels when removing them or replacing them on the chassis; as I almost dropped one because I was not expecting them to be so heavy.
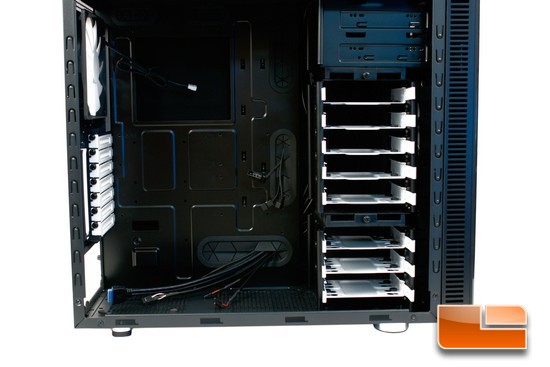
Time for me to give the interior of the Define chassis a good look through; we can see why Fractal Design only uses two 5.25 device bays, that is because this chassis can utilize up to eight 3.5/2.5 HDDs/SSDs.
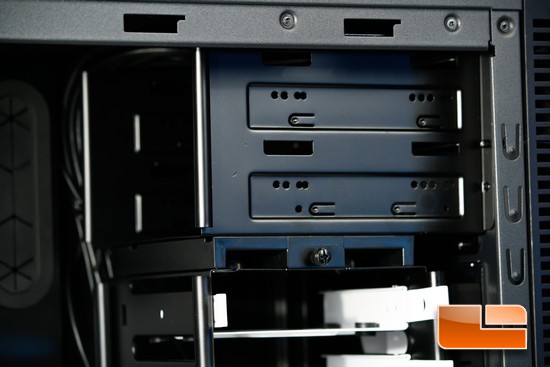
Typical mounting style for the 5.25 device bays.
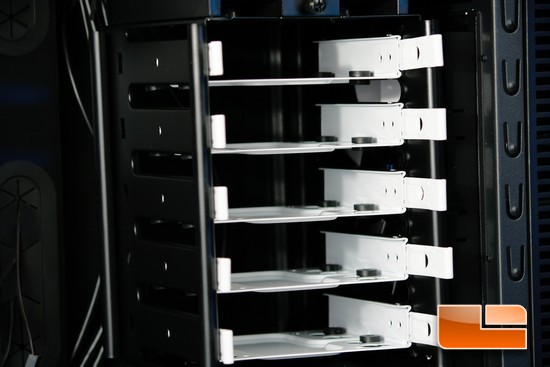
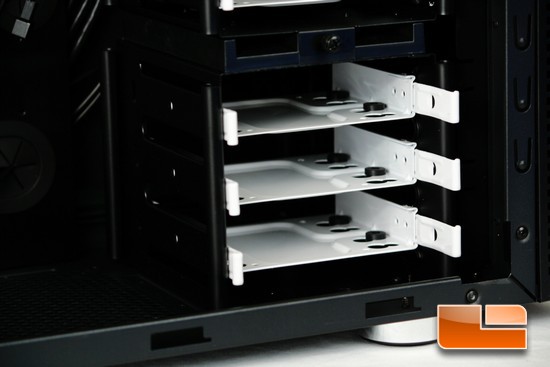
Looking at the two removable HDD cages.
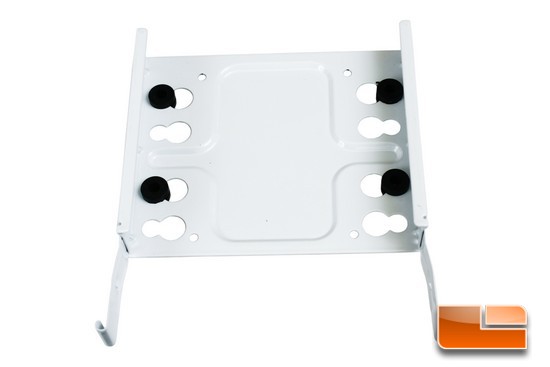
The HDD/SSD carriers, these carriers can install either a 3.5 HDD or the smaller 2.5 HDD/SSDs. But only the 3.5 HDD will have use of the rubber mounts that will help on keeping these drives quite. These HDD carriers use a multiple 3.5 HDD mounting system.

This bundle of wires is pretty simple, we get a USB 3 header, a USB 2 header, an front audio header, and the on/off/reset header, and the HDD/Power indicator LEDs header.
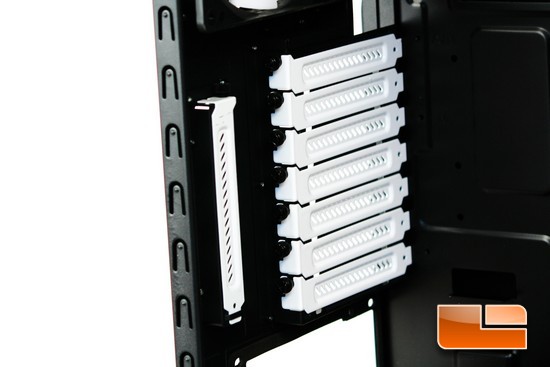
Looking at the front side of the PCI expansion ports; Fractal Design uses removable PCI covers that are also vented to help improve air circulation inside of this chassis.
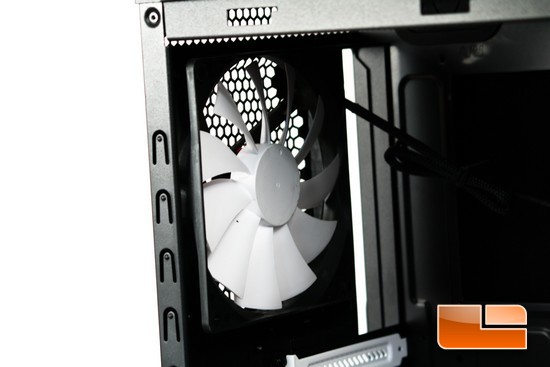
The rear included 140mm exhaust fan.
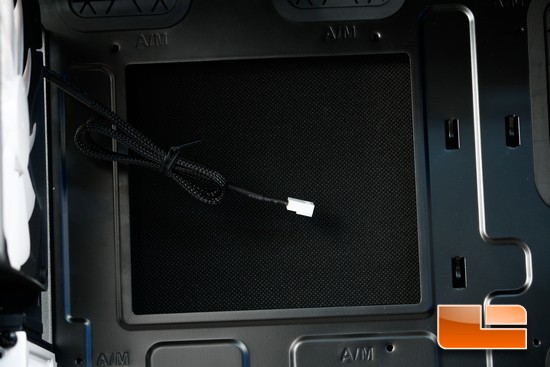
It appears that Fractal Design has a rather large CPU cut out on the Define R4 chassis.
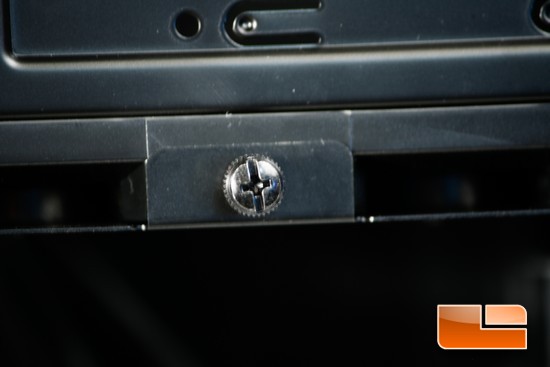
Fractal Design, designed the top HDD cage to be able to be removable; to remove this HDD cage we will need to remove the two thumb screws that secure this HDD cages to the chassis.
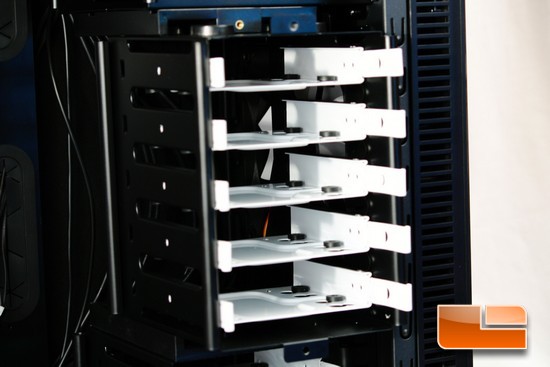
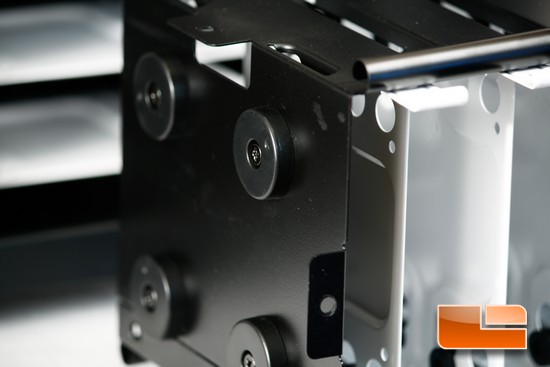
The upper HDD cage uses eight round plastic sliders (four on top and four on the bottom)so it can be rotated 90. I will show you this on the next page of this review.
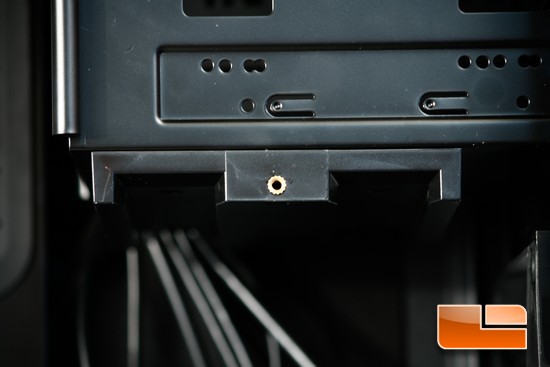
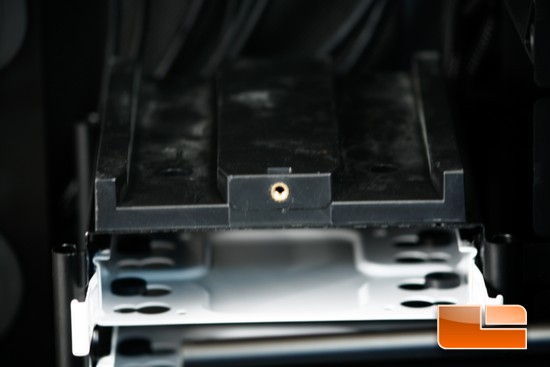
On the lower part of the 5.25 device bays is a set of channels, and the lower HDD cage has two more channels on the top of it.
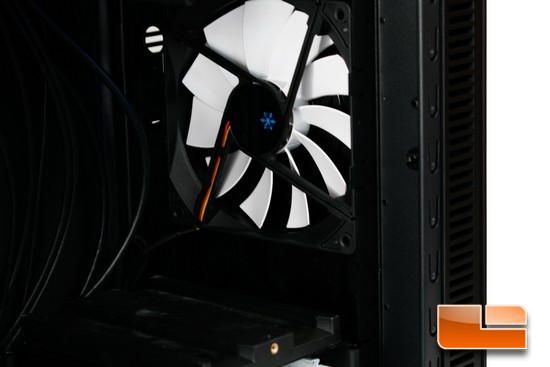
Fractal Design includes a single front 120mm fan. In order for us to install a second front fan or replace/remove the current 120mm front fan we have to remove the front bezel.
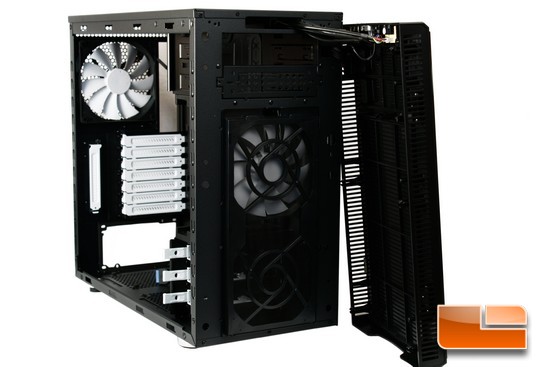
The front 120mm fan(s) are encased in a front fan mount cage that uses a fan filter to help keep dust to a minimum. The removal of the front bezel is pretty simple and did not require a lot of effort, just required me to grab below the front front bezel and gently pull away from the chassis.
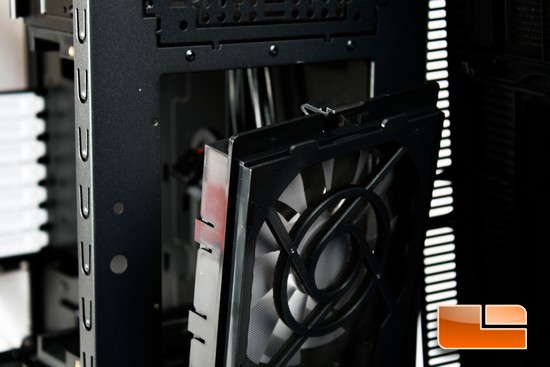
To remove this front fan cage all we need to do is locate the small clip on the top of this cage and gently press down and remove the cage from the chassis.
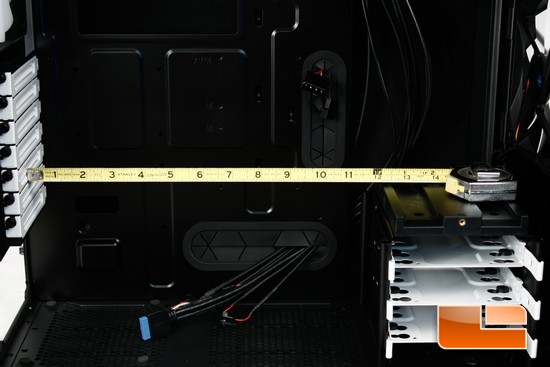
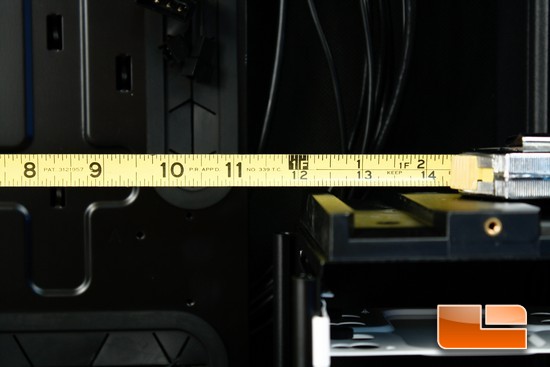
If you are planning on using both of the HDD cages in the Define R4 chassis, you will be limited to roughly twelve inches of room.
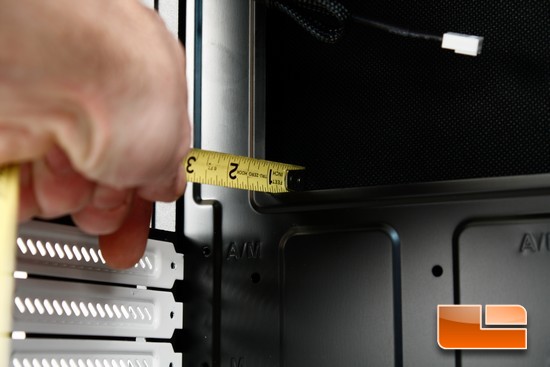
A quick measurement of the area behind the motherboard tray, as we can tell there is roughly an inch of room back here to hide our PSU wires.

As I mention earlier that both side panels incorporate a sound deadening material on the inside.
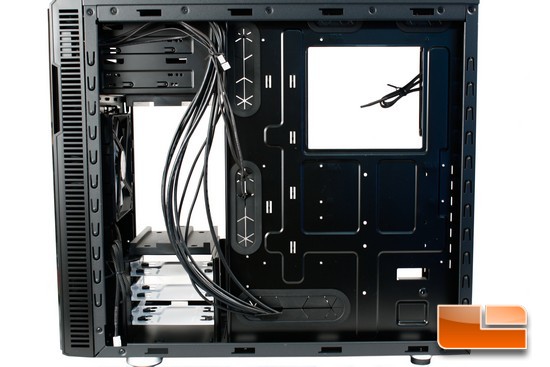
A quick look at the back side of the motherboard tray.
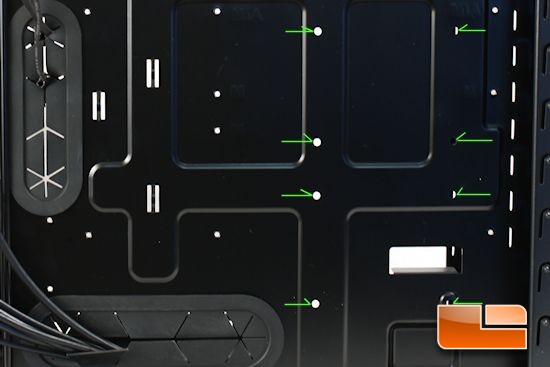
Now Fractal Design includes two more 2.5″ HDD/SSD mounts onto the Define R4’s motherboard tray. These mounting holes are located to the lower rear portion of the motherboard tray itself (I marked these holes with green arrows). The location of these mounting holes will make installing/replacing the 2.5″ HDD/SSDs here a complete pain in the butt and impossible once the motherboard and PSU is installed into this chassis. I did not hold this oversight by Fractal Design against the Define R4 chassis, for the reason that the included HDD carriers can handle both a 2.5″ HDD/SSD, and the larger 3.5″HDD and that with both of the HDD cages installed we can use up to eight of these drives with this chassis.
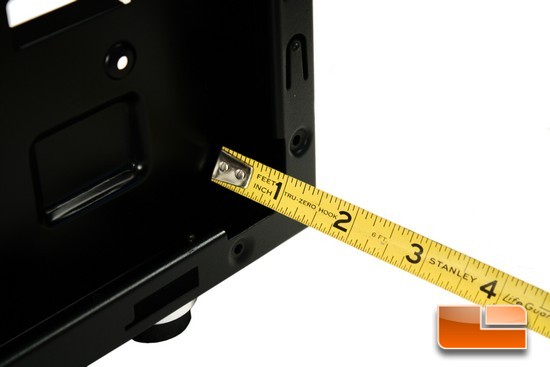
I re-measured the area behind the motherboard tray to make sure I saw what I saw when I measured the area behind the motherboard tray the first time. This measurement confirms that I do have almost one inch of room behind the motherboard tray.
Fractal Design does make all of the corners of this chassis rounded so that it will minimize cuts and bruises to a minimum.

Comments are closed.