Corsair Graphite 230T Battleship Grey Mid Tower Case Review
Graphite 230T Internal Impressions
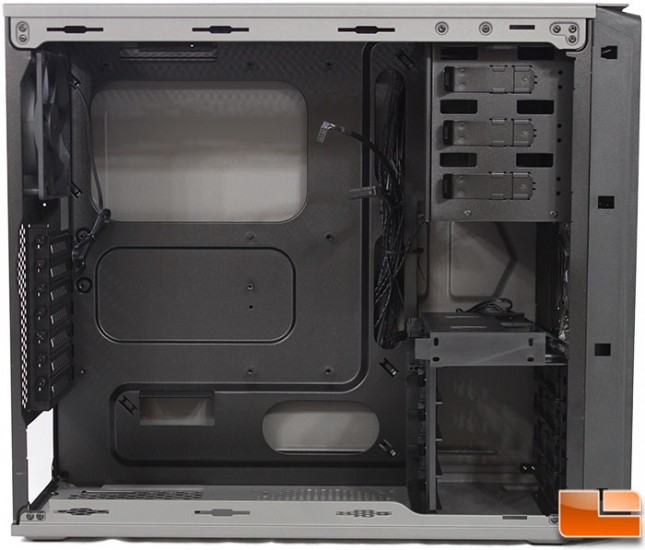
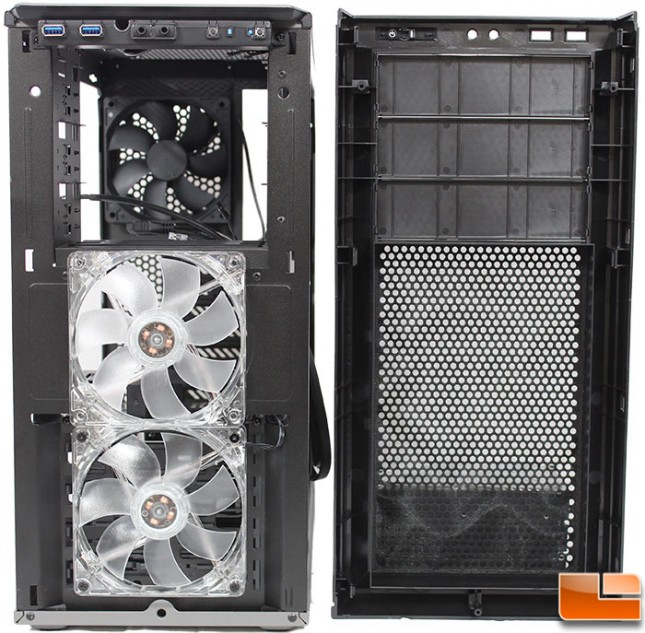
The 230T mid-tower case supports Mini ITX, Micro ATX and ATX motherboards. The interior is painted black, which on this model provides a nice contrast to the grey exterior. On the motherboard tray, there are four cable management holes, none of which have rubber guards, however the metal has been rolled to avoid sharp edges. Corsair has pre-installed the motherboard standoffs, in fact, most of them are permanently attached. Below the 5.25″ bays, is a large open area that will allow the top fan to push air unimpeded towards the motherboard. The motherboard area of the tray is sunken a little.
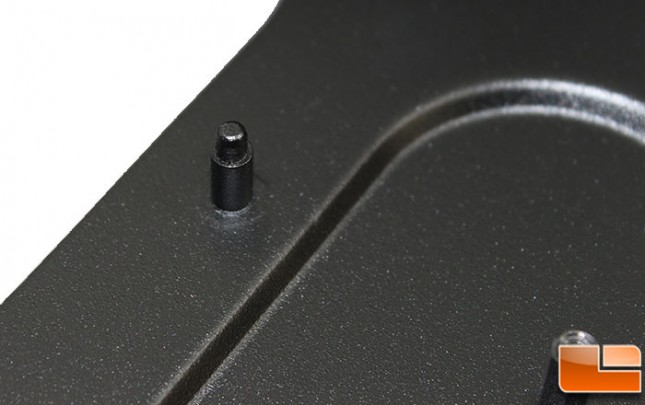
While Corsair has pre-installed the motherboard standoffs, there is one that has a little nub to make sure the motherboard is positioned correctly. I really like these as it helps get things lined up.
The 5.25″ device bays are tool-less once you remove the bay cover. Simply slide the device into place and it securely locks in. To remove it, you just need to pull out on the little tab and slide the device out.
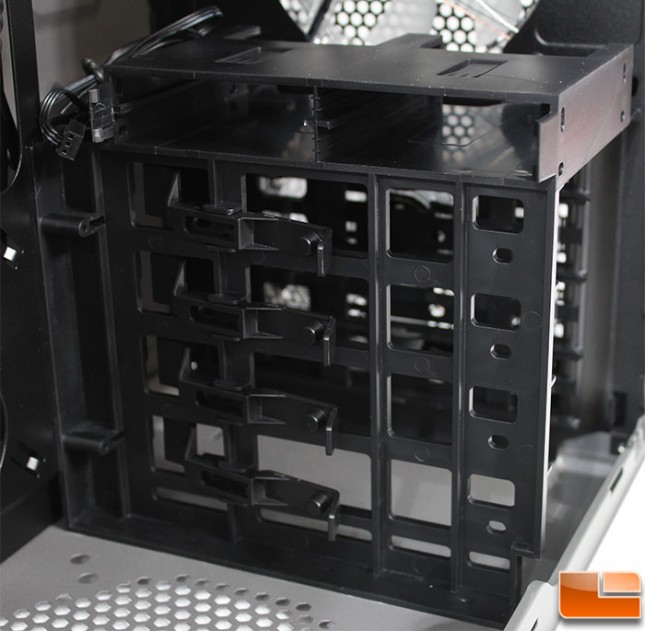
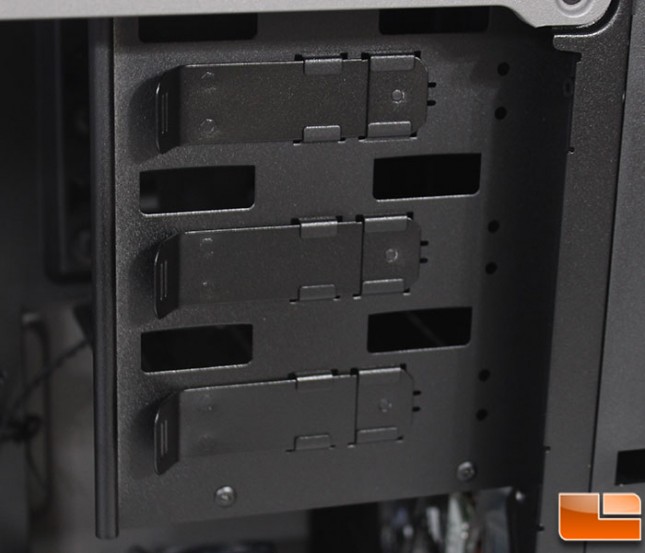
The 3.5″ and 2.5″ drive bays are tool-less as well; no rail or tray system. Simply slide the drives into place and they’re secured. There are screw holes if you want to make sure they are more secured.
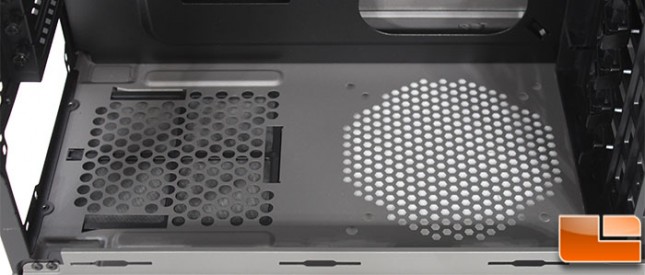
The bottom panel is exactly as we’d expect, an area for the bottom mounted power supply vents, and a 120mm or 140mm fan vent. While most cases are including rubber feet to reduce potential vibration from the power supply, there are none here. Pretty much any A TX power supply should fit here, Corsair says up to 200mm power supply.

The back panel provides no surprises either. The seven PCI expansion slot covers are vented, and are tool-less utilizing thumbscrews to secure the cover.
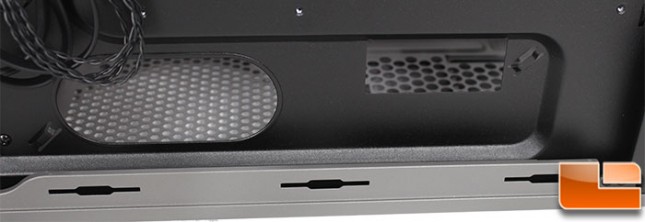
As you would expect, nothing surprising at the top panel. It might be possible to install a water cooling radiator, have to watch the clearance with the motherboard.
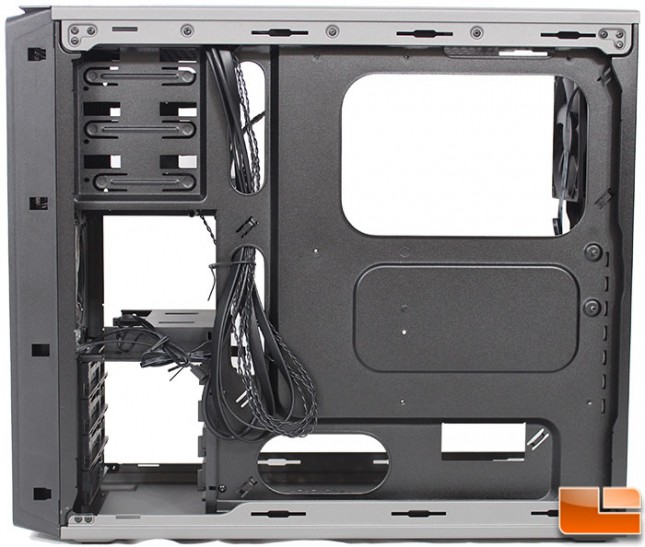
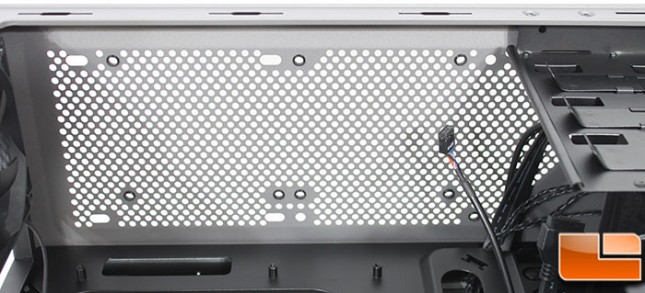
The back side of the motherboard tray doesn’t offer anything unexpected. We can see the four large cable routing holes, and the very large CPU cooler support bracket cutout. There is some additional space that could be utilized to hide a 2.5″ hard drive if a fifth one is needed.
With the motherboard tray being sunken a little, around the board, the metal has been raised to provide a little extra room for cable management.
Removing the front bezel isn’t as simple as most, where you simply pull from the bottom of the bezel. The front bezel for the 230T is held in place by three clips on each side, these have to be released from the inside of the case. The 5.25″ device bays are ready for installation as no additional guards are in place. Below the bays are the two front 140mm LED intake fans. Interestingly the bottom fan is installed slightly deeper than the top fan. On the bezel itself, the bay covers snap in with two clips on each side of the cover. The fan vent area has a filter installed, it has been glued into place so it can not be removed.