Corsair Carbide Air 740 Case Review
Corsair Air 740 Build
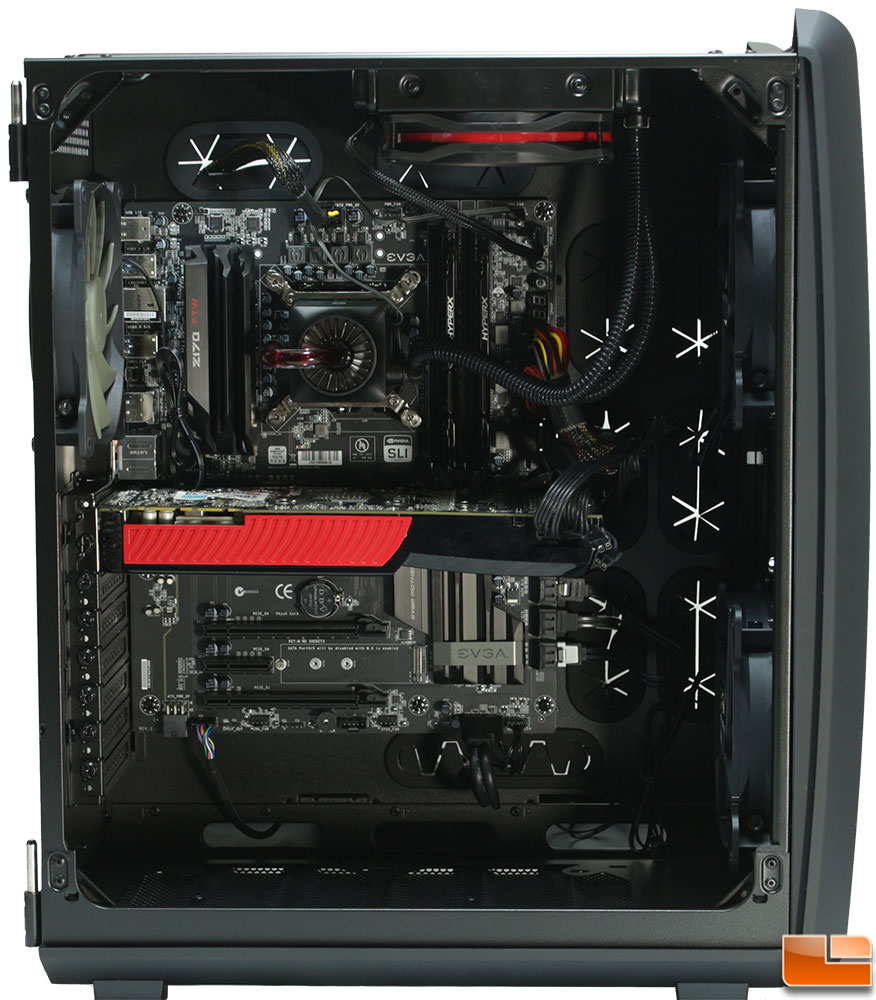
With the system completely built, we didn’t find anything unusual when doing the build. Everything was installed without any incident and was very simple to do. While we decided to use a DeepCool Captain 120 AIO Liquid Cooler, you can install up to a 360mm radiator or stick with air coolers. For air coolers, the Air 740 is limited to a maximum cooler height of 180mm.
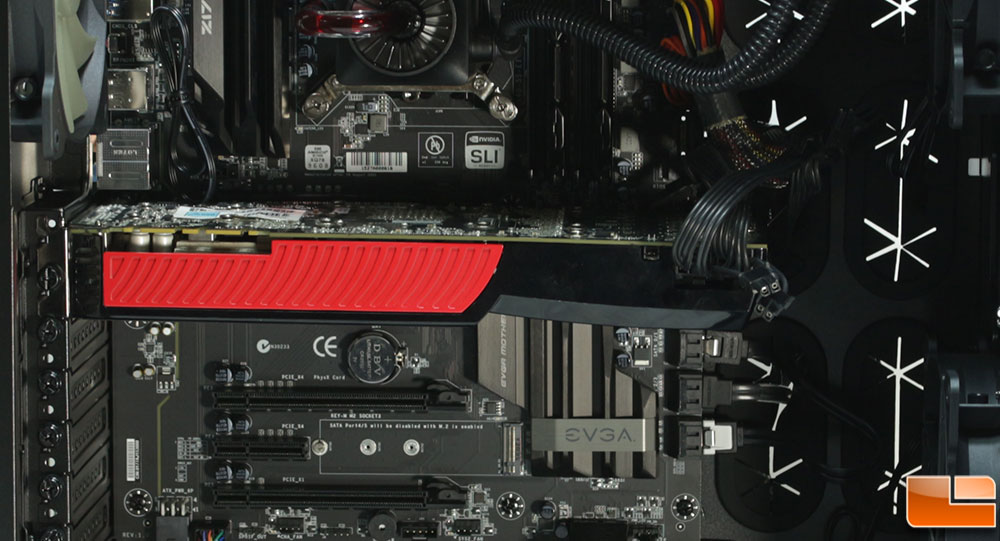
With the amount of space inside the Air 740 you shouldn’t have any issues installing the GPU of choice. We installed an EVGA GTX 275, which measures 266mm. As you can see, there is a large amount of space left for longer graphics cards; the Air 740 allows for graphics cards up to 320mm in length. Which should be enough space to allow for any modern graphics cards.
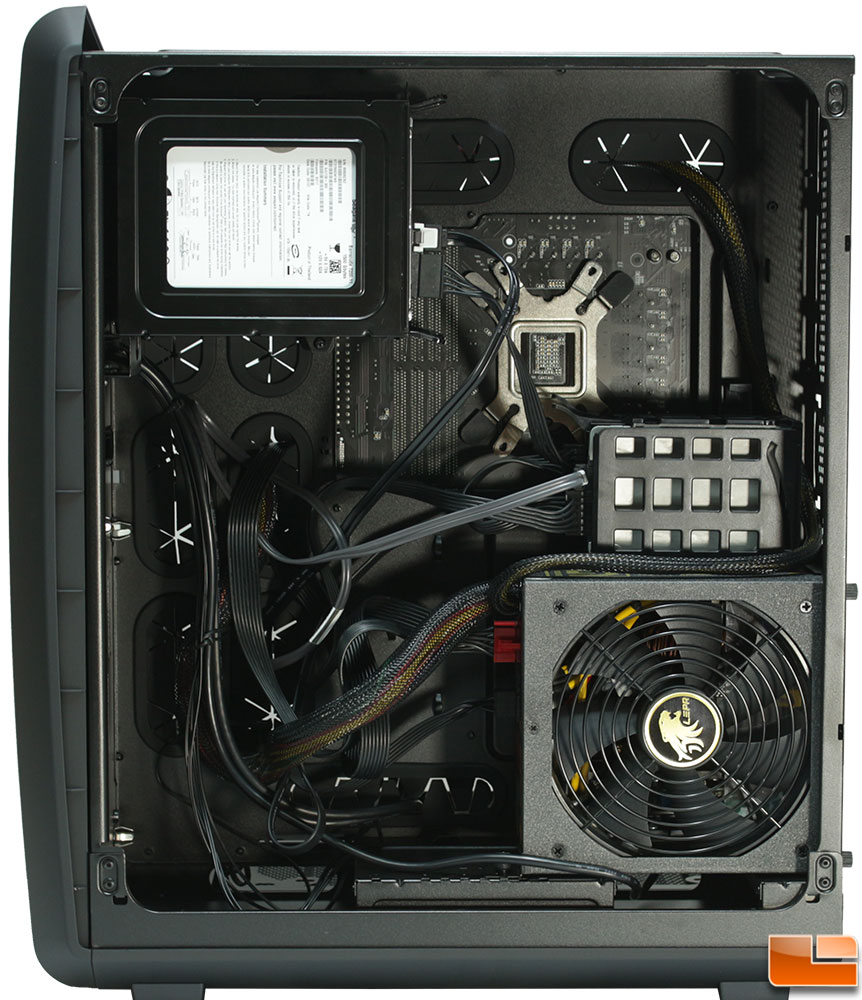
On the back side of the motherboard tray, there is a lot of open room allowing you to easily do cable management, I have left the cables as they fell while connecting them with the exception of the motherboard AUX power cable, which I routed behind the 2.5″ drive cage. The majority of the cables all ended up being clustered in the same general area, which happens to be close to where the cable tie locations are! Also, as I am using a modular power supply, there aren’t extra cables attached to bundle together and out of the way, if there was though, that’s not a problem in front of the power supply and below the 3.5″ drive cage there is a lot of open space.
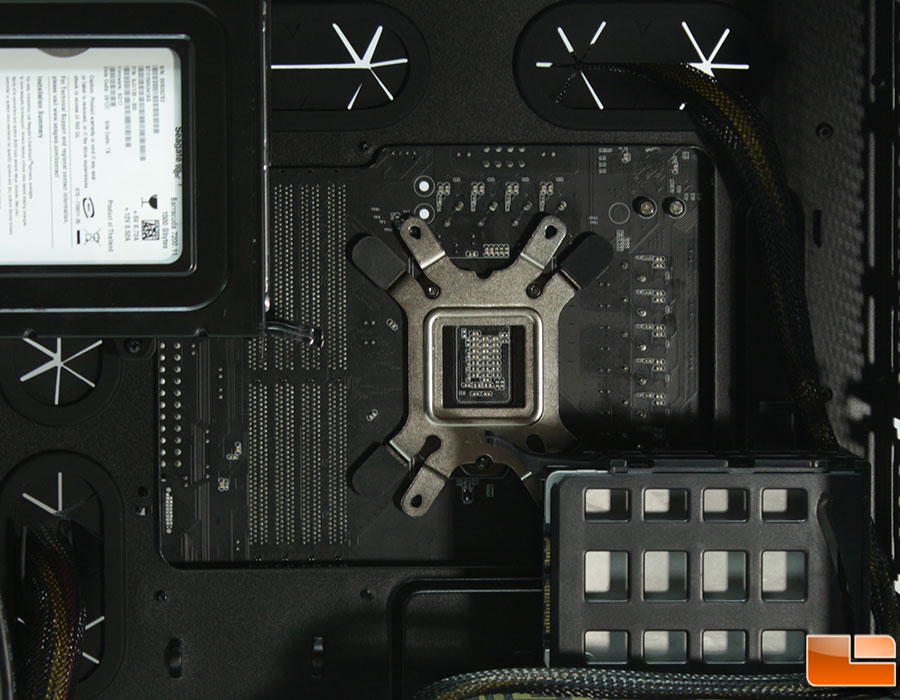
After installing the motherboard, I went to install the support bracket for the DeepCool Captain 120 AIO Liquid Cooler, and quickly found a small problem. The SSD cage overlaps one of the holes for the bracket. Not a big deal as the SSD cage is easily removed, just a slight annoyance.
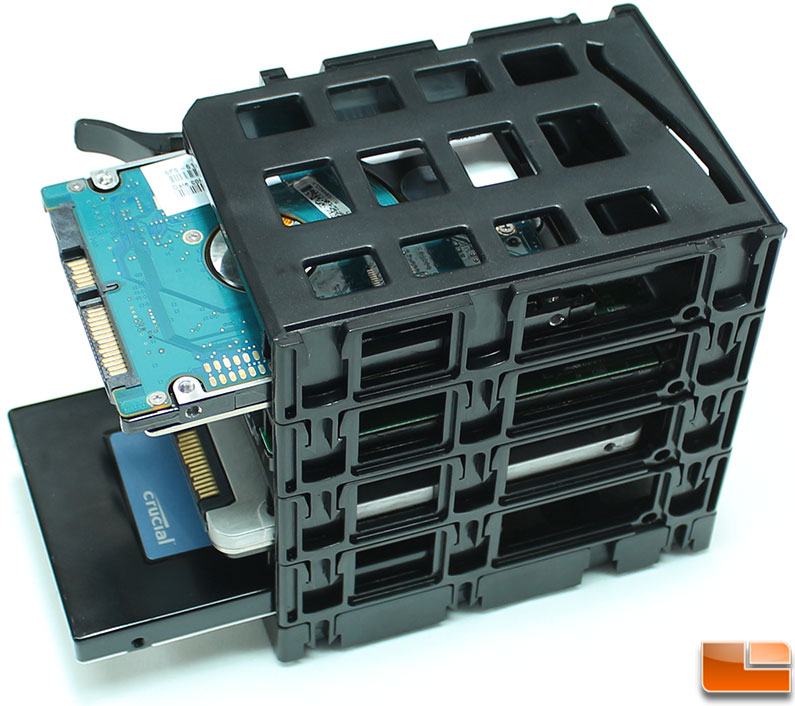
The 2.5″ cage is primarily designed for SSD’s, however any 2.5″ hard drive should fit. I have a 1TB Constellation.2 that is has a 15mm height, which won’t fit. Checking various other drives, up to a 9.5mm SATA drive fits inside the cage. However keeping in mind that these drives typically vibrate and there is nothing on the cage to reduce the vibration, so it is possible a mechanical 2.5″ drive will make some vibration noise.
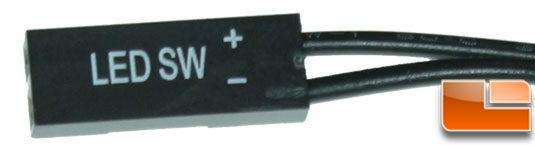
When setting up the front panel headers, we encountered an unusual header connection. There were the standard, Power LED, Power Switch, and Reset Switch. Missing is the HDD activity LED, but we found the LED SW header in it’s place. Checking the user manual, it says there should be a HDD LED but there is no sign of it. Knowing there is a LED button on the front panel, it makes me wonder what this could be for. We talking with Corsair, and they stated this is used to control the lighting on their new HD/SP fans, we hope to get some in so we can see how this works.
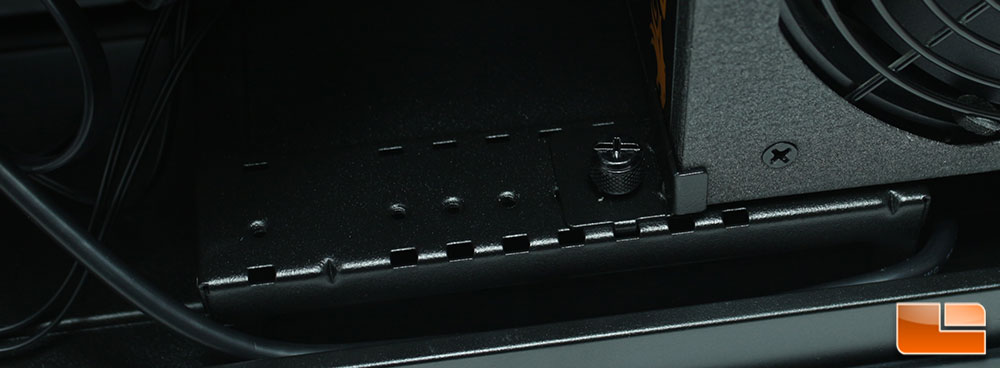
The little bracket holding the power supply in place needs to be removed to allow the installation of the power supply. Thankfully it uses a thumbscrew so that’s easy to do. With the bracket removed, the power supply can be installed and secured to the case with four screws in the back. Then the guide bracket can be replaced. Route the cables and you’re good to go.