Corsair Carbide Air 740 Case Review
Corsair Air 740 Exterior
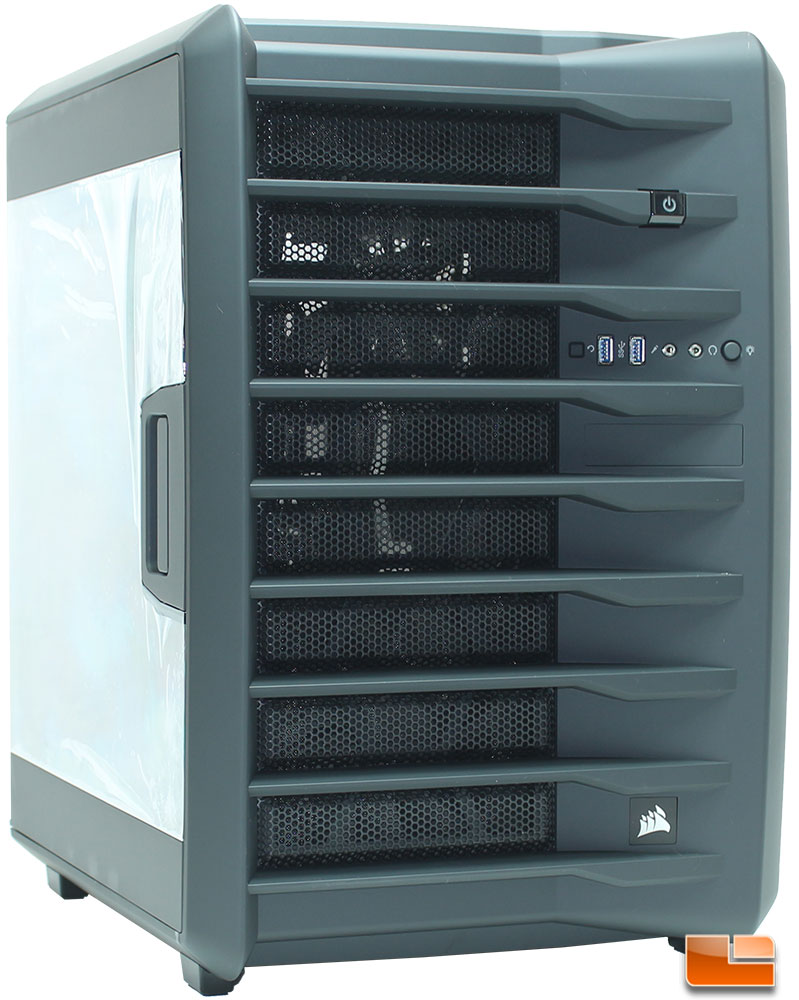
The Corsair Air 740 that we received was black, we haven’t heard of any additional colors. If you are familiar with the previous Corsair Carbide Air models, you will immediately notice a major change to the design. Previously design had the horizontal ribs going vertical and only on half of the case. The overall size of the Air 740 is 426mm x 340mm x 510mm (HxWxD) or 16.75in x 13.4in x 20.08in. Which when compared to the previous Air 540, it is slightly larger
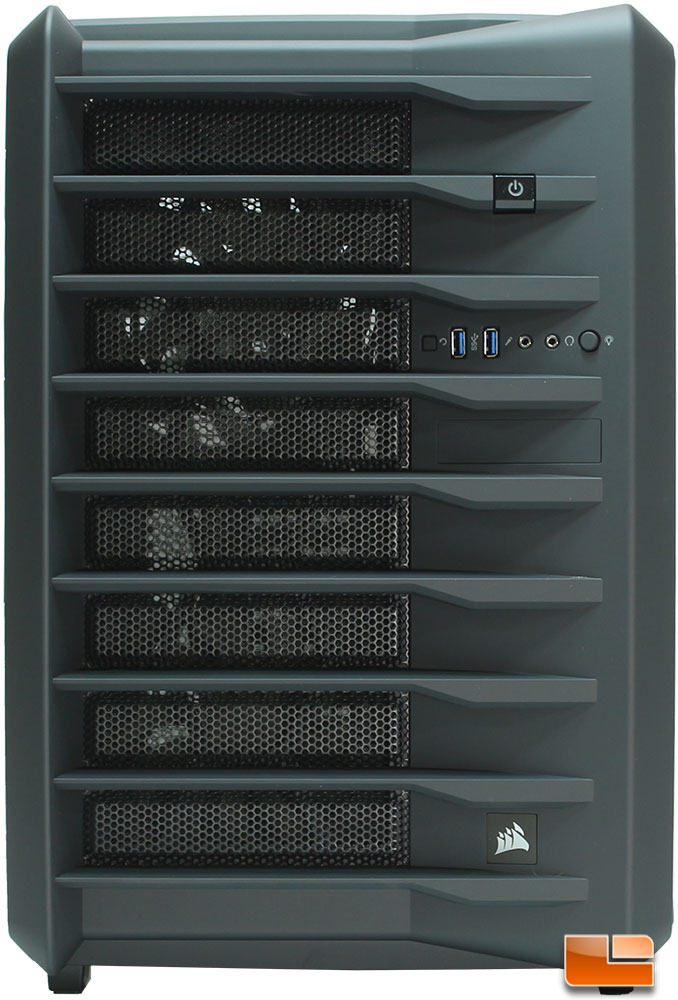
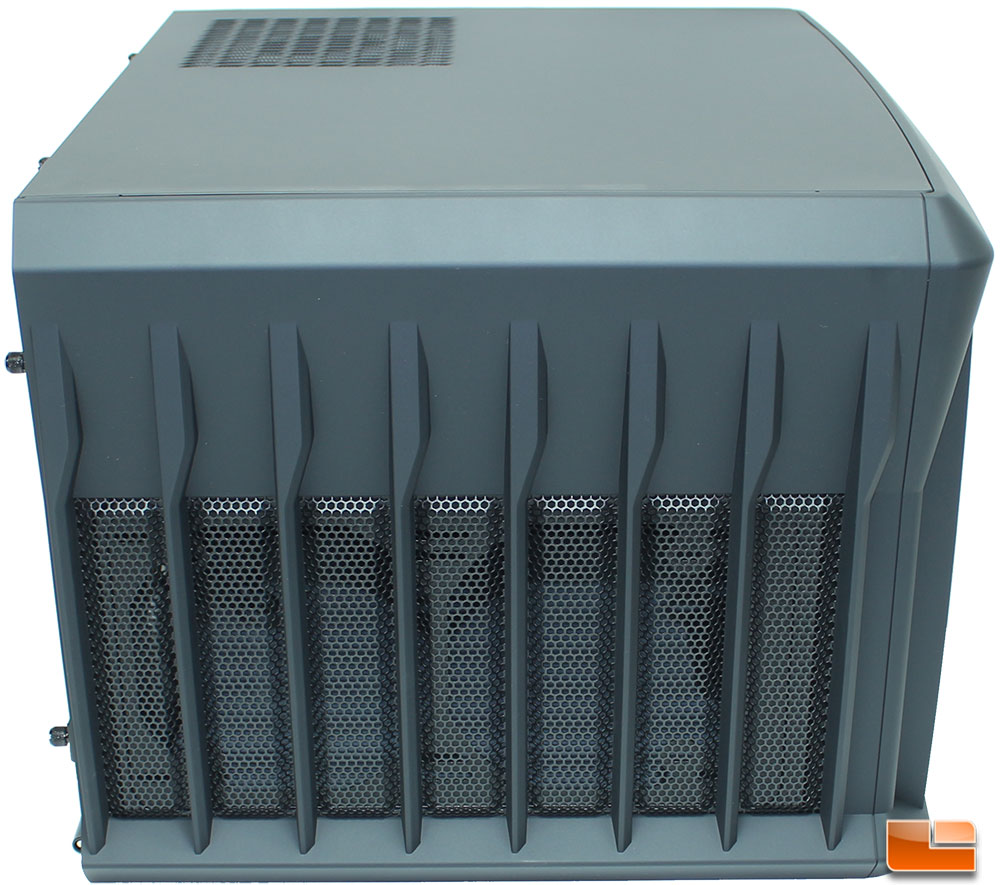
Corsair has done a great job at updating the look of this case, I loved the looks of the previous Air cases, however this one looks even nicer. The horizontal plastic bars look sharp and will make the case stand out. On one of the bars is the large power button, while the front I/O cluster rests between two of the horizontal bars. The front I/O cluster has the standard reset button, 2x SuperSpeed USB 3.0, and headphone/microphone jack. However, this is the first case I have seen that includes a new LED button. This has a 2-wire cable on the inside listed as LED_SW, it has a standard header connector, and if I was to make a guess it’s for a new generation of Corsair Lighting feature.
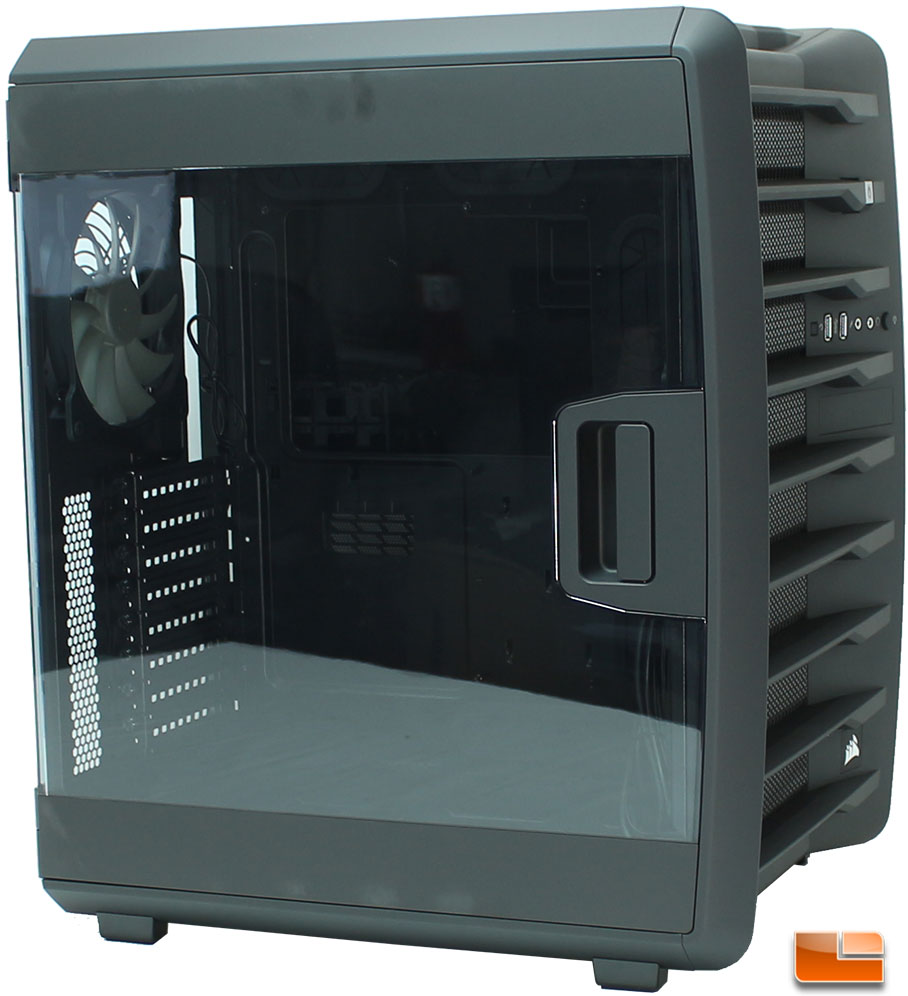
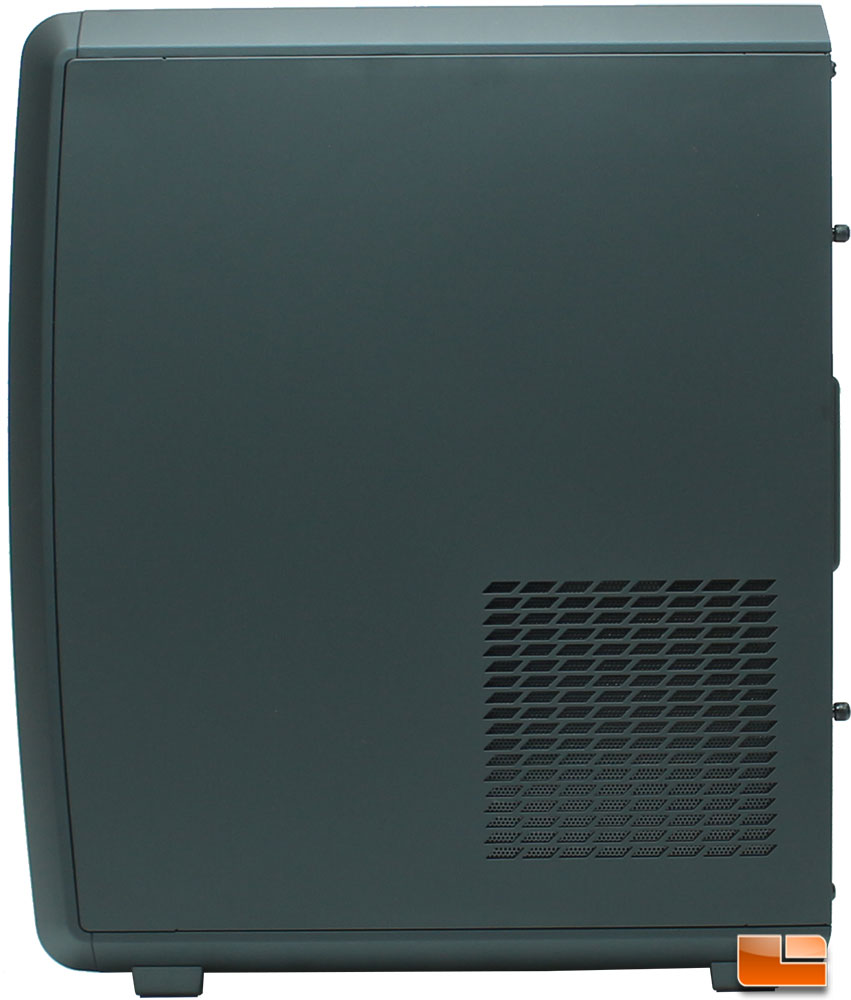
The main side panel we find a large clear window, which will provide an unobstructed view of the system. The top and bottom of the panel are heavy duty metal, while the window and handle are plastic. As you can see, the metal is a fingerprint magnet!
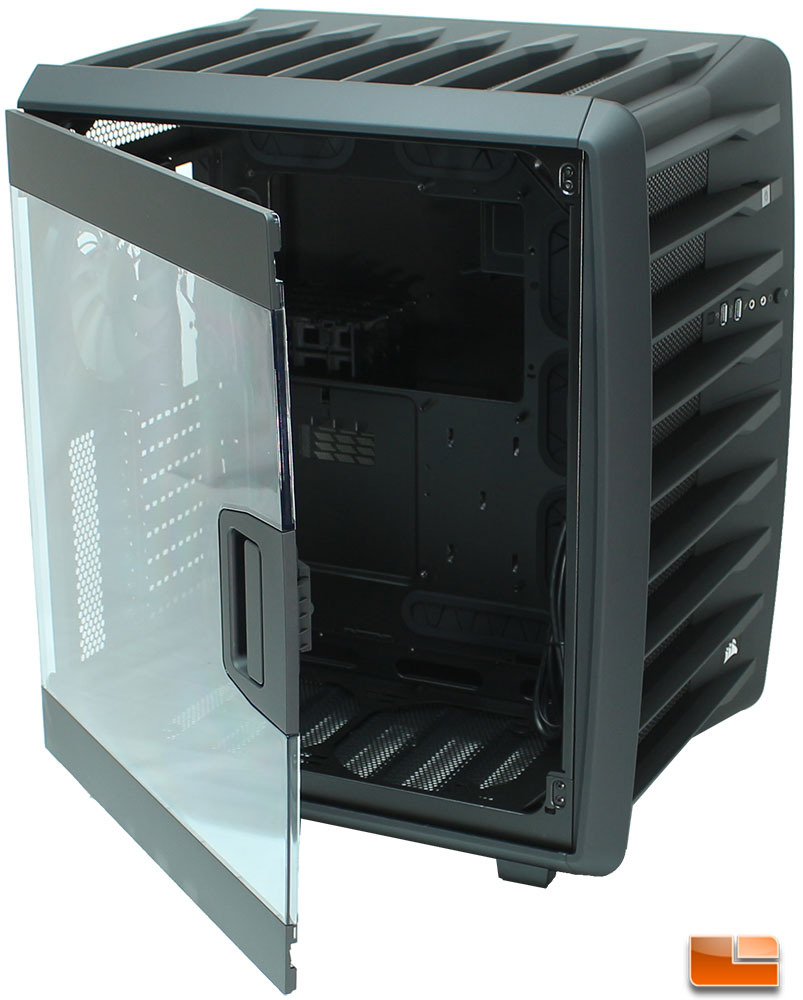
The windowed side panel doesn’t come off like most cases, instead it swings open simply by lifting the handle. In addition to the handle, little magnets on the inside of the door help to keep it closed. The side window is surprisingly sturdy, even looking at side panels that are mostly metal, this one seemed to be more sturdy.
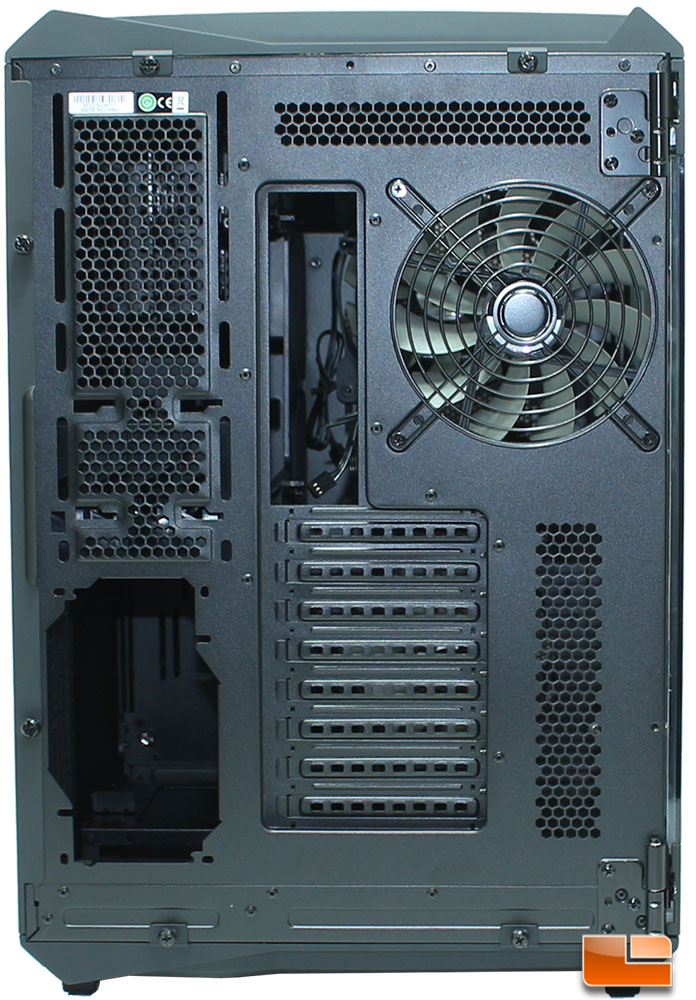
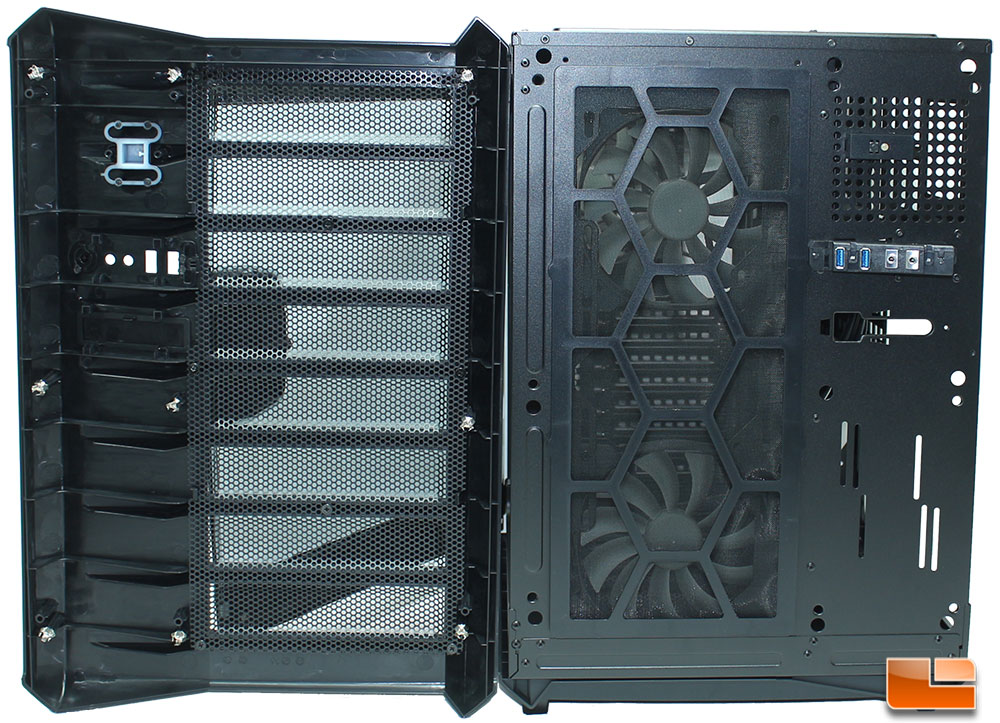
Looking at the back panel, we can see the layout of the split chamber design. In addition, we can see that there are a large number of vents on the back panel, including above the power supply. It appears that there is room for 80mm fans to be installed back here, however Corsair doesn’t mention that in their specifications. On the motherboard side, we find the normal eight expansion slots, the motherboard rear I/O key port, and the exhuast fan. I like how Corsair used a user replaceable fan grill for the back exhaust rather than using the case metal as the fan guard.
Nothing too exciting on the back side panel, other than an area for the power supply intake the panel is solid. The power supply intake has a wire mesh filter on the inside of the case, which is held in place with magnets. This panel is removed like most panels, remove two thumbscrews and then it slides towards the back of the case and comes off.

The bottom panel is easily removed as it is held in place with two thumbscrews and then it slides towards the back and pops off. Once removed we can see that there is one section that is solid (power supply side), while the other side has room for 2 fans or a radiator up to 280mm. Four rubber coated feet raise the case off the surface by 1/2 inch, but should provide plenty of airflow through the bottom.
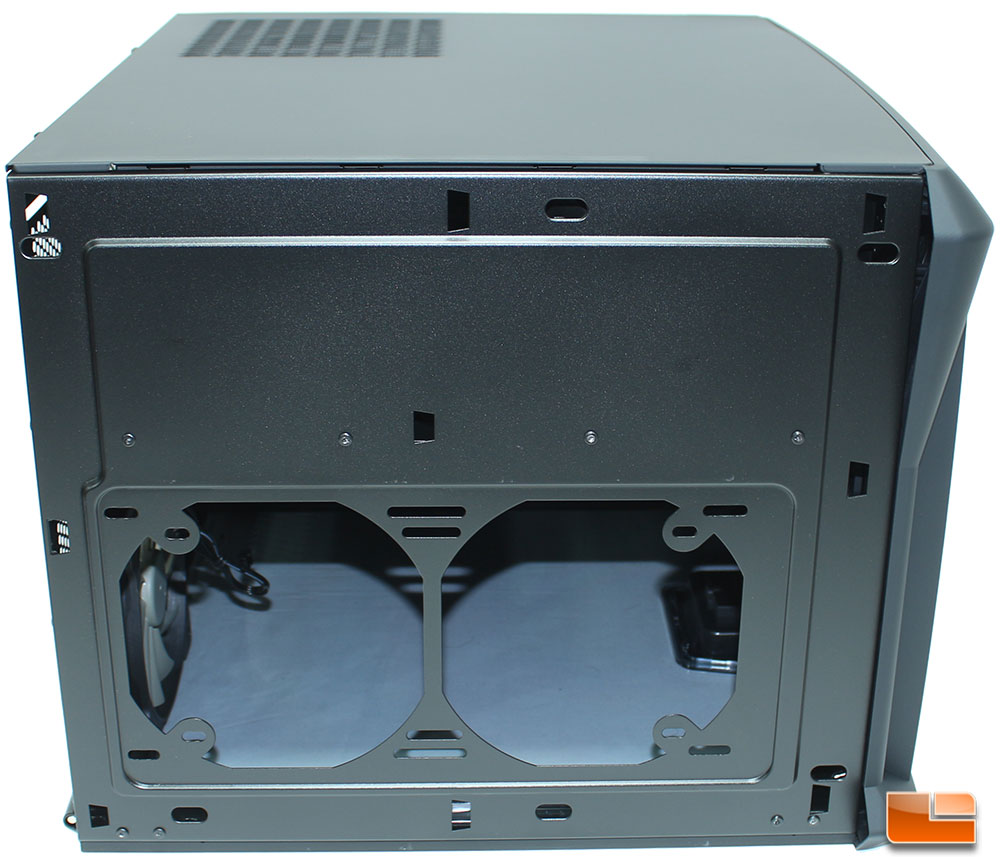
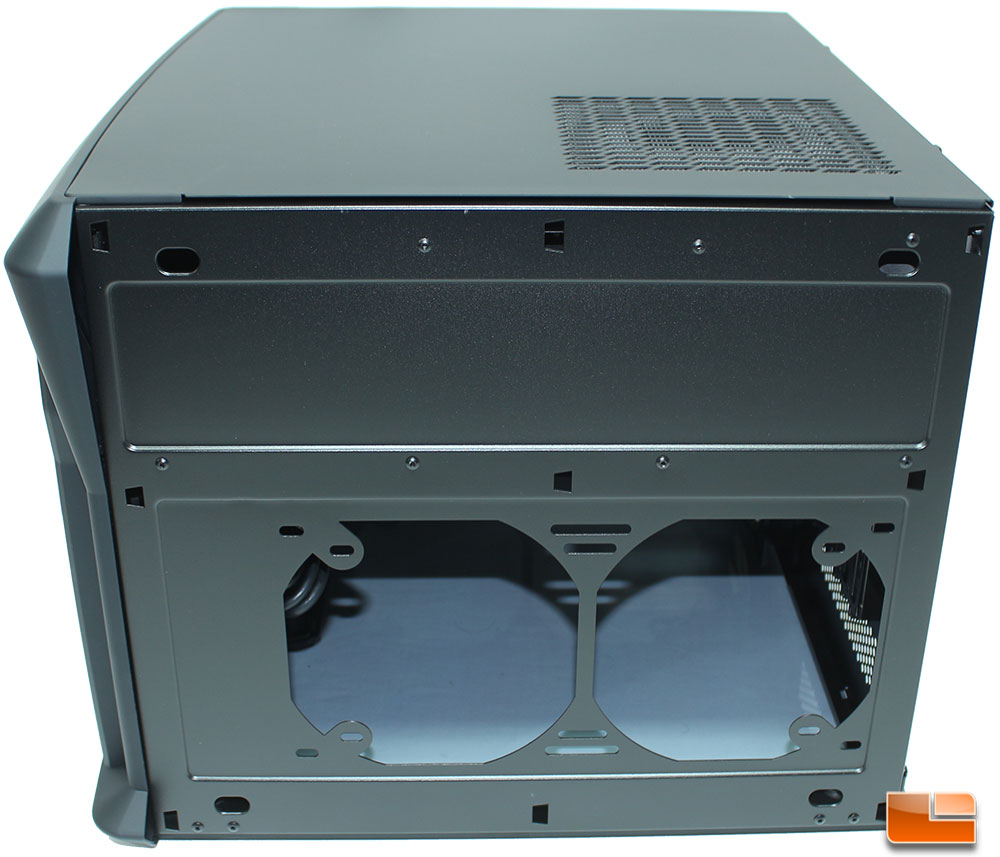
The top panel is removed just like the bottom panel, and reveals the same layout as the bottom. A solid panel on the power supply section, and space for two 140mm fans or up to a 280mm radiator.
I have worked on a large number of cases over the past 20 years and this has to be one of the most difficult cases to remove the front panel. While most use plastic prongs or tabs to keep the front panel in place, Corsair has gone with metal prongs that pop into nine holes on the case. One of the reasons it is hard to remove is that there are very few places to grab to pull the panel away. Of course, this is debatable whether this is good or bad, however you will have to remove the front panel in order to clean the front intake fan filter. From looking at the front side of the bezel, we saw a small door beneath the front I/O cluster. With the panel removed, we can see there is a cut-out in the frame for an add-on. In talking with Corsair, we found that this is for a VR add-on, as an HDMI/USB 3.0 pass through.
Let’s open the case up and take a look at what Corsair has done with the interior.