2012 Budget Mini-ITX Desktop PC System Build Guide
Kingston HyperX Blu Red Memory & Mobo Install
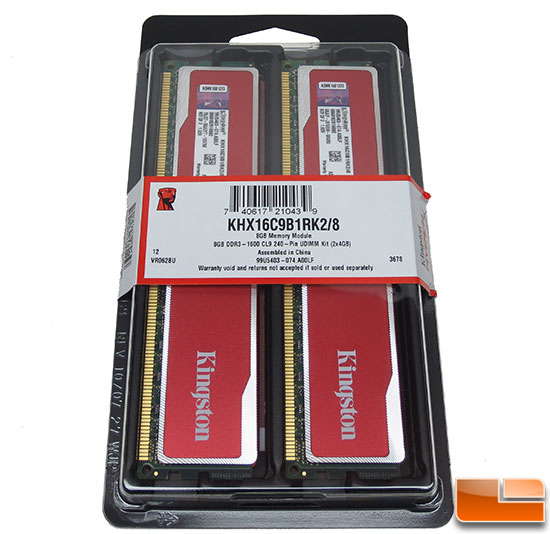
When it comes to PC memory today you’ll find that it is rather inexpensive and there are a ton of companies selling memory these days. The worlds largest independent manufacturer of memory products is Kingston and when it comes to PC memory they are the industry leader and have good prices and a lifetime warranty with unrivaled tech support. For our budget build I wanted to stick with an 8GB (2x4GB) memory kit at 1600Mhz with CL9 timings. The Kingston HyperX Blu Red 8GB 1600MHz DRAM Kit with part number KHX16C9B1RK2/8X fit the bill and was only $29.99 After Rebate. The HyperX Red memory kit looks great and also just happens to match the BitFenix Prodigy Red PC case that I went with for this build!
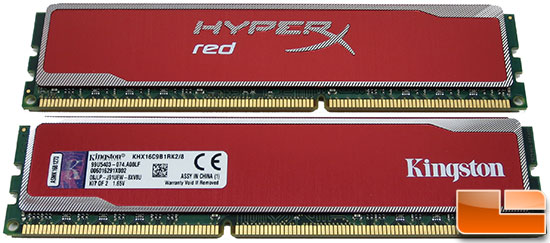
This kit is rated to run at 1600MHz with 9-9-9 memory timings at 1.65V. It costs $10 less than than a kit with the same specifications that runs at 1.50V. I took a gamble that this kit will run 1600MHz at 1.50V instead of 1.65V and I’ll jump ahead and say that it did just fine.
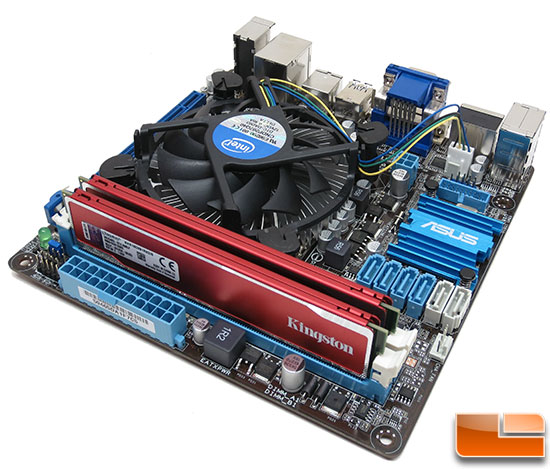
Installing the memory is fairly simple as all you need to do is align the memory module key along with the memory socket keys for proper installation. Press the memory into the socket with gentle force until the tabs snap into place and secure the memory module. The image above shows the ASUS P8H77-I motherboard with the Intel Core i3-3220T processor and Kingston HyperX Red 8GB DDR3 memory kit installed.
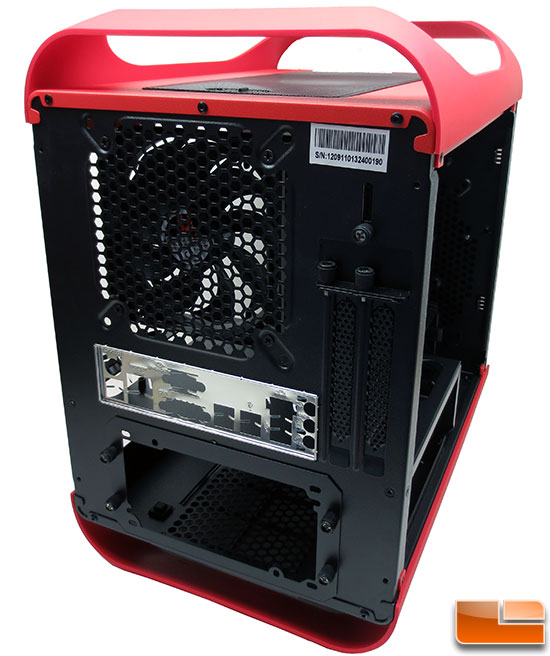
Now that the motherboard is pretty much assembled it can be installed into the Bitfenix Prodigy mITX chassis. The first thing you need to do here is install the rear I/O shield. The ASUS P8H77-I comes with a silver shield that doesn’t look too hot on an all black back panel, but not too much you can do about that. Some of the higher end ASUS boards come with black colored shields, but keep in mind this is a budget build that is being done for under $700.
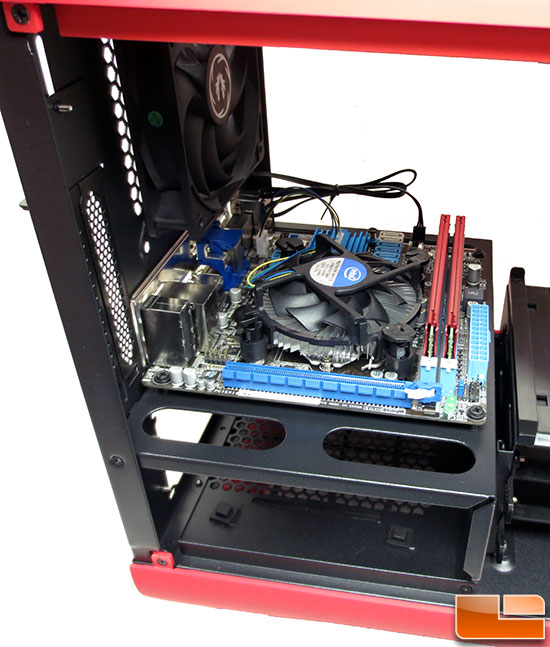
BitFenix ships the Prodigy with four motherboard standoffs already installed on the motherboard tray, so you just need to grab four screws from the parts bag that comes with the case and gently tighten them to hold the board down.
Now that the motherboard, processor, memory and optical drive is installed we can go ahead and install the SSD and the power supply!

Comments are closed.