Thermaltake Core V1 mini-ITX Chassis Review
Thermaltake Core V1 mini-ITX Chassis Build Experience
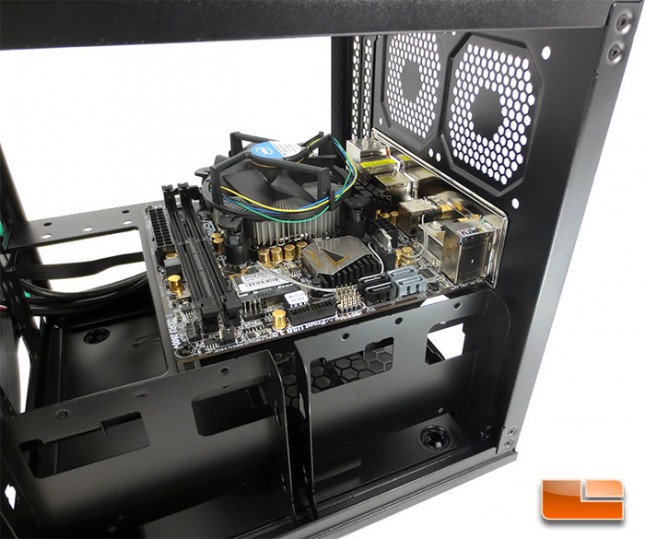
Starting a new build is always a bit exciting to me, and it’s no different this time around. The first step in my build is the motherboard, above you can see that the ASRock Z77E-ITX motherboard fits inside the Thermaltake Core V1 mini-ITX chassis with no issues. All four of the screws lined up perfectly and the I/O shield popped into place nice and easily!
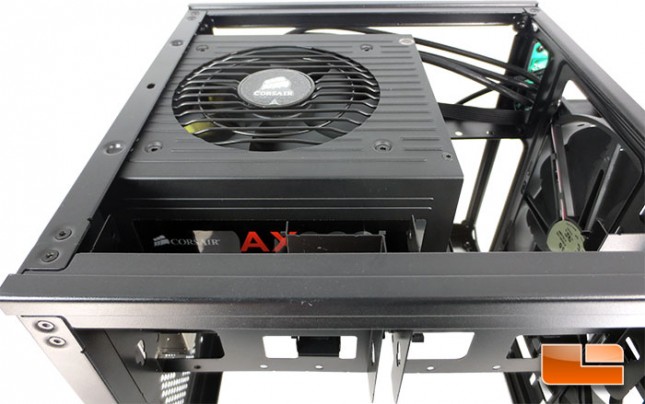
In order to get the power supply mounted in the Thermaltake Core V1 mini-ITX chassis, I had to remove the bottom panel. Just as with the side and top panels, all you’ll need to do to take off the bottom panel is to remove the two screws on the back that hold it on. Once the bottom panel is off, the power supply drops right in and the screws were aligned perfectly.

Before running any of the wires, I wanted to put all of the hardware in place. At first glimpse I thought that the hard drive cages were quick release, but they aren’t. Inside the bag of accessories I showed on the previous page there are a handful of rubber grommets that sit inside the hard cage.
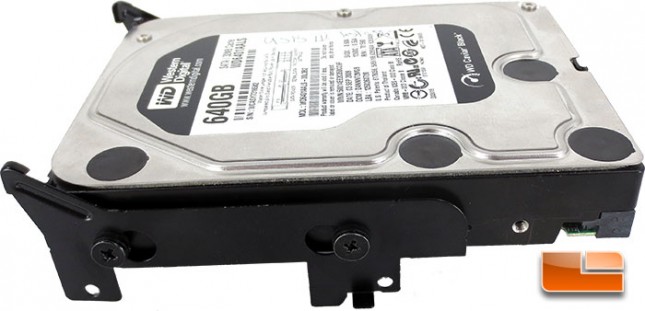
Once my Western Digital 640GB Black drive is mounted in the cage, I am able to mount the cage back in the Thermaltake Core V1 mini-ITX Chassis.
I was hoping that I would be able to mount the drives with plugs down so the cabling was hidden, but there isn’t enough room to do that. Though I was able to tuck the SATA cable down to keep it mostly hidden
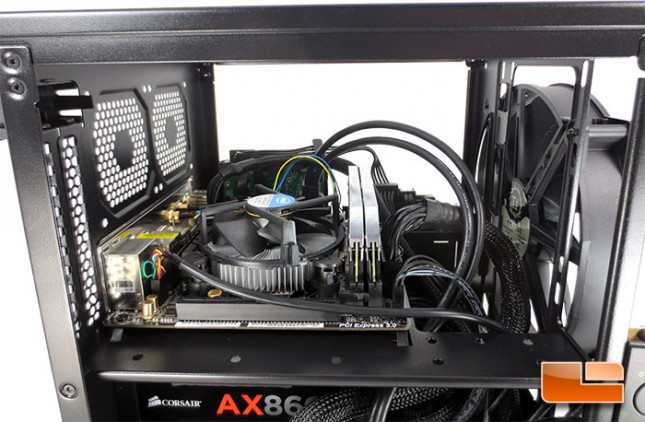
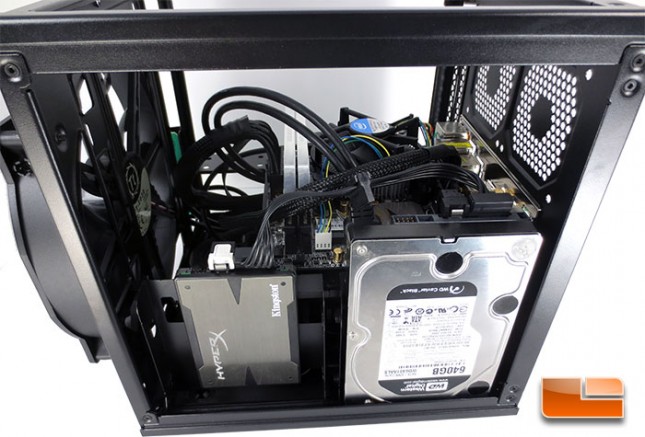
Now that the drives are installed I can start wiring everything up. There is more than enough room to run all of the cables with ease. I didn’t have to struggle to the cables where I needed them to go.
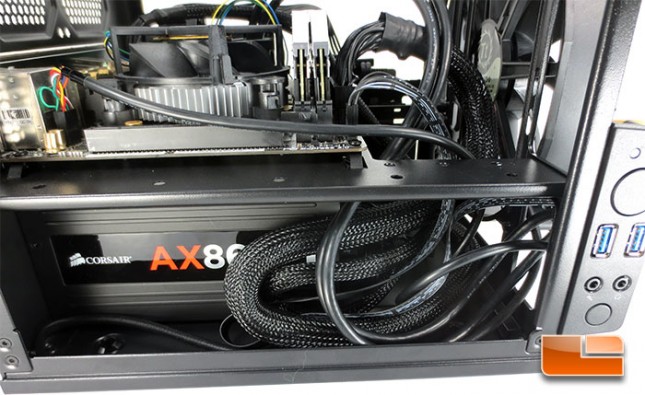
I did have to hide the excess wires along the side of my power supply, but that’s not a big deal.
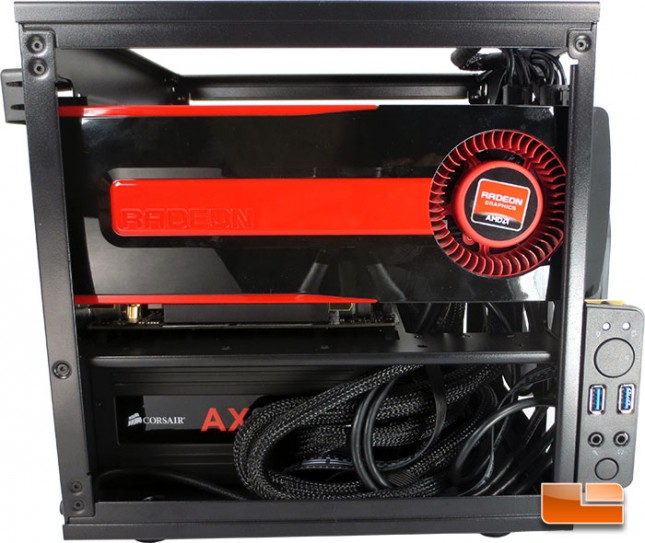
Thermaltake states that there is enough clearance for a 10″ long graphics card. I wanted to see if I could shoehorn something a little larger in there. I grabbed my trusty AMD Radeon HD 7950 which measures an impressive 11″ long, a full inch longer than the stated clearance. As you can see above I was able to get it in there.
The front of the Thermaltake Core V1 frame is cutout with enough clearance that I was able to slide the end of the Radeon HD 7950 through, and then insert the card into the PCIe expansion slot.
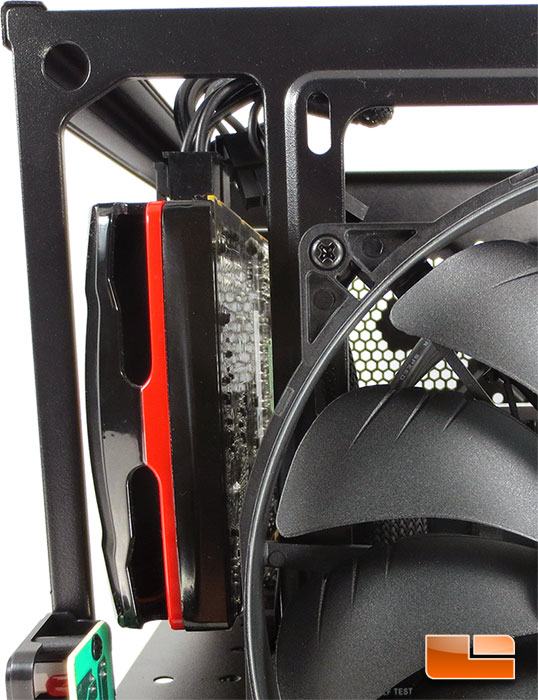
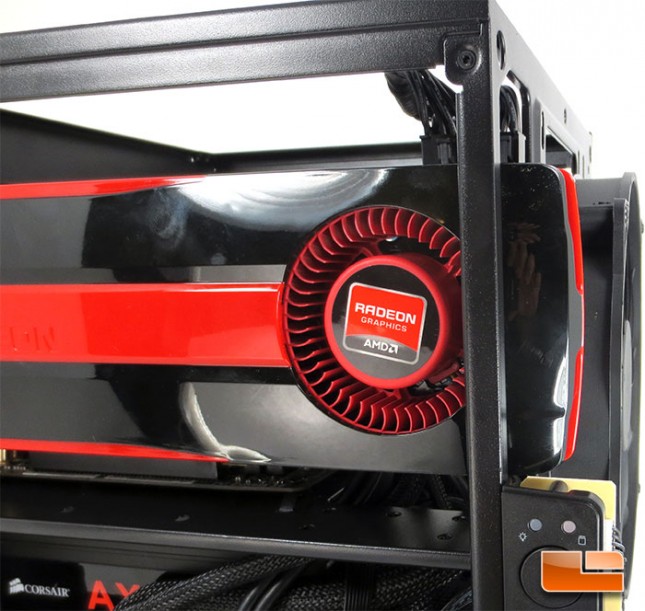
There isn’t a whole lot of clearance between the Radeon 7950 and the Thermaltake TT-2030 200mm fan, but it fits without hitting! The real trick though, is seeing if the front panel will fit on while the card is sticking past the frame.
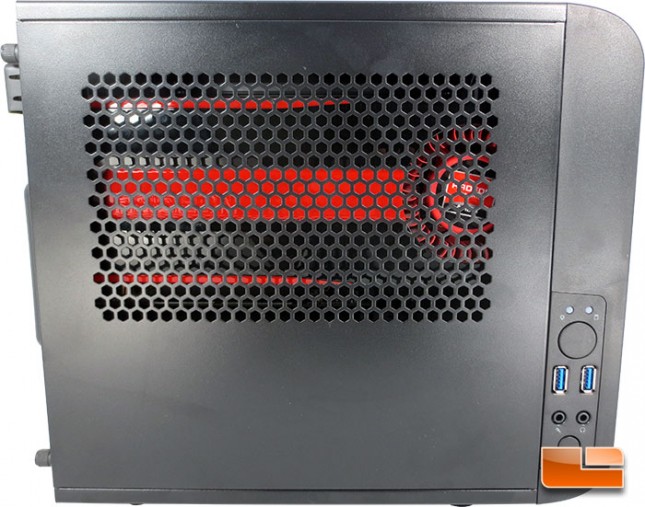
It does! I was able to put the front panel on without any issues or having to force it! Closing up the Thermaltake Core V1 mini-ITX Chassis went off without a hitch and now I have a system that’s ready to rock in a really slick looking chassis!