TerraMaster D5-300C USB Type-C 5-Bay RAID Enclosure Review
TerraMaster D5-300C Diskless Direct Attached Storage Device
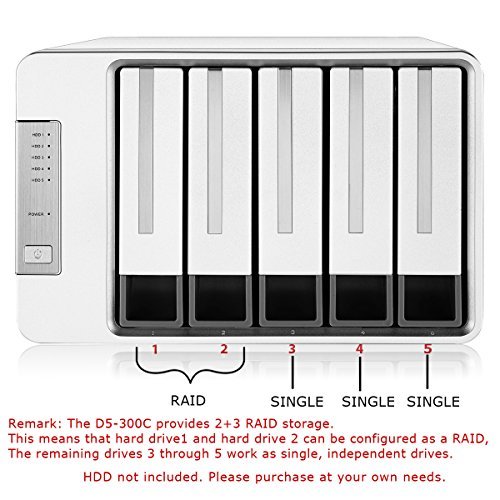
The TerraMaster D5-300C 5-Bay Direct Attached Storage (DAS) device is a diskless model that is priced at $229.99 shipped and backed by a 2-year warranty. This device has five drive bays that are compatible with 2.5-inch and 3.5-inch SATA hard drives or SATA SSDs that are up to 10TB in capacity. The first two drive bays can be run as single disks or as 2-disk RAID 0 or RAID 1 array and the others act as single disks. Setup is simple and TerraMaster claims that you can get speeds of up to 410 MB/s with some drive configurations when a pair of drives are run in RAID 0. If you are looking for a DAS solution with a USB Type-C connection that makes mass storage with RAID easy this might be it!
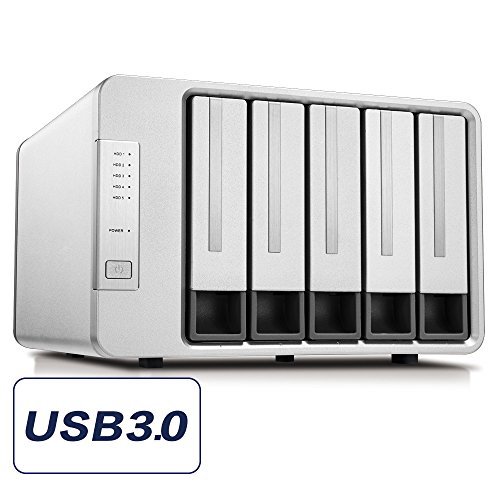
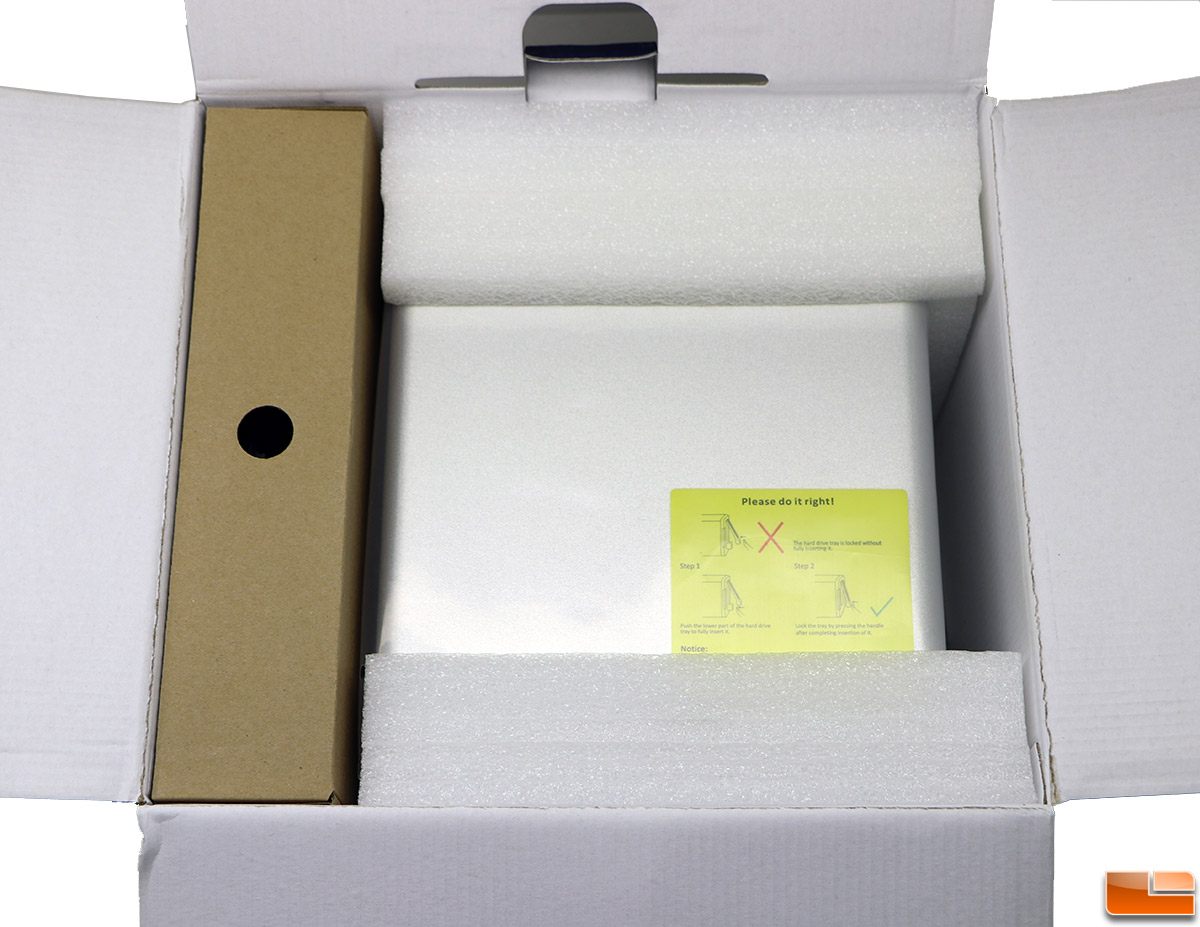
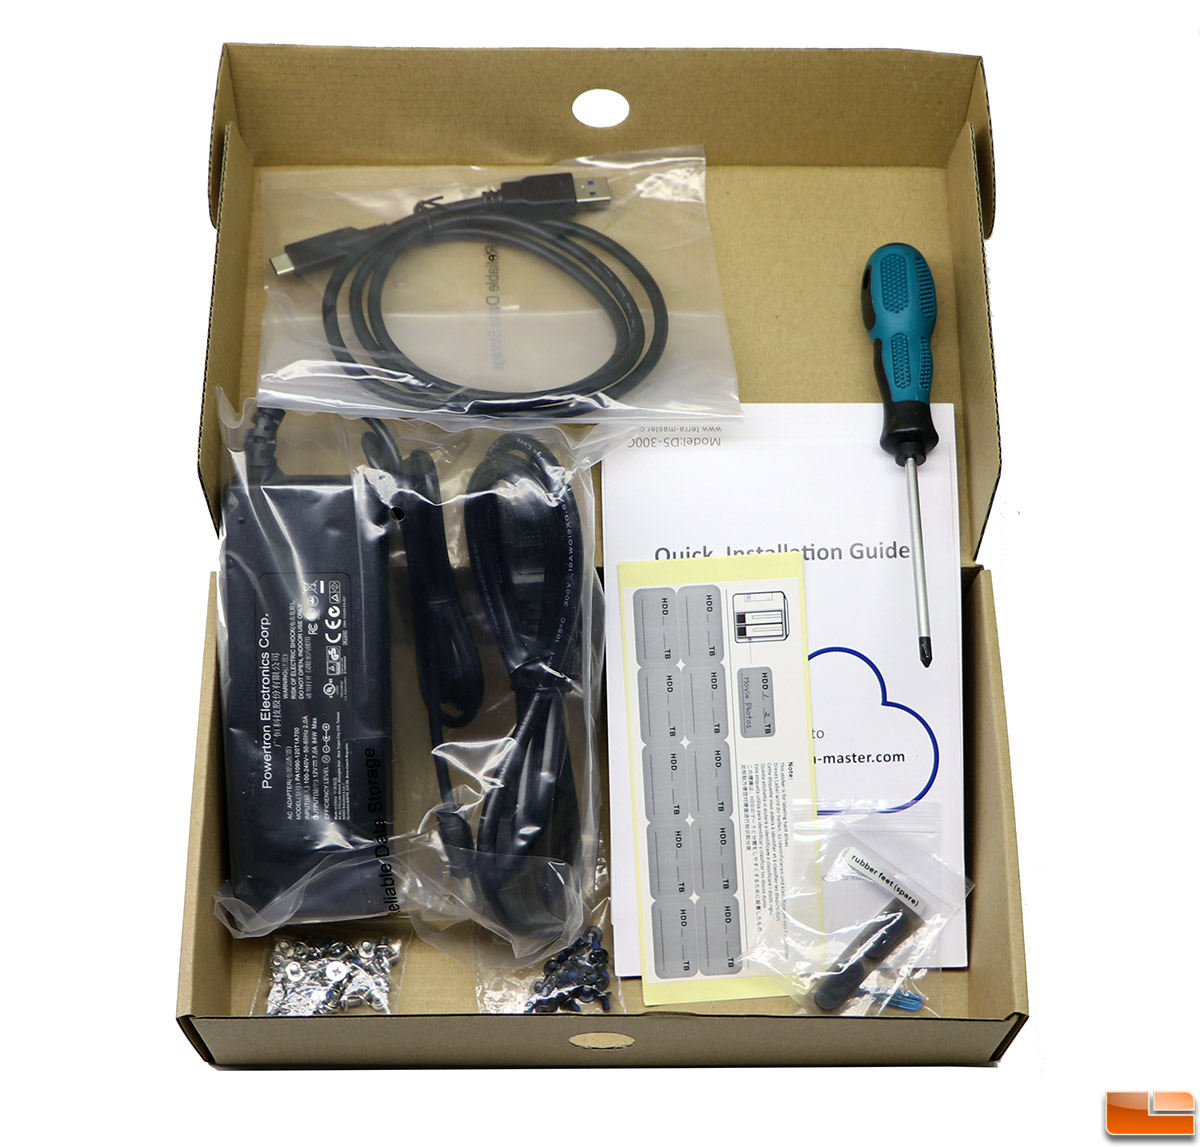
The TerraMaster D5-300C DAS device comes in a plain box and inside you’ll find everything you should need to get started TerraMaster includes the power brick, 40-inch long USB Type-C to USB Type-A cable, mounting screws, screwdriver, drive labels and a quick-start guide to get you up and running.
All you need to do is secure the drives that you’d like to run to each drive cage, slide them into the proper drive bays and then fire up the system. Keep in mind that the D5-300C has 5 drive bays. The first two are RAID capable, and the remaining 3 are independent. This is called a RAID 2 + 3 configuration (2 RAID drives and 3 single drives) by TerraMaster.
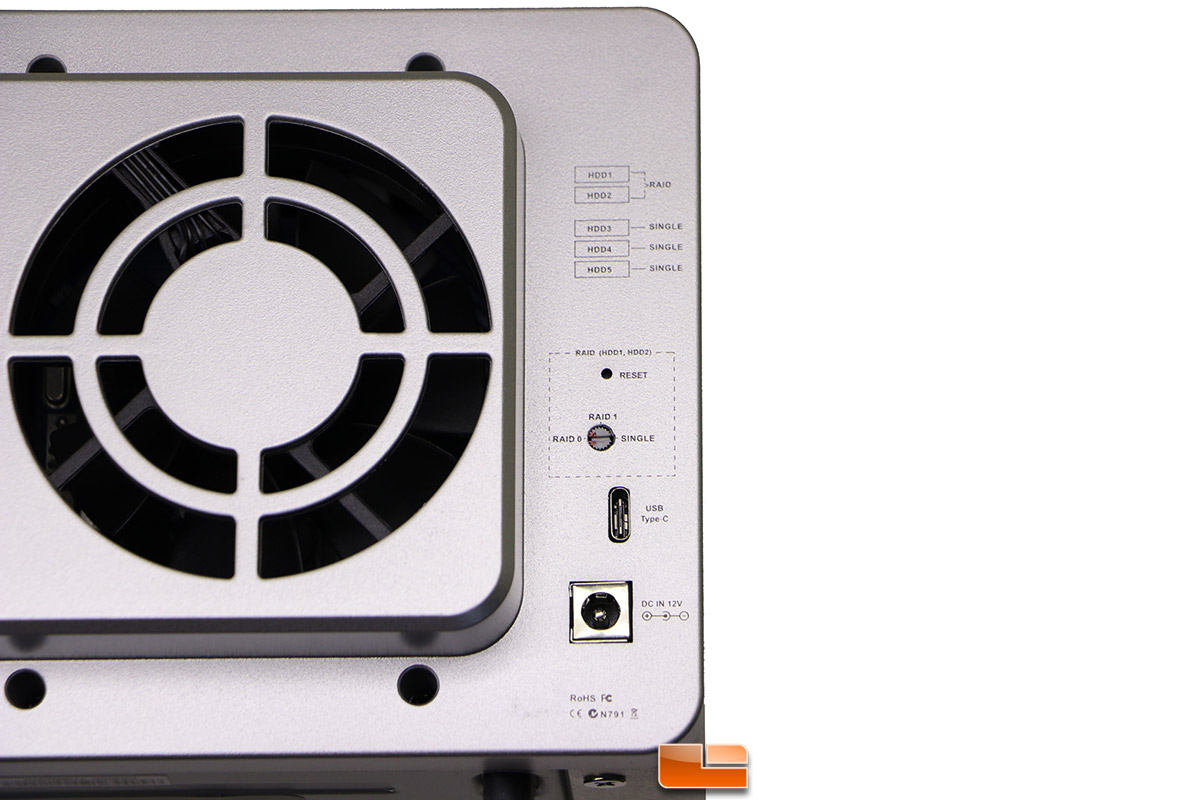
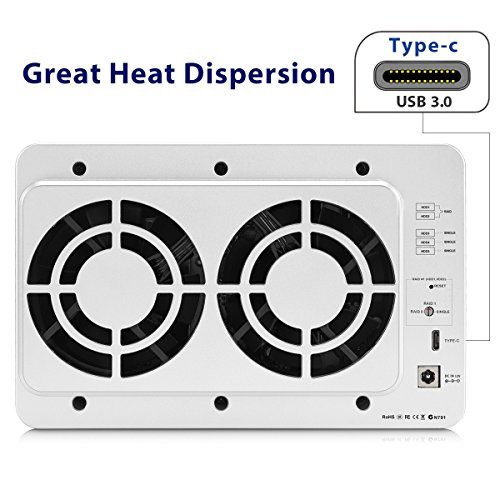
Once you get the drive fired up there is a rotary switch for RAID on the back of the system that needs to be adjusted. If you’d like to run RAID 0 or RAID 1 you’ll need to use the supplied screwdriver to rotate the rotary switch pointer to the desired RAID type. Once you have the red arrow on the mode that you like you need to press and hold the reset button for five seconds for the RAID mode to be set. The front like will blink when this happens and eventually turn green for both of the RAID drives. If you are using an incompatible drive then the RAID mode won’t be set. For example we tried to RAID 0 a couple of 12TB Seagate Ironwolf drives and it wouldn’t work as the max supported disk size for RAID arrays is 10TB. We were able to get the 12TB drives to run in single mode without any issues. Since we wanted to test the speed of a RAID array we ended up using Samsung SSD 850 EVO 1TB SSDs ($299.99) on the TerraMaster D5-300C and has no issues with those drives.
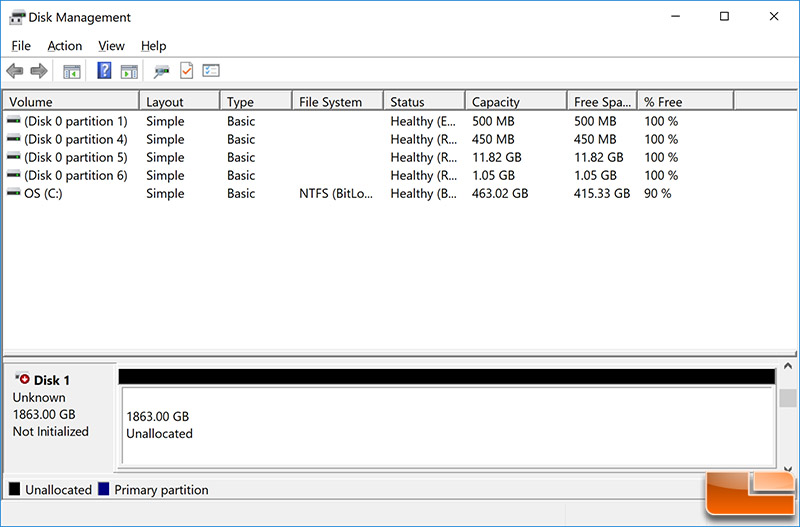
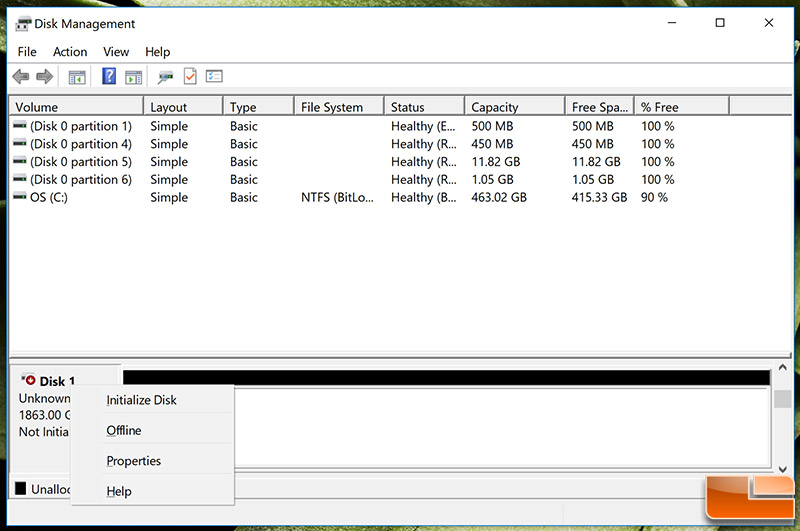
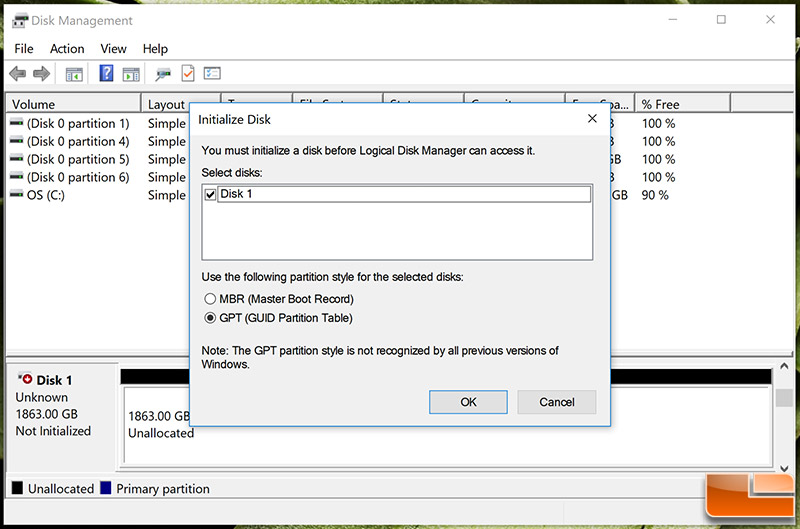
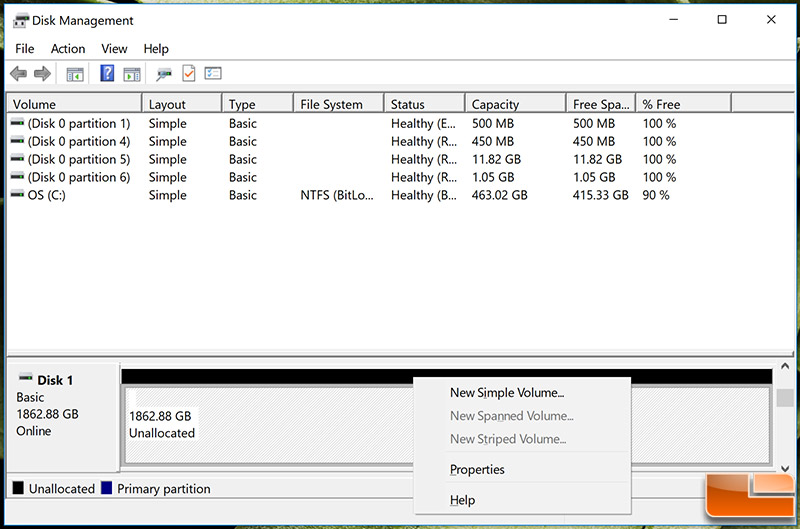
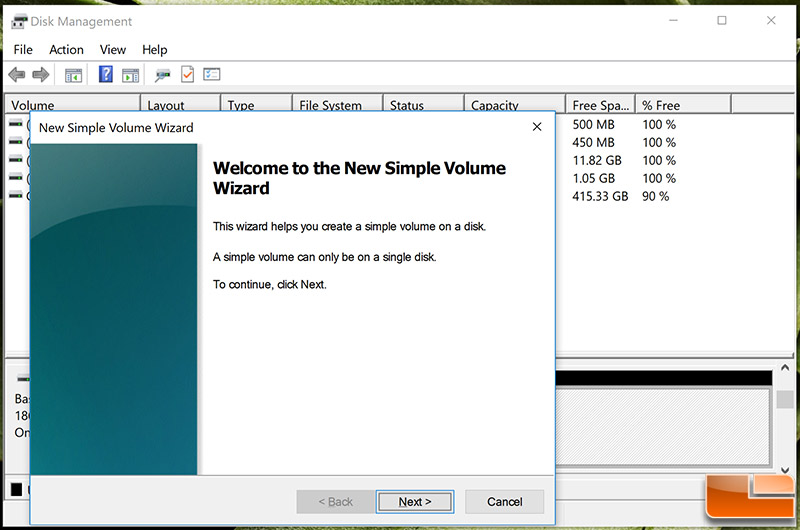
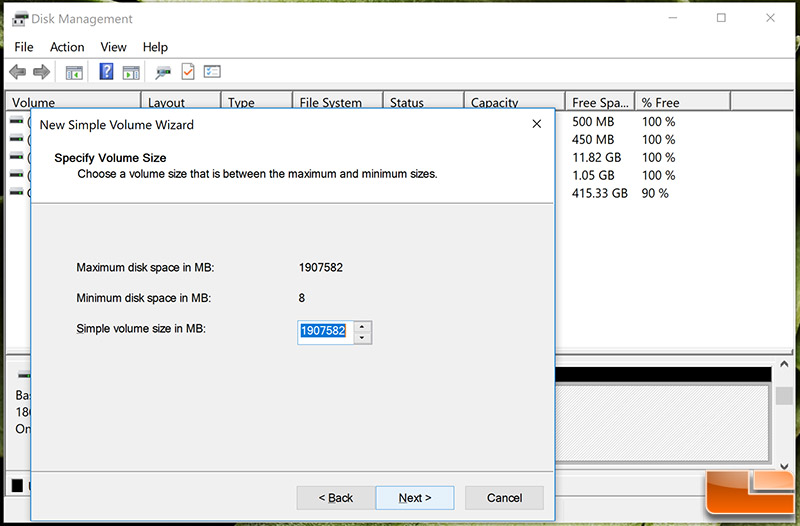
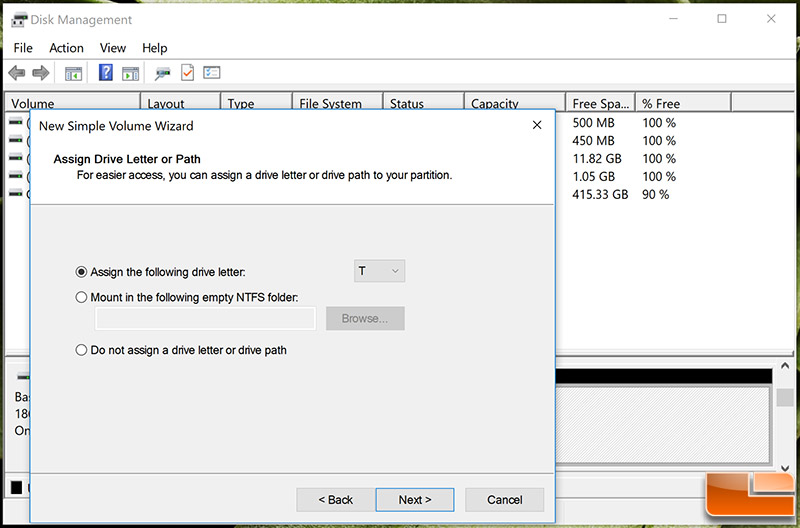
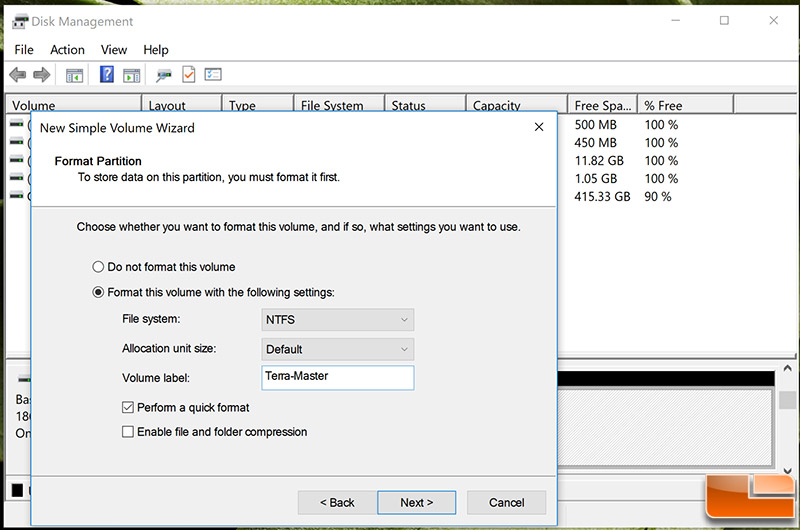
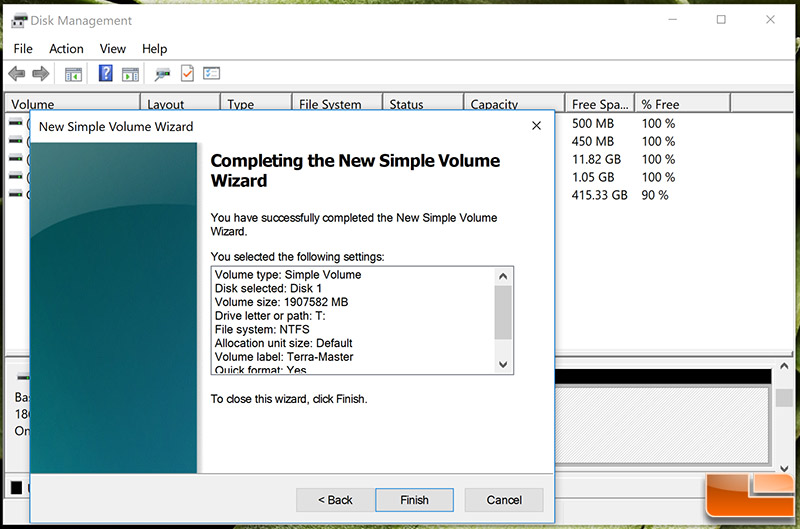
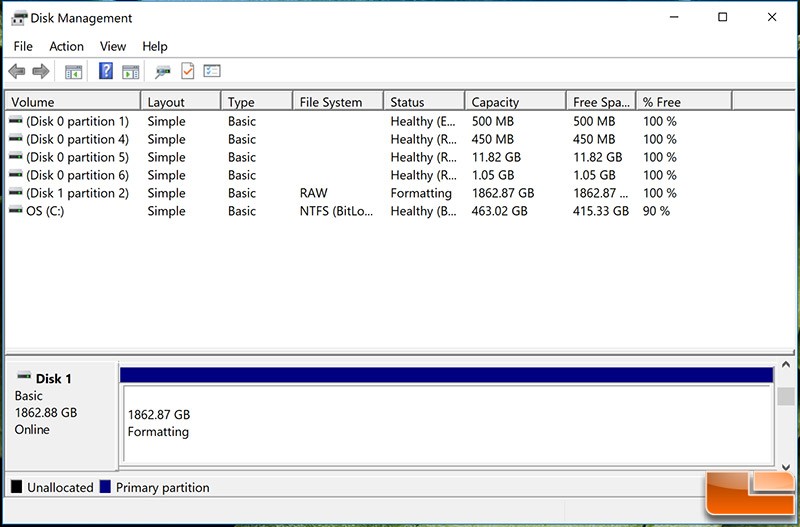
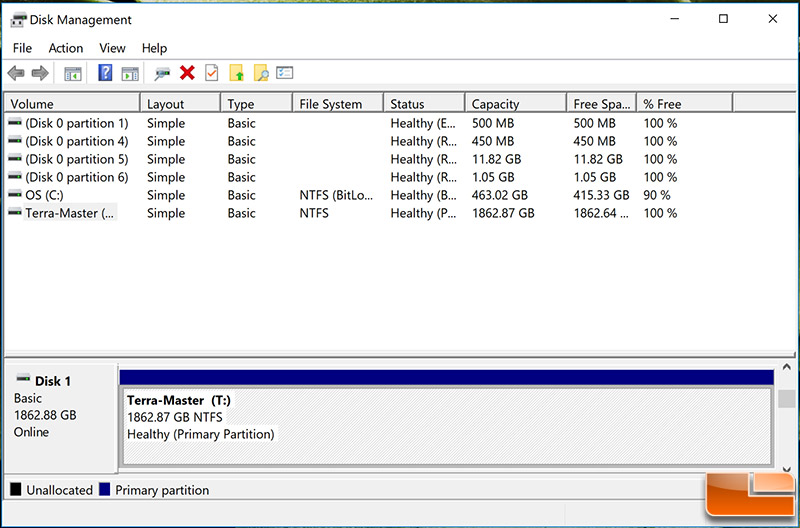
You can follow the setup steps in Windows below that needs to be done after you set the TerraMaster D5-300C to RAID 0 and resetting the device. You’ll need to enter ‘Disk Management’ in Windows 10 to initialize the RAID array, assign it a drive letter and then have it formatted. The process takes a few minutes and after that you’ll be able to access the drive like a normal hard drive on your system. You can also do this for each of the single drives that you may have in the system.
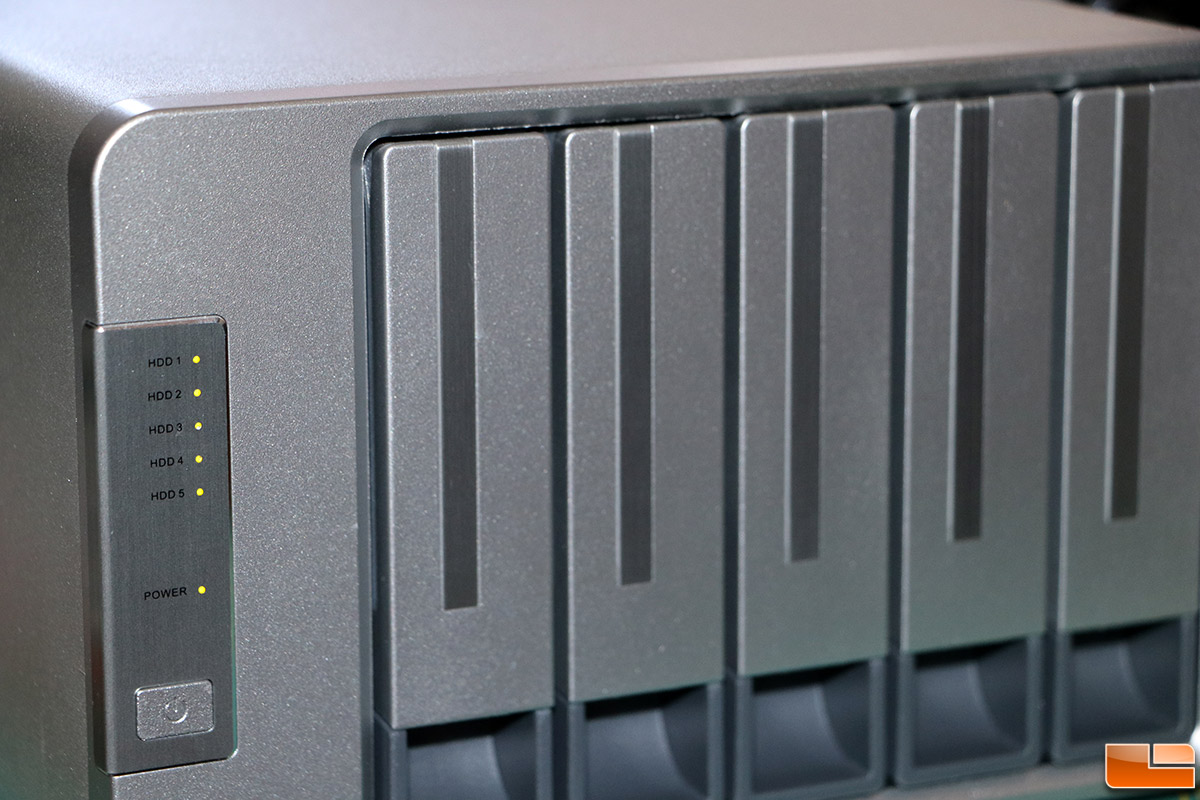
It should be noted that this system operates like a black box and that there is no software or web control panel available for it. This means that there is no way for the user to monitor it other than looking at the lights on the front panel. Here are what the lights on the front panel mean:
- Off: Hard drive not detected/hard drive in sleep mode.
- Green: Hard drive is ready.
- Green Flash:Reading/writing data.
- Red Flash: Hard drive fault/array damage.
- Data Recovery: One hard drive indicator flashes green, the other flashes yellow/orange. (data recovery happens automatically when a faulty drive in RAID 1 is replaced with a good one.)
If you need to power off the unit you’ll need to press and hold the power button for four seconds. This might be too simple for some folks, but for others it might offer the basic storage functionality that they need. The image below shows our test unit with five drives installed and all properly working.
Let’s take a look at the D5-300C performance benchmarks and power consumption numbers on the next page.