OCZ Gladiator Max HDT CPU Cooler Review
Installing the Gladiator Max
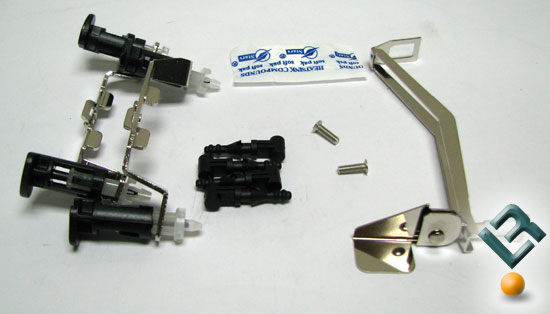
The accessories for the Gladiator Max are pretty simple. It has LGA775 push pin retention brackets, AMD locking clasp, rubber fan mounting grommets, and a small packet of thermal paste.
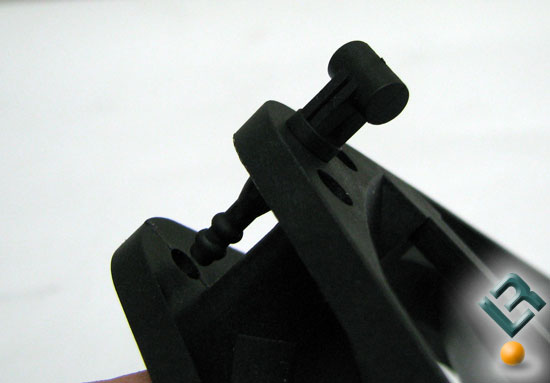
The rubber fan mounts allow the fan to be attached to the cooler fins and not allow the fan body to touch the cooler. This, in turn, reduces noise.

If youre running an AMD setup you have it easy; the Gladiator mounts up just like the stock cooler. Those running with Intel have a little bit more work involved. First, you attach the LGA775 brackets. They are held on with a single screw.

Now, if you were thinking about slapping the fan on and sticking it on your board, not so fast. The fan blocks 2 of the 4 push pins. So to install the cooler, and save yourself from a massive headache, remove the board from your case. This will allow you better access to put the fan on once you have the cooler attached to the board.
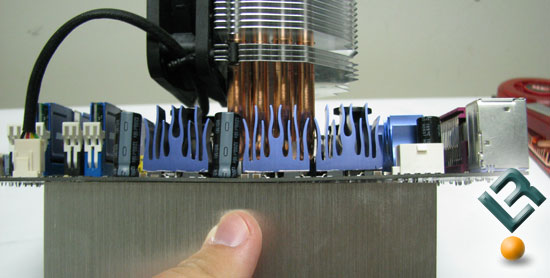
The Gladiator Max uses the stock style push pin retention system. This system is known for bowing motherboards, and this time is no different. While I have seen worse, there is a definite bow in the board. It also took a little bit of pressure, more so than the stock HSF requires, and this may be a little nerve racking for some. This is just another reason to have the board out of the case. This way, you can support the back of the board while pushing on the pins.
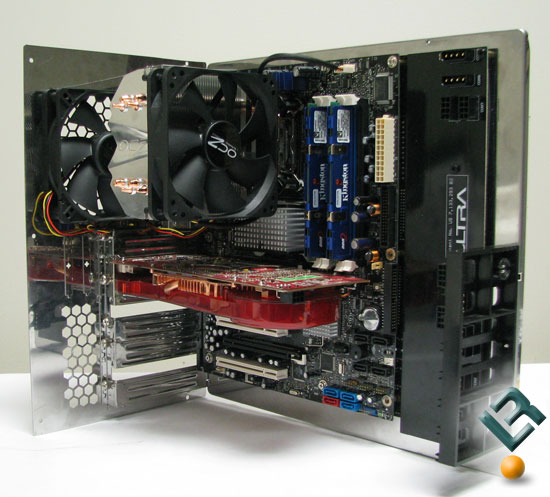
Here we have the Gladiator install on our Intel test system. The Gladiator Max cleared all components without any issues.
Comments are closed.