NZXT S340 Mid Tower PC Case Review
NZXT S340 Mid-Tower PC Chassis Build Experience
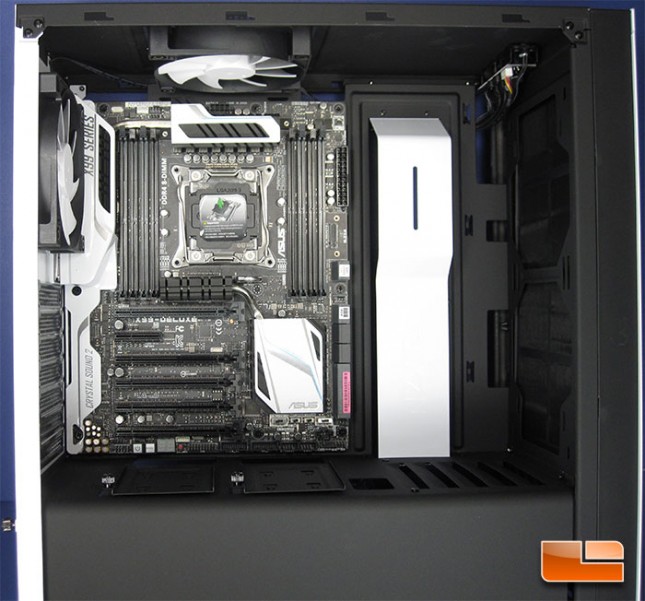
Once it time to build a system in the NZXT S340 chassis, I decided to use an ASUS X99-Deluxe motherboard. The black and white combination on the ASUS X99-Deluxe would look sharp in the S340. Installing the motherboard was a breeze, the I/O shield snapped into place with ease, just as it should. All of the standoffs on the motherboard tray were spot on and lined up perfectly. The NZXT S340 will support a motherboard up to a full size ATX board, and down to a mini-ITX. This gives you endless possibilities for motherboard choices. The full ATX ASUS X99-Deluxe definitely fills up the motherboard tray without much room to spare.
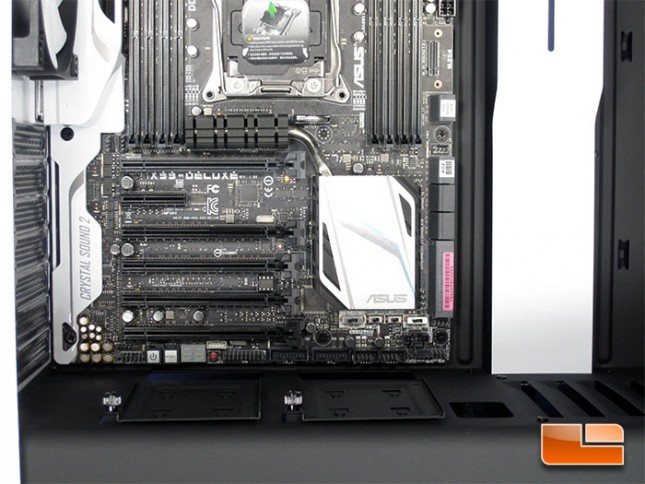
Taking a little bit closer look at the bottom edge were the ASUS X99-Deluxe and the NZXT S340 meet, there certainly isn’t much room to spare.
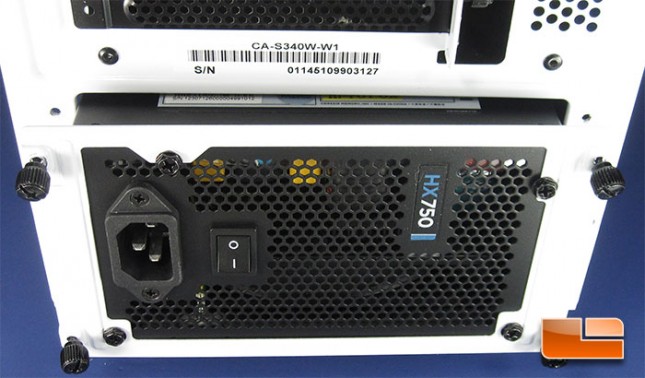
The power supply is easy to install. The cover comes off of the back of the NZXT S340 and the power supply slides right in. I opted to put the PSU bracket on after installing the Corsair HX750, but it can be put on prior as well.
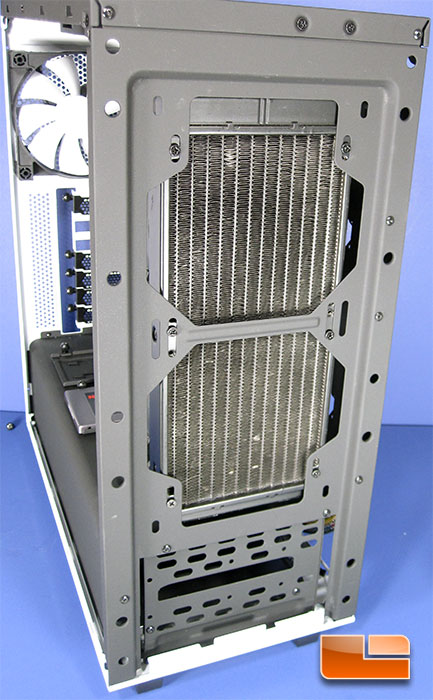
Installing the rest of the components for the system was a breeze. The Corsair H100i mounted into the NZXT S340 with no issues whatsoever. All of the holes on the front of the chassis lined up perfectly and made installing the radiator a cake walk.
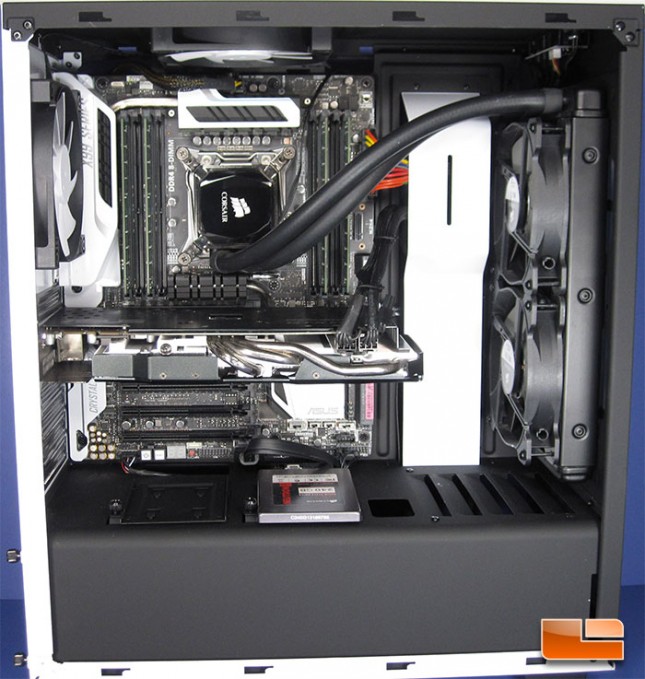
The cover that NZXT has built into the S340 between the radiator and motherboard, really does a great job of cleaning up the inside of the case. All of the wires that are running from behind the motherboard tray are covered up and nearly invisible. If it weren’t for the multicolored ATX power wires, the wiring would nearly blend in. 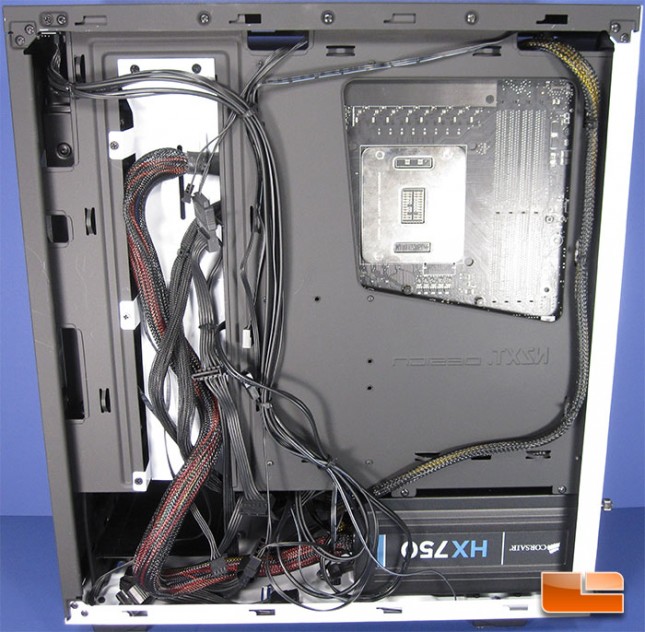
While the wiring job on the inside of the NZXT S340 looks nice and clean, the back of the motherboard tray looks like a bit of a rats nest. Despite the look, all of the wires are run and everything is plugged in and the system can be fired up.
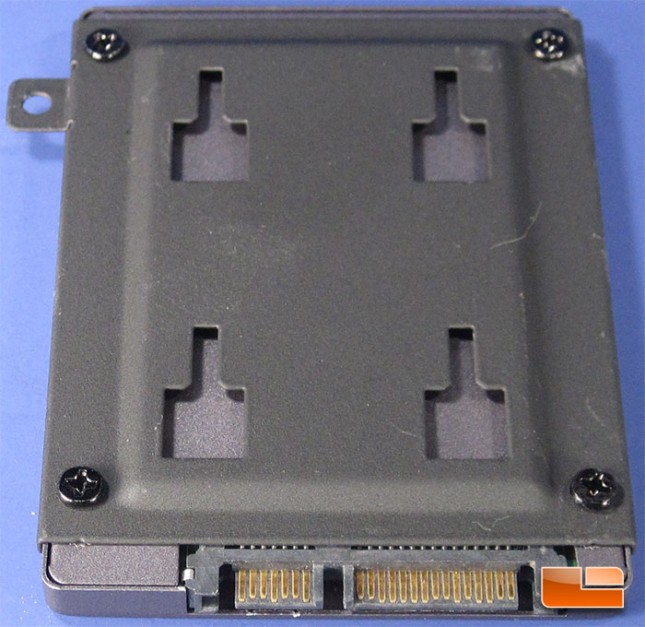
The SSD fit into the drive tray without any issues, the four screw holes lined up perfectly with the Corsair SSD.
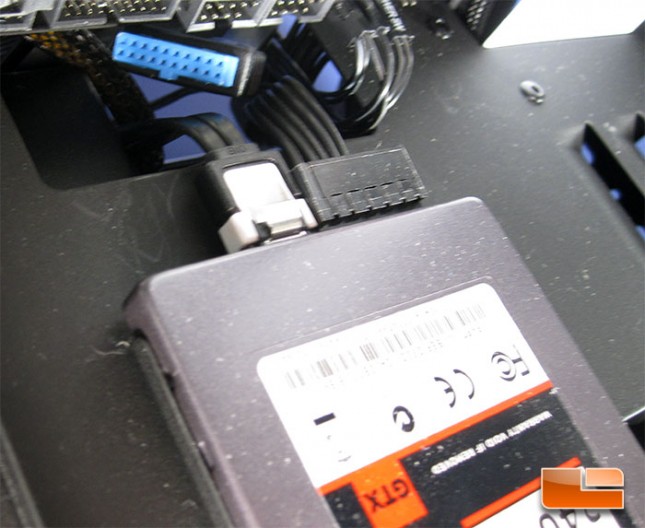
The build wasn’t completely without issues. The cut out behind the SSD’s is a little farther away from the SSD than I would have like to see. The SATA cable doesn’t have any issues, but the power cable has some pressure on it from the chassis.
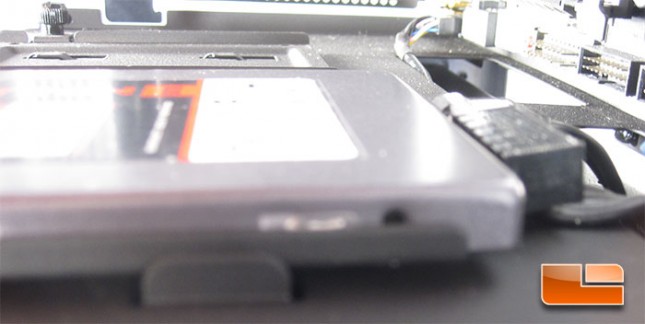
The wires on the power cable come out of the bottom of the plug and run into the chassis. You can see from the above picture that the plug is being pushed up by this rather than fitting nicely. If I were leaving this build together, I would have to come up with a better plan.