Looking At the ForceWare Release 90 Beta Drivers
Keeping it simple

Back many years ago, at least in computer hardware, driver installation was a hassle because you needed a specific driver for the exact video card that you bought. NVIDIA recognized this problem and introduced a novel idea, the Unified Driver Architecture. A single driver package that automatically installed the correct driver for your NVIDIA video card. On top of that if you were to swap out your TNT2 and replace it with a GeForce 2 Ultra, Windows would automatically install the new card without having to track down or re-install a driver. To top it all off NVIDIA had a very aggressive driver team that was constantly updating their drivers to give you more and more performance for not only the newest cards, but their older cards as well. Control panel functionality continued to improve and grow in depth and the gaming world rejoiced. Back before the Detonator 3 drivers you had to edit the registry to change default OpenGL Anti-Aliasing setting, so as you can see we’ve come a long way! Over the years the NVIDIA control panel has evolved slowly and that is a great thing. I mean it would be quite annoying if all of the settings you were used to seeing were in different places every few driver releases.
The goal of a control panel should be easy to access menus and provide a clear determination of what a given setting will do. It should also give you the power to make those changes quickly so that you can get back to more important things like blasting your friends to bits. What NVIDIA has introduced is an update to their control panel that gives a wider focus of not just your video card settings, but settings of the entire system. With NVIDIA having a wide array of products there are several applications running, each of which control different settings. Since you need an NForce motherboard to run your SLI video cards you can use Ntune for overclocking and adjusting a host of other system functionalities. Now with the new control panel you’ll have just one easy to reach place to get to every function of your system.
Getting started
Accessing the control panel is as easy as always. A simple right click on the desktop and you see “NVIDIA Control Panel.”
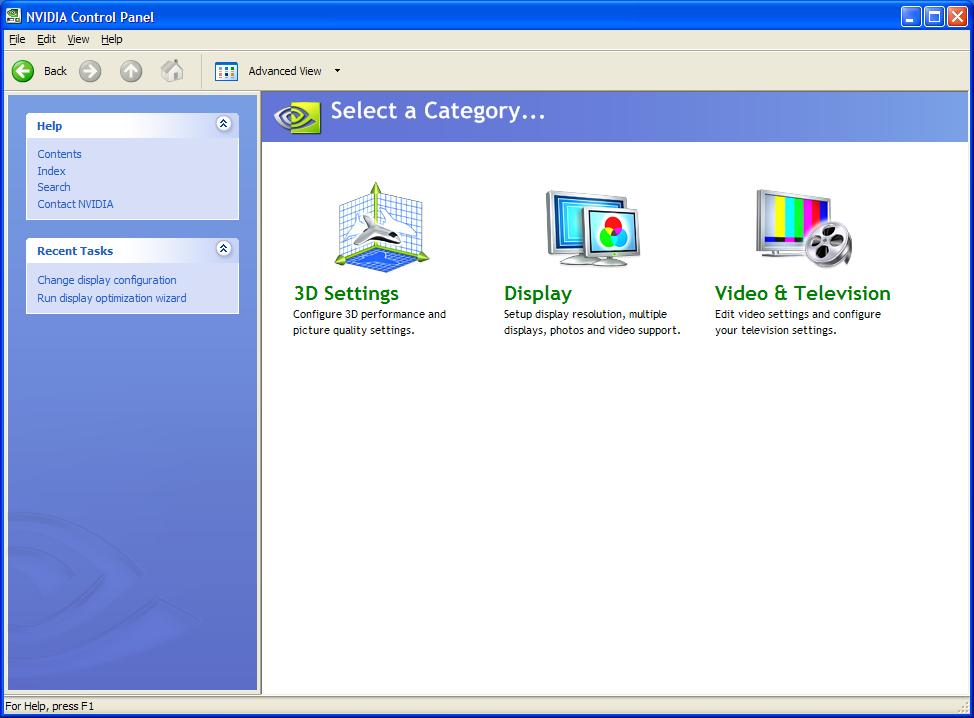
The first thing you notice is just how large the interface is. Each of the three options we are presented with has a brief description of what you’ll be able to change.
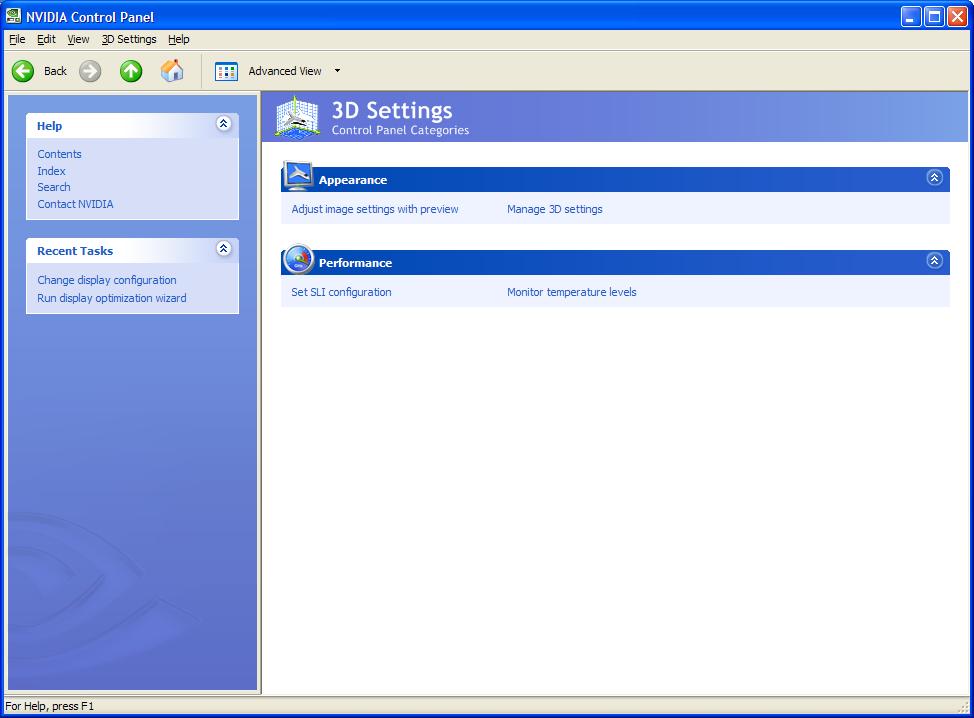
While under 3D settings there isn’t much difference between the standard view and the advanced view, being able to get one click access to the Anti-Aliasing and Anisotropic Filtering settings requires the advanced view. Let’s take a look at “Adjust image settings with preview” as that’s where a novice can make changes and instantly see what each function is capable of.
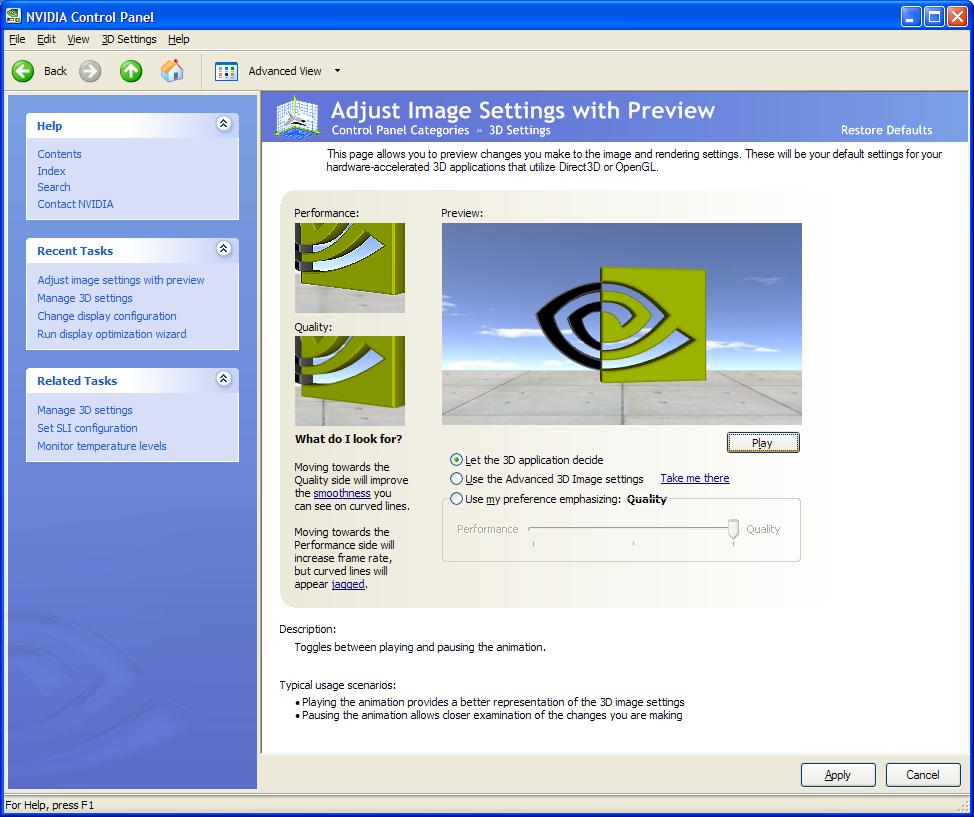
We are presented with a rotating NVIDIA logo and two images on the left that clearly show differences in aliasing and ground textures and what impact it will have on your experience. The radio buttons give you a few options of what can be changed and it’s worth noting that the default “Quality” setting is the same from the older Forceware drivers, meaning that some optimizations are enabled. Clicking “Take me there” next to the advanced 3d settings takes you to a familiar looking page.
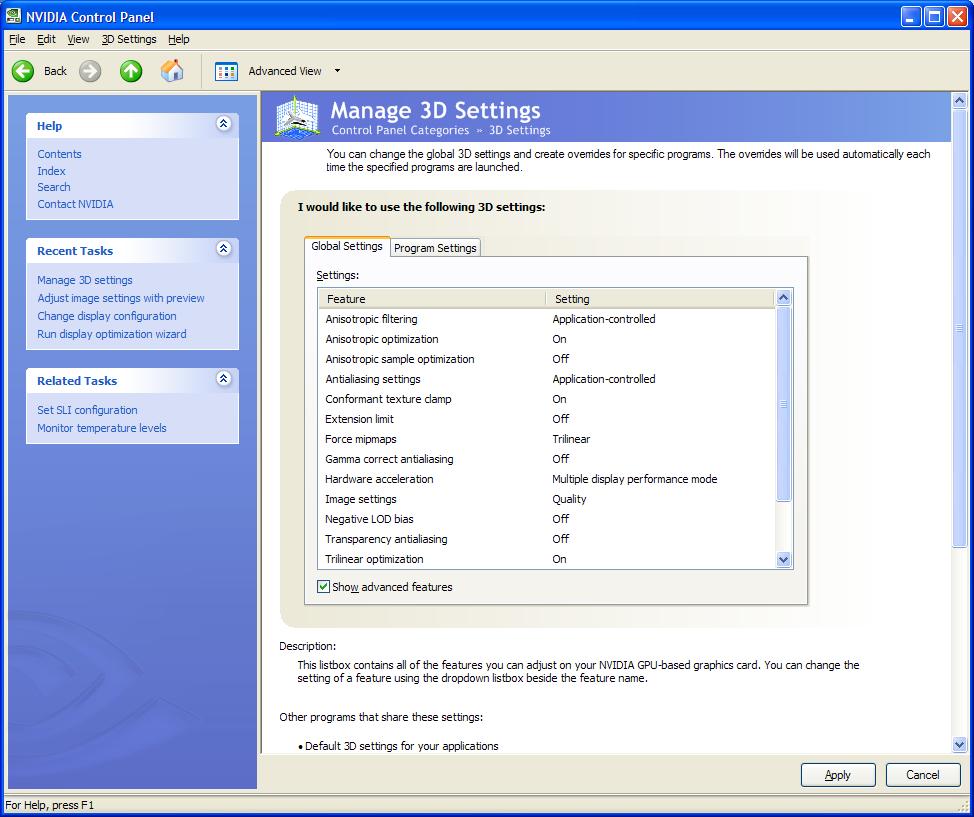
As it says below the box, these are all of the 3d features that can be adjusted on the NVIDIA based GPU. Simply clicking on a feature presents a drop down list item with all of the variables and sliders
Comments are closed.