Kingston DataTraveler 2000 Encrypted Flash Drive Review
Using the Kingston DataTraveler 2000
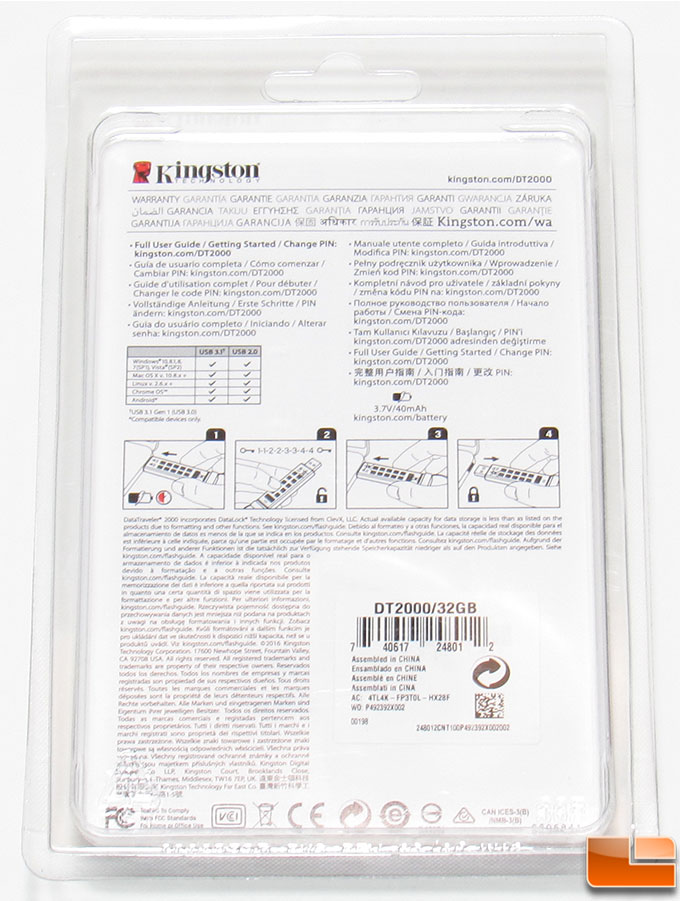
Everything you need to know on how to use the Kingston DataTraveler 2000 is found on the user guide that comes on the drive. However, how do you get to the user guide when the drive is encrypted. On the back of the packaging, Kingston provides a little information on how to do it, with their 4 little pictures, #2 is the one you would want to use to decrypt the drive initially, then you would want to set your own PIN right away.
DT2000 PIN
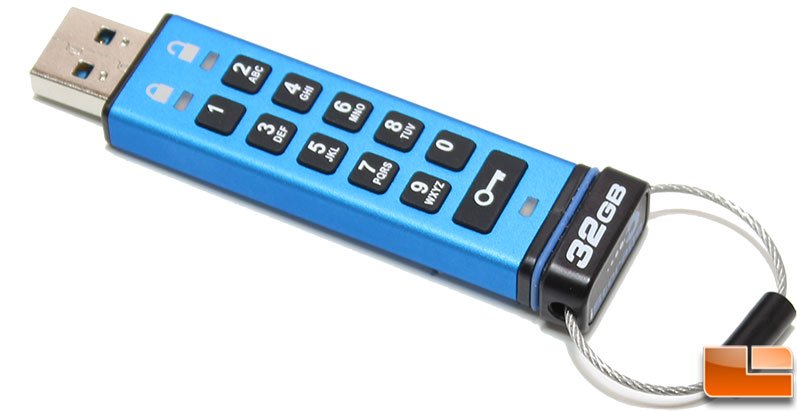
Setting a personalized PIN is very easy on the DT2000, once you know the process. It does include a 10-second timeout on the steps, so you will want to know what you want to use as your personal PIN. There is no recovery in the event that you forget it, so be sure it’s something memorable. Using the Alphanumeric keypad you can use anything you want, between 7 and 15 characters. A couple of restrictions is that it can’t be a single character repeated (1-1-1-1-1-1-1), and it can’t only be consecutive numbers (1-2-3-4-5-6-7). Once you unlock the DT2000 with the current PIN, you’ll press the KEY button twice then enter a new PIN. Press the Key button twice again, and confirm the new PIN. If the LED turns Green, it was successful.
If you happen to forget your PIN, you have no choice but to delete the data and start over. You can do this by entering an incorrect PIN 10 times, at which time it’ll automatically reset to factory settings. Or you can manually reset the drive by doing a series of commands.
- Press and hold 7 and KEY. Release both
- Press 9 three times
- Press and hold 7 and KEY. Release both
DT2000 Access Modes
The DataTraveler 2000 includes a few different access modes as well. You can enable Read/Write, Read Only, and adjust the Timeout Lock. Like setting the PIN, each of these is very easy once you know the process, each of them begins with entering the current PIN. Then pressing the KEY button three times, enter mode access. Enter the code for the mode you want to enable, and press the KEY button again.
- Read Only: 76
- Read / Write: 79
- TimeOut Adjustment: 85
- After entering the code and pressing the KEY button you enter the timeout period with 2 digits in terms of minutes. Press KEY button to enable the timeout.
- Disable the TimeOut with 00 minutes
Kingston has done a great job at making the DataTraveler 2000 very user friendly. The only option I’d like to see included on the DT2000 is a secondary PIN option, that is already configured for Read Only.
Now let’s move onto taking a look at the how the DT2000 performs.