Cooler Master Storm Stryker Case Review
Storm Stryker Interior Thoughts
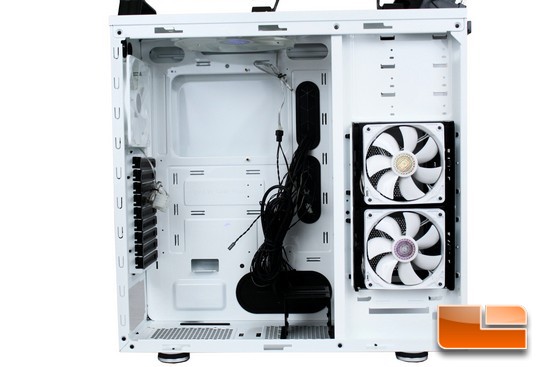
Since I made my way around the exterior of the Storm Stryker chassis, it is time for me to make my way to the interior portion of this chassis.
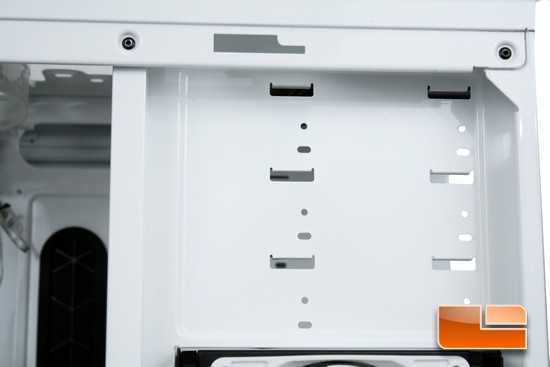
Starting off on the upper 5.25 bays, we can see that these bays use a standard mounting configuration.
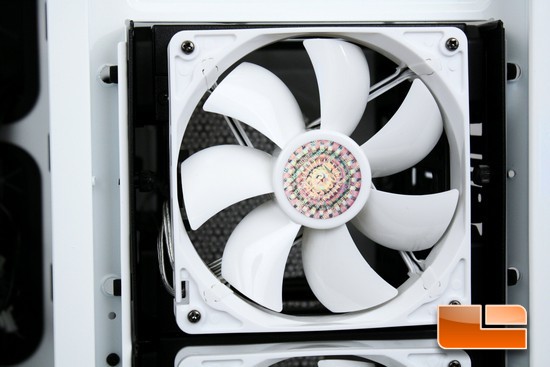
Cooler Master includes two four in three HDD/SSD carriers, and each of these carriers utilize a removable 120mm fan to help cool our HDD/SSDs.
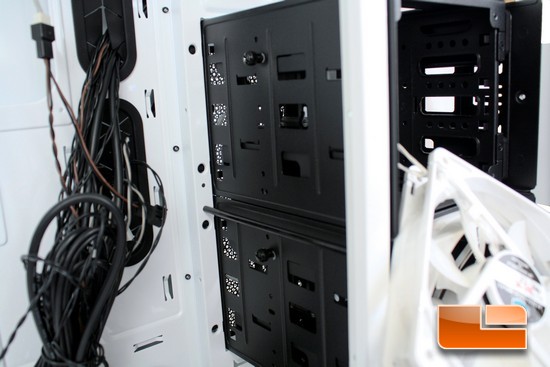
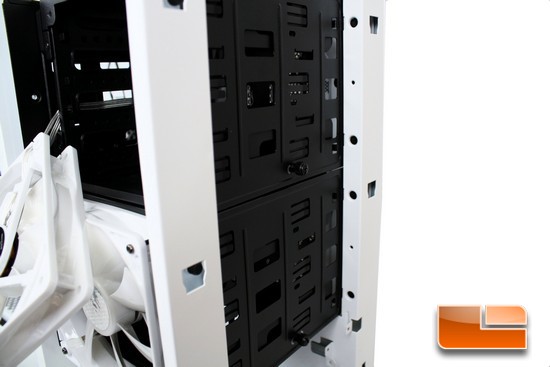
Both of the four in three HDD/SSD carriers can be removed by removing the two thumb screws that secure them to the removable 5.25 device bay sides. There will be 1 on each side of each HDD/SSD carrier.
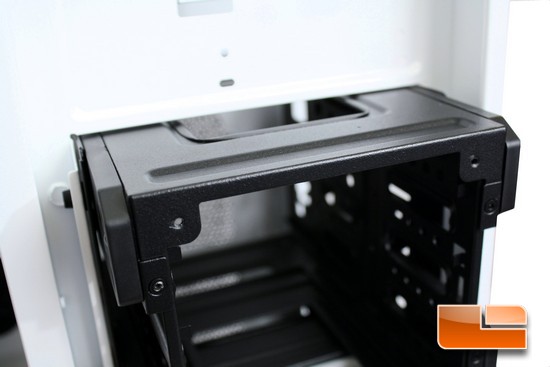
After removing the thumb screws we can now remove the four in three HDD/SSD carriers from the chassis.
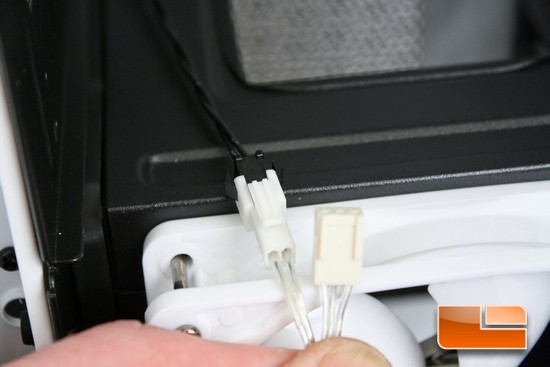
Now each fan uses two connectors, one is to power the fan itself, while the other connector is for the LEDs on the fan. They will need to be disconnected, if you wish to completely remove the HDD/SSD carriers.
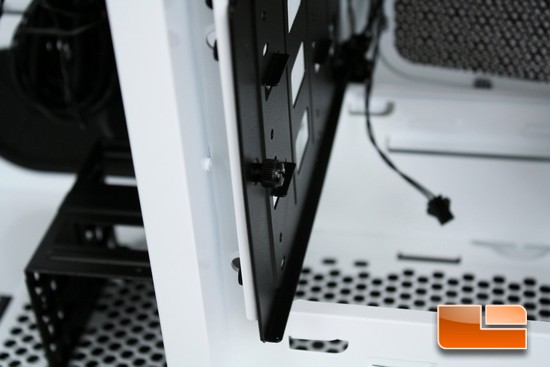
Now time for me to remove the four 5.25 device bay sides; there again will be two thumb screws that will secure these device bay sides to the chassis.
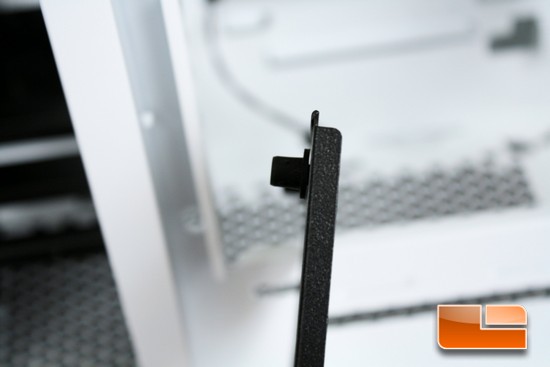
Each of the 5.25 bay device sides use a rubber isolator to help reduce any unwanted noise from our HDD/SSDs.
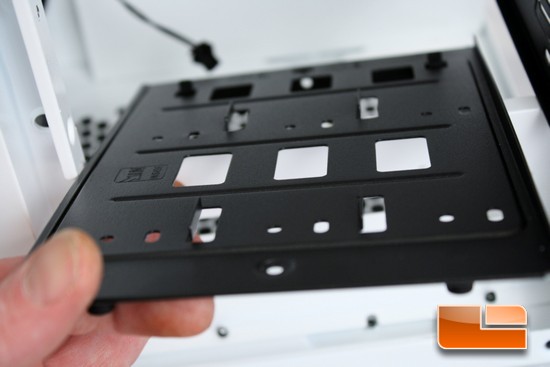
These can also back up as a fully functional 5.25 device bay.
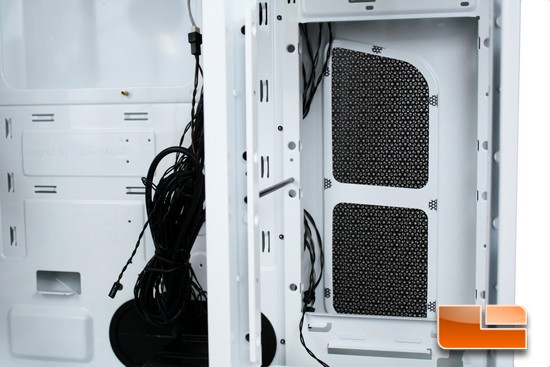
This is what I have currently with all of the four in three HDD/SSD carriers removed alongside with the 5.25 device bay sides removed. Instead of having the four in three HDD/SSD carriers point to the side of the chassis, I will have them point towards the front of the chassis.
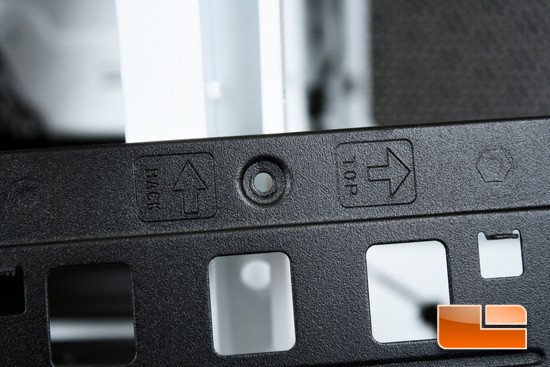
On each of the 5.25 device bay sides is a guide that these sides can only be installed in a specific way.
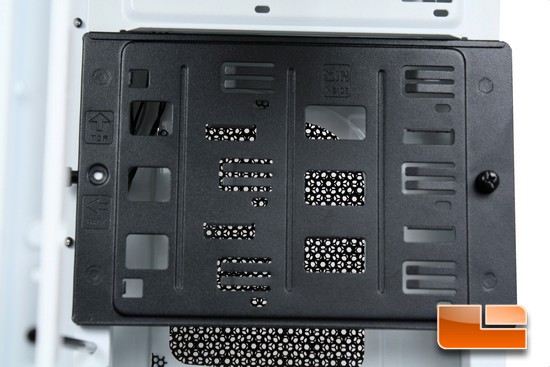
Now just install these device bay sides towards the sides of the four posts of this chassis. And secure it fully to the chassis.
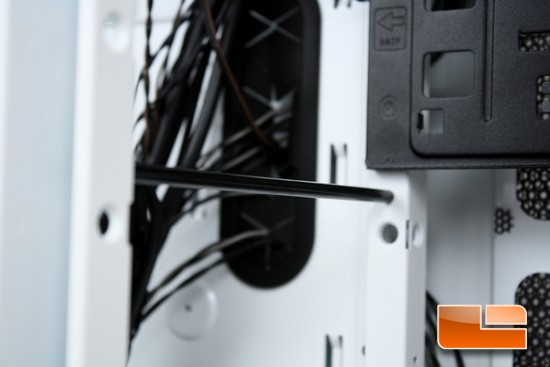
If you want your HDD/SSD carriers to point towards the front of the chassis, this support needs to be removed. There is a single screw on both sides that secure it to the chassis.
After you removed the above support bar, and get all of the device bay sides back in the chassis we can install the four in three HDD/SSD carriers.
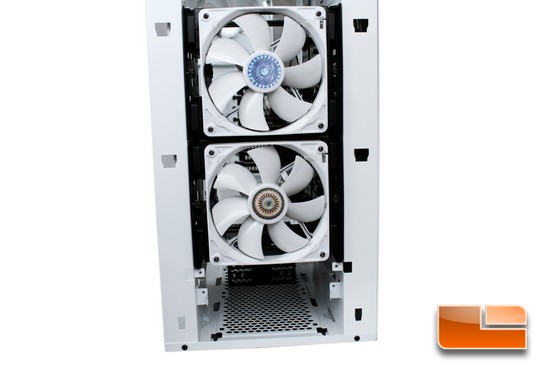
And there you have it, the four in three HDD/SSD carriers, and the 5.25 device bay sides have been rotated towards the front of the chassis.
This procedure looks/sounds more complicated then what it really is, it just requires a little bit of time and patience.
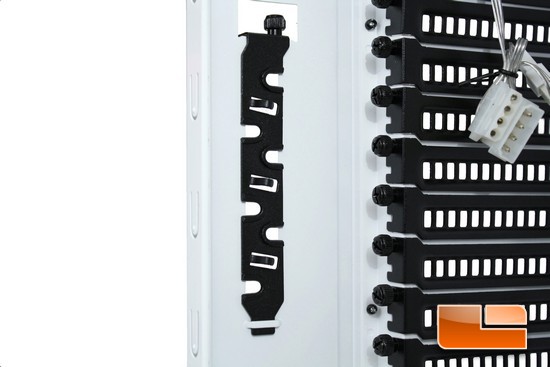
Looking at the included peripheral securing mechanism that Cooler Master includes on the Storm Stryker chassis. As we can see it is nothing more than a modified PCI expansion bay cover. It is a simple deterrent that should provide the necessary security to keep our peripherals from growing legs and wondering off.
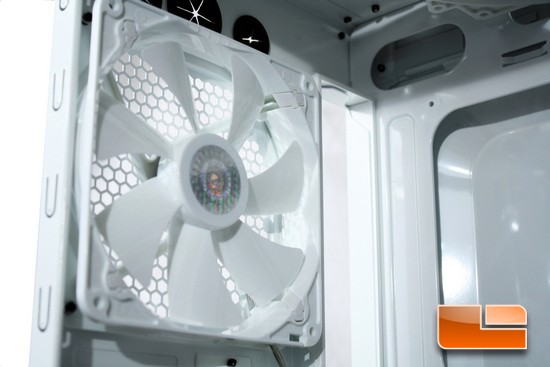
Looking at the rear 140mm exhaust fan, if you have not noticed that all of the fans on this chassis are completley white.
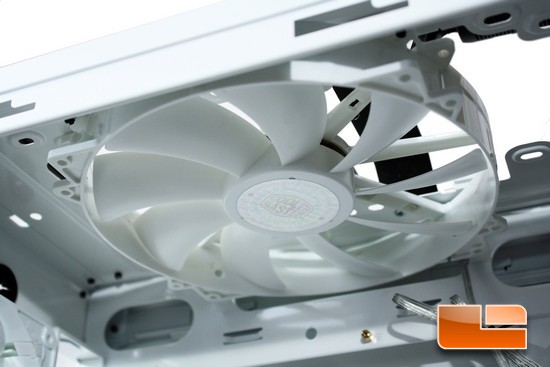
A quick look at the included upper 200mm exhaust fan.
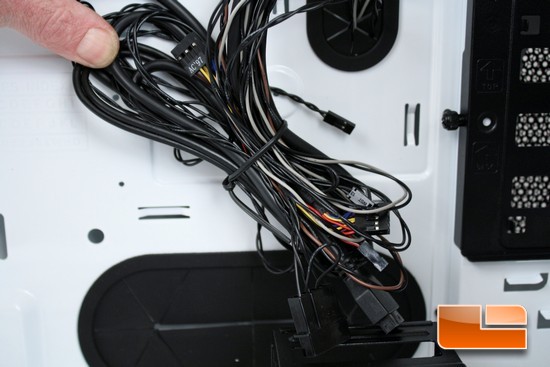
The bundle of wires that connect to the fans and the entire front IO ports of this chassis.
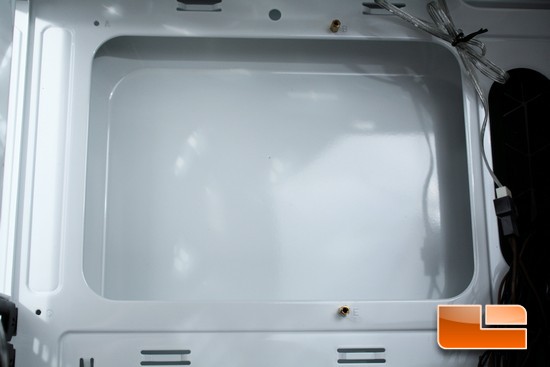
The CPU cutout on the Storm Stryker chassis is large enough to handle just about any computer motherboards configuration or type of motherboard on the market today.
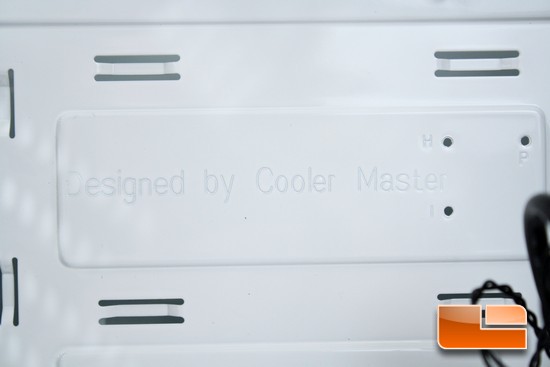
Imprinted on the motherboard tray is where Cooler Master makes sure we all know who built and designed this chassis.
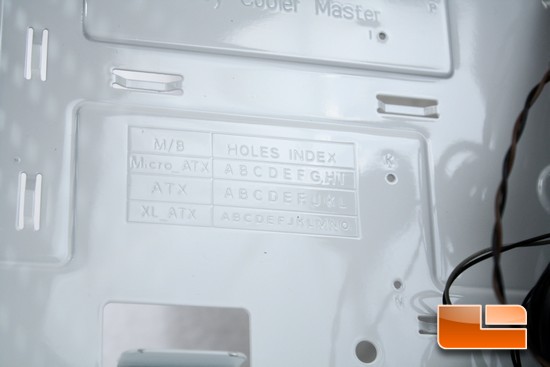
And right below the Designed by Cooler Master, is a quick motherboard installation reference guide.
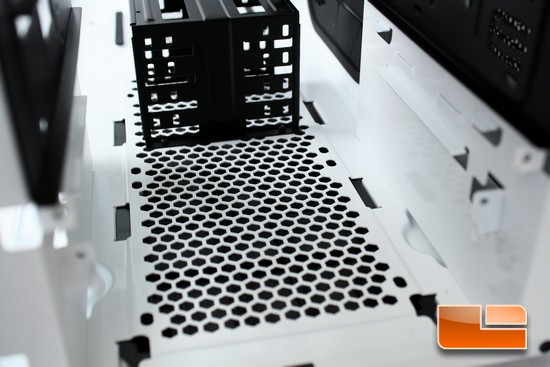
Right below the 5.25 device bays is where we can install two 120mm fans.
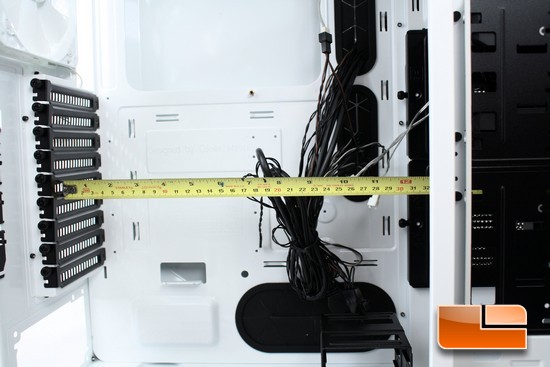
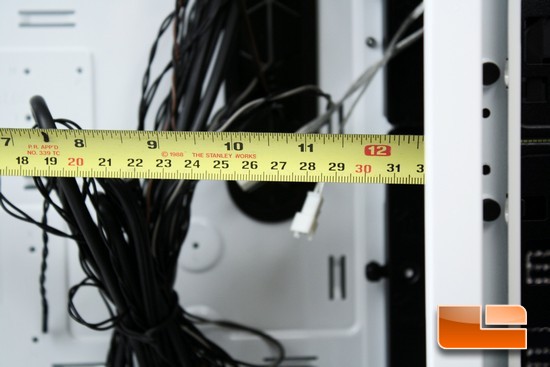
Measuring from the PCI expansion ports to the back side of 5.25 device bay support we get right at 12.5 of clearance for us to install our video cards with.
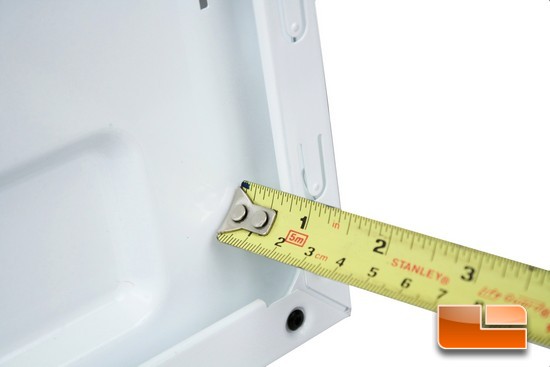
Measuring the area behind the motherboard tray, we get right at 5/8 of room to hide our PSU power cables. Being that the both side panels extrude outwards I will not be overly concerned with available room to hide all of my power cables from the PSU.
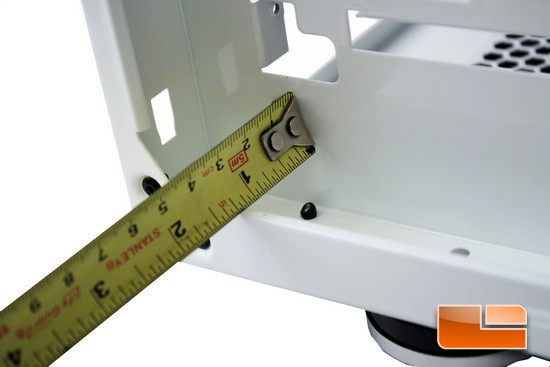
Now if I measure the amount of room that is on the backside of the 5.25 device bays we get roughly 1.25 of room to hide our PSU power cables and SATA DATA cables.
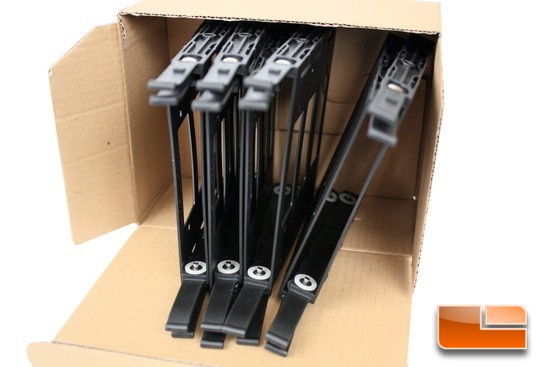
There was a little box that was just placed inside of this chassis; this is for us to mount our HDD/SSD to. There are a total of eight of these individual HDD/SSD carriers.
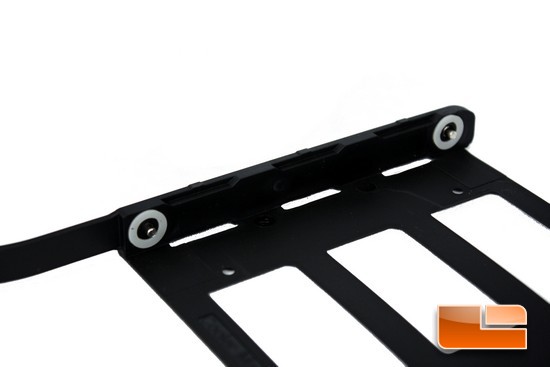
Each of these individual HDD/SSD carriers are a tool-less design for the larger 3.5 HDDs.
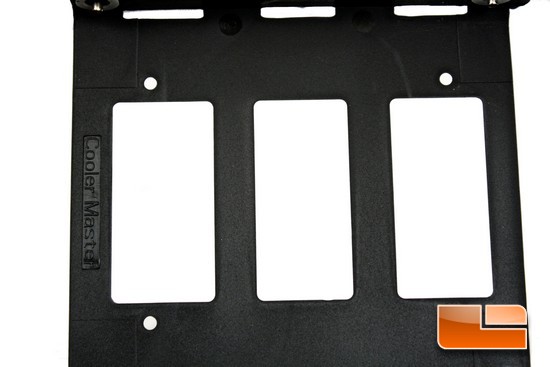
Right directly in the center of these individual HDD/SSD carriers are mounting holes for our smaller 2.5 HDD/SSDs. I like how Cooler Master molded the plastic to have their name in it. This helps years later when you are trying to find parts when you go to expand your storage devices or go to sell the case.
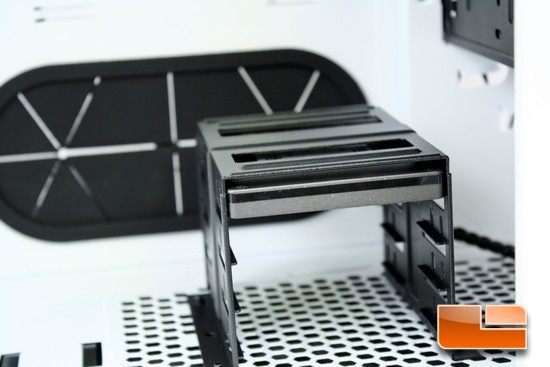
Sitting just behind the 5.25 device bays is a smaller 2.5 HDD/SSD carrier. So counting up all of the HDD/SSD installation options we can install 8 3.5 HDDs, or up to 12 2.5 HDD/SSDs into this chassis, not counting the front X-Dock. The smaller 2.5 laptop HDDs has the same exact bolt pattern as the 2.5 SSDs.
I would like to add that this chassis is solidly built, and that all of the edges of this chassis were rounded off to keep me from shredding my hands and arms as I made my way around this review of the Storm Styker chassis.

Comments are closed.