Building a Whitebox Notebook: Part 2
Introduction:
In Part 1 of our three part notebook series we showed what pieces were needed to build your own “custom” notebook. Once you get all the pieces for your notebook you then just have to put it together! While many DIY (Do-It-Yourself) users may feel overwhelmed building a notebook — it is really quite simple. The only tools you will need for the project is a screwdriver set, tweezers, and some space to get everything put together.
What You Get w/ The Barebone Notebook:
|
|
|
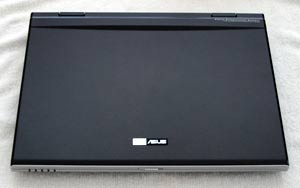
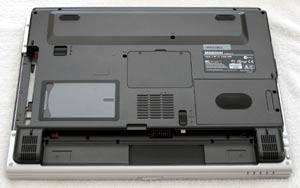
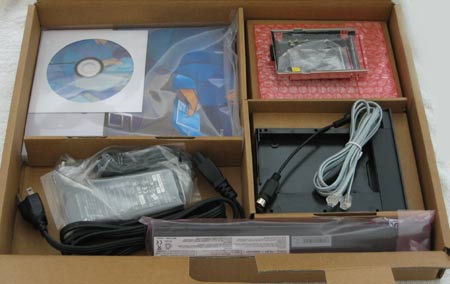
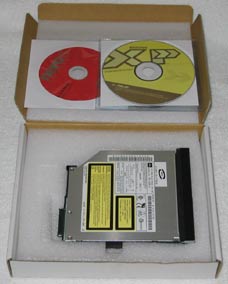
Our ASUS M6N notebook came looking like a ready to use notebook, but it’s missing all the key hardware! The above images show what the notebook top and bottom will look like before you start adding the parts you selected. The photo on the lower left shows what ASUS includes with the ASUS M6N notebook. In this box we found the detailed user guides, driver CD’s, hard drive tray, battery, power cables, phone & video cable, as well as the filler plug (if you don’t use an optical drive). The lower right image shows our CD-RW packaging.
|
|
|
Getting the KeyBoard Off:
|
|
|
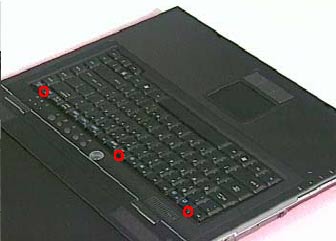
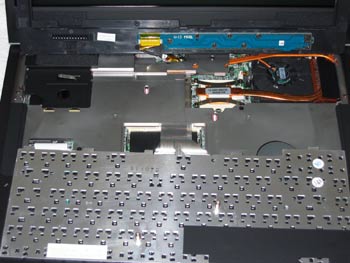
The hardest part to putting together this notebook is the removal of the keyboard. The processor, memory, and mini-PCI card are all installed under the keyboard. First remove the two screws on the bottom side then turn back the notebook back over so the keyboard is facing up. The trick to getting the keyboard removed is to pop the three clips that are holding the keyboard in place. ASUS recommends the use of tweezers, but we found that anything (credit card, small flat head screw driver) that fits the gap between the frame and keyboard keys will work for pushing the levers back. Once you carefully pop the three retaining clips off one by one the keyboard can be carefully pulled back towards you. The above right photo shows our keyboard pulled back. Note that the keyboard is still wired/connected to the motherboard via the FPC cable! This cable simply pulls out and just needs to be carefully pushed back in to re-install it. With the keyboard removed and out of the way you can go on and install the processor, memory, and mini-PCI card.
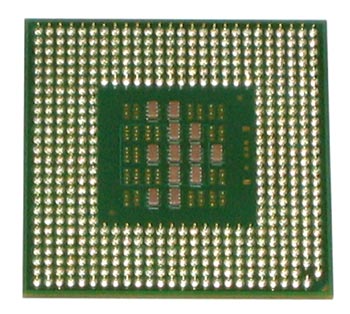
Installing the Pentium 4-M 1.7 Processor:
|
|
|
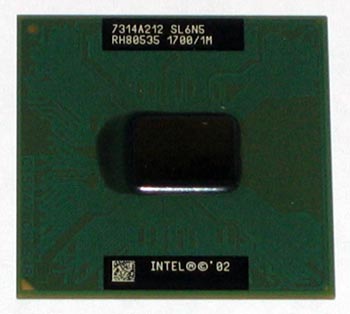
We went with an Intel Pentium M 1.7 processor for our notebook. The Intel Pentium-M 1.7 is built on the 0.13-micron process technology and features a massive 1Mb of L2 Cache to help power all of our various high demand computing needs. It is also excellent for processor-intensive background computing tasks, such as compression, encryption, and virus scanning.
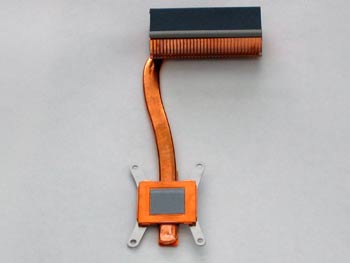
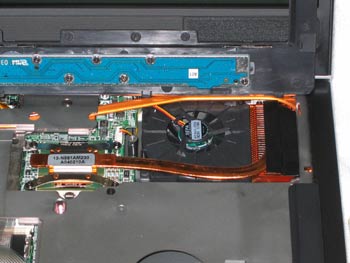
With the keyboard removed you then have to remove the keyboard cover?s two screws and then pop up the cover by popping up the two corner rails. Once the cover has been removed just slide the fan bracket to the left then take it away. Once you have all the brackets and covers removed you will see the entire heat pipe assembly. Notebooks have the heat pipe screwed down(unlike desktop’s clips), which is done to make sure the heat pipe doesn’t pop off during travel/use. There are 4 screws that need to be removed at the heat pipe base. Once these four screws have been removed the heat pipe can be removed (See bottom left photo). With the heat pipe removed it is clear that the M6000 Series Notebook comes standard with a Intel 478-pin Micro FCPGA Socket. Insert the new CPU onto the socket then close the CPU Socket?s latch to fix it. As the lower left image shows the thermal pad is factory installed, so all you need to do is place the heat pip over the CPU and secure the four heat pipe screws to secure it in place. The ASUS whitebox notebook kit also includes a warranty seal label that can be placed over a heat pipe screw to show if anyone has tampered with the processor after removal.
|
|
|
Comments are closed.