Western Digital My Cloud 2TB NAS Review
WD My Cloud: In the Box / Setup
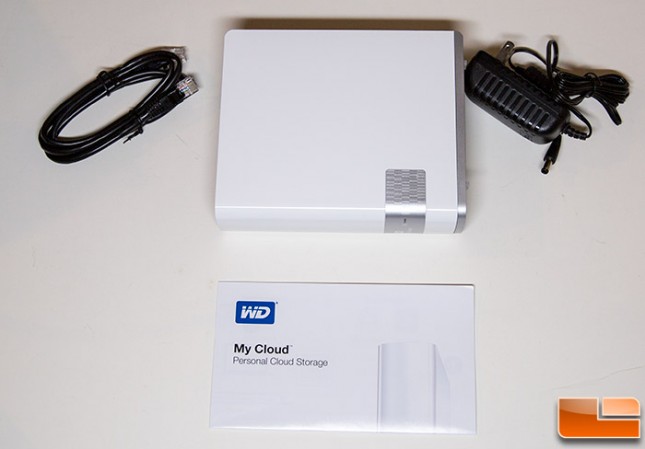
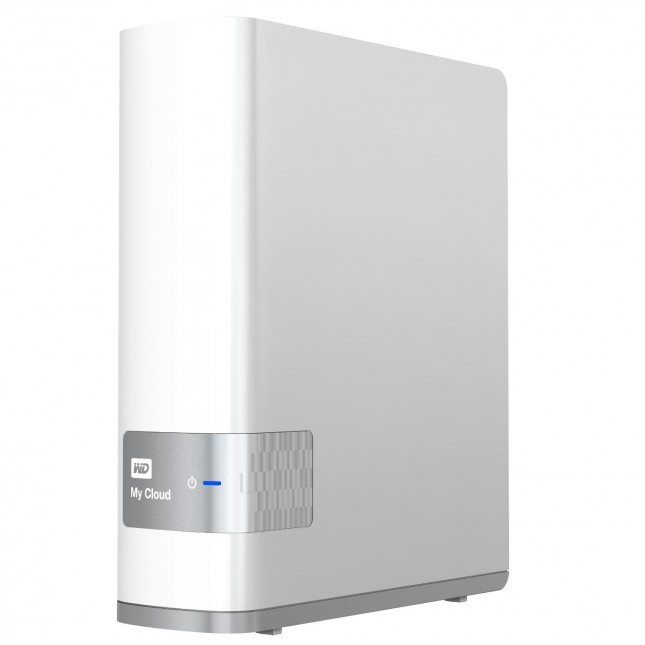
Out of the box, we see that the WD My Cloud is only slightly larger than a standard internal hard drive. A blue LED for power is the only light in the front that stays solid when its powered up and flashing when there is data activity. The rear panel has a gigabit Ethernet port, power connection port, and a USB 3.0 port which only supports connecting USB drives, not printers. The My Cloud comes with a small power adapter, a network cable, and a quick setup guide. Everything that we need to get up and running is contained here.
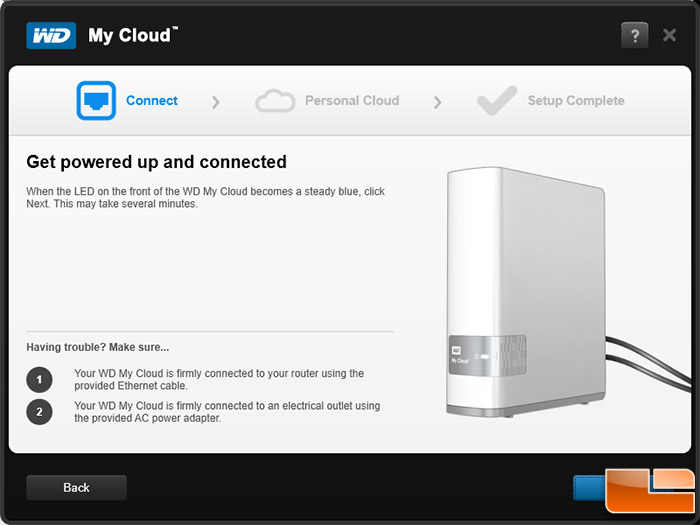
Connection was as simple as can be: Connect the WD My Cloud to our Netgear R6300 router and plug it into the wall. The My Cloud goes through a self-test that is indicated by the flashing LED light on the front and is ready for use in under 30 seconds.
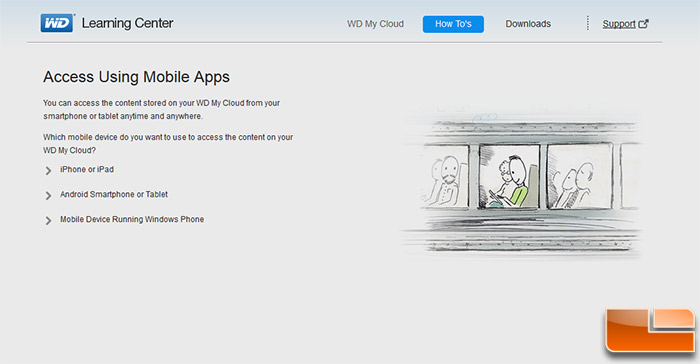
After connecting the drive, we opened up our browser and navigated to http://wd.com/setup/wdmycloud and were presented with this screen:
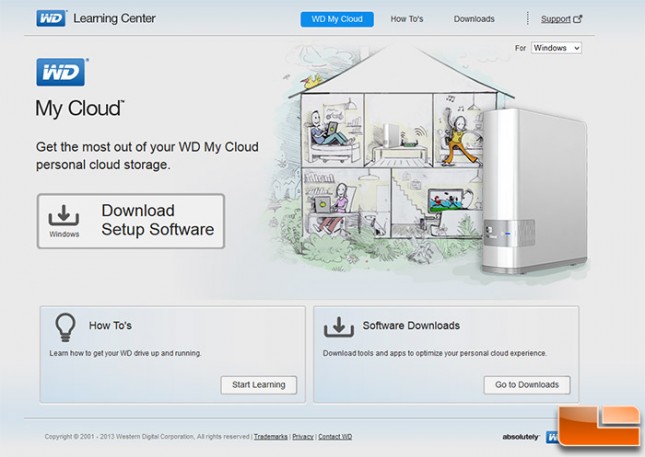
This is a pretty slick landing page where you can get a small tutorial of what a NAS is as well as how to use the cloud storage device. There is a link for direct Western Digital support as well. Overall, it is a really complete page that has a wealth of user manual-type information.
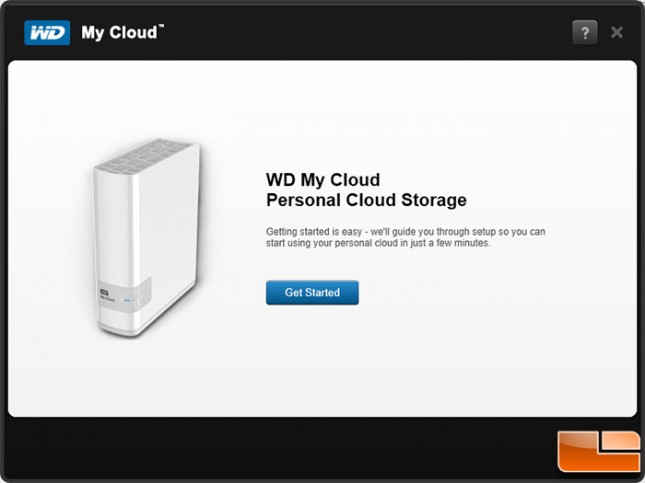
Continuing our setup, we chose to download and install the setup software. As experienced users, we normally just manually configure our network devices, but in this case we were not really sure what kind of configuration needed to be done so we just went followed what any typical user would do when installing the device.

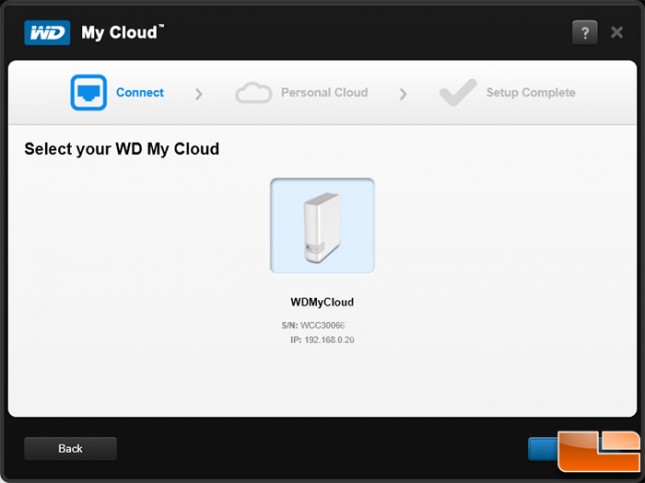
After making sure the network was online and able to reach the internet, the WD setup software detected and displayed the drives serial number and assigned IP address.
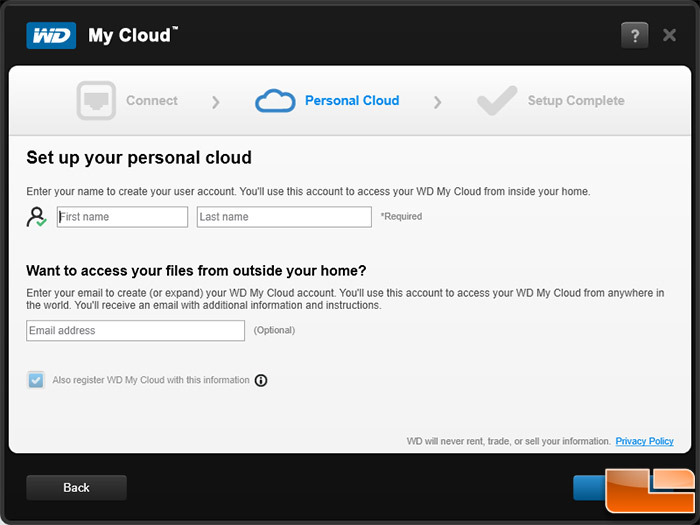
The next screen is where we signed up for the Western Digital Personal Cloud Service. To access our files from outside our home network, all we did was provide an e-mail address. It was so simple that I was a little worried of how useful and effective this service would be. (More on that later).

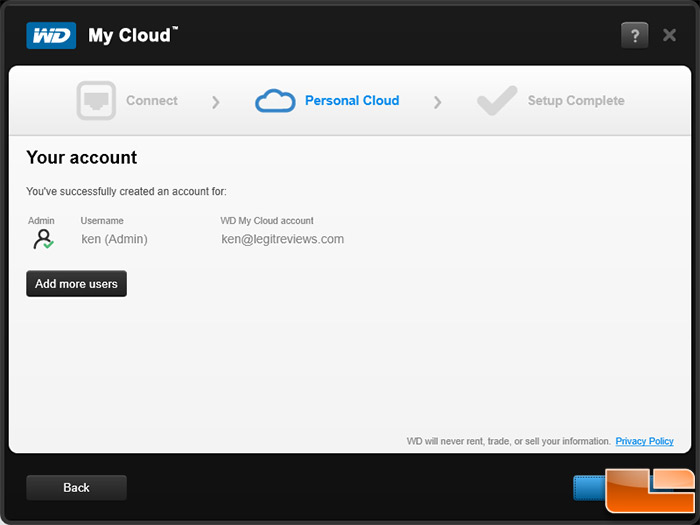
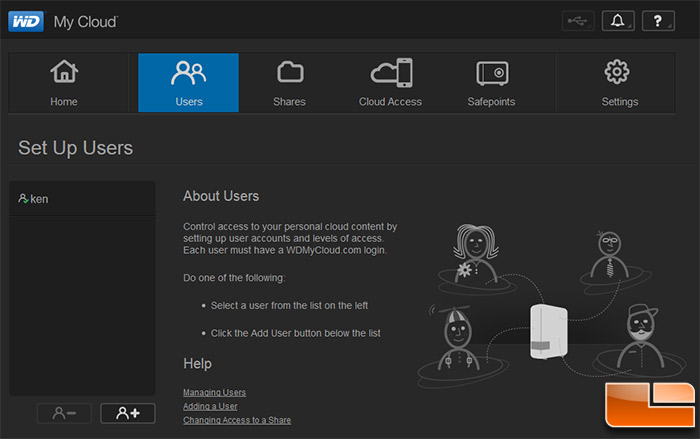
The My Cloud software gave us the option of adding more users as well. This is perfect for those of us with families or just want to have others with the rights to secured access to the NAS.

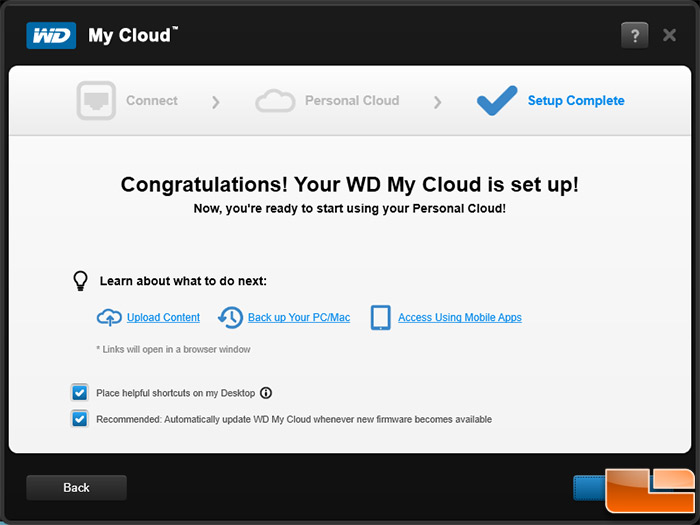
And with those few keystrokes, we are finished and ready to start loading up the drive with our content. Before we do that though, lets take a look at some of the user interface that is at the heart of the My Cloud personal NAS.


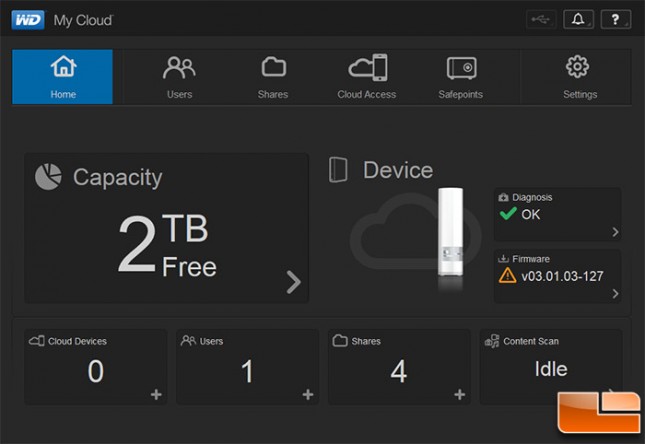
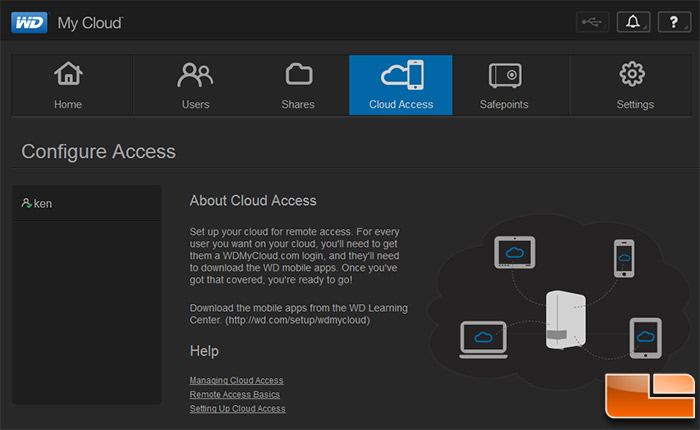
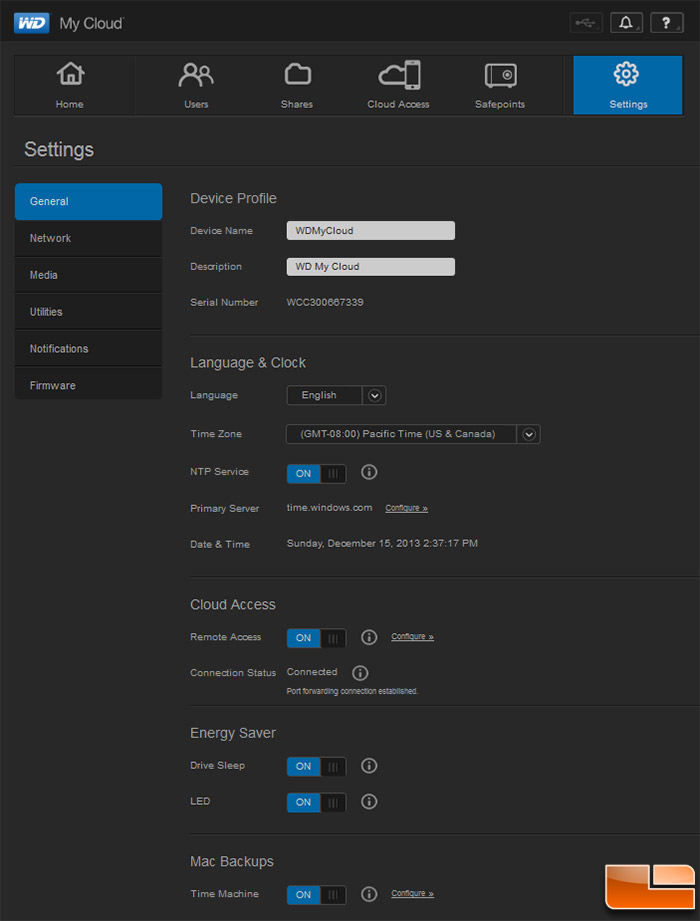
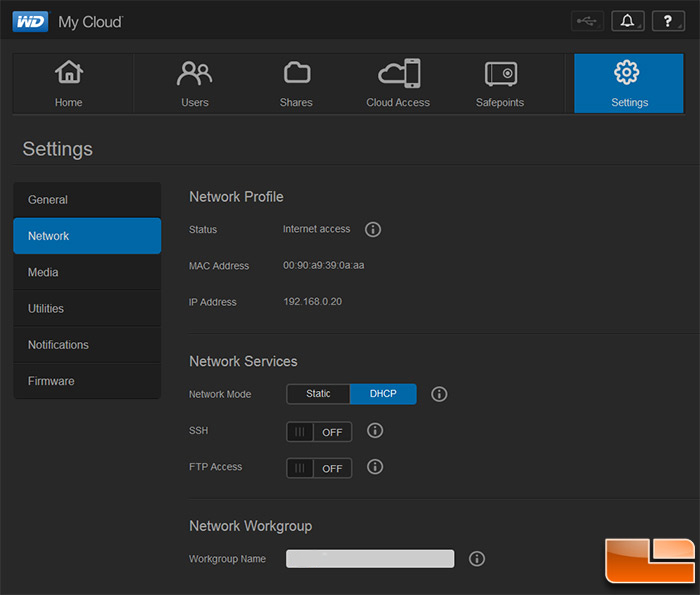
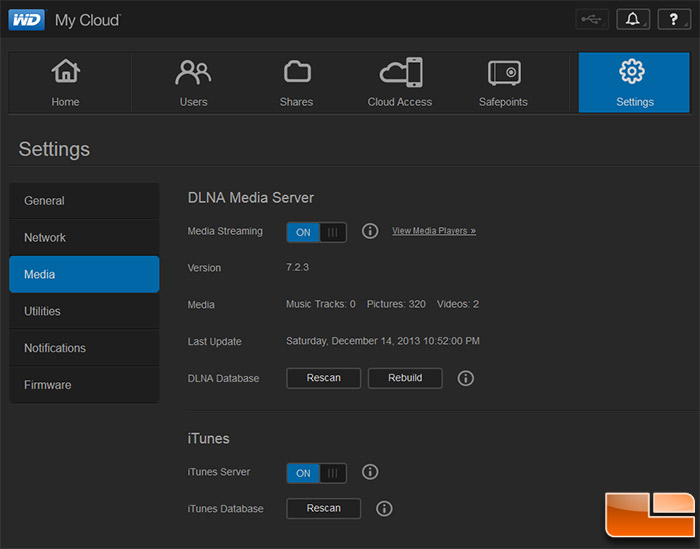
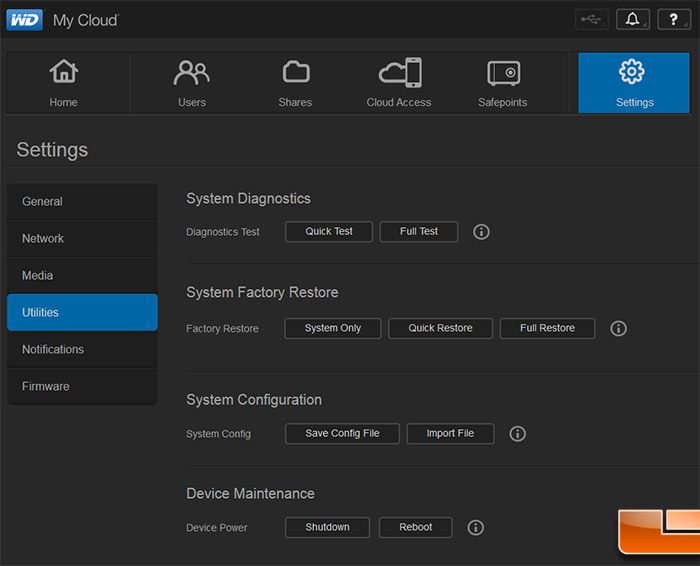
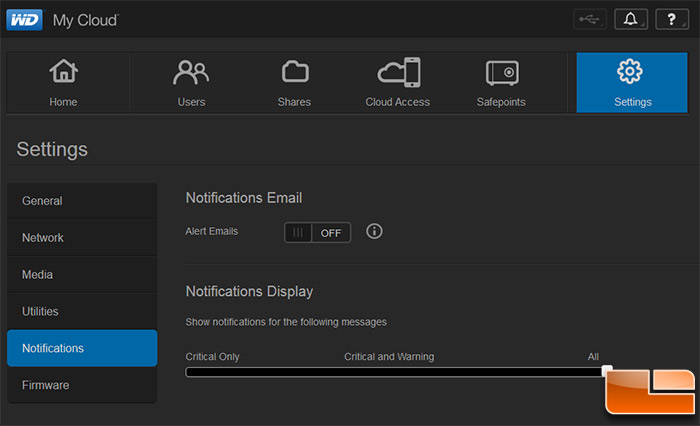
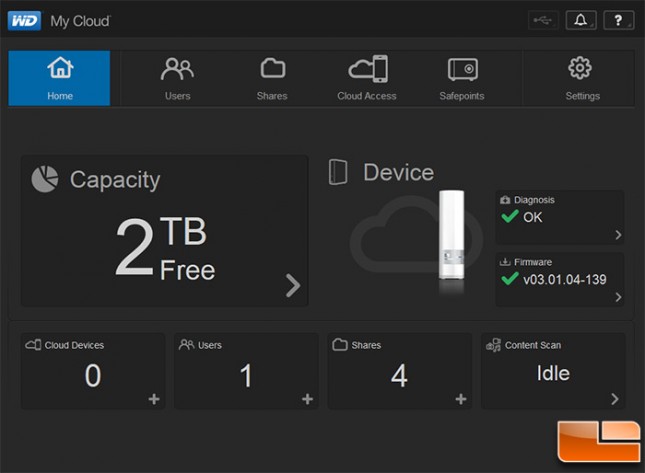
The My Cloud NAS GUI is pretty simple to understand with large informative graphics that you can click on to obtain NAS information and settings. The GUI is broken up into 6 different submenus: Home; Users; Shares; Cloud Access; Safepoints; and Settings.
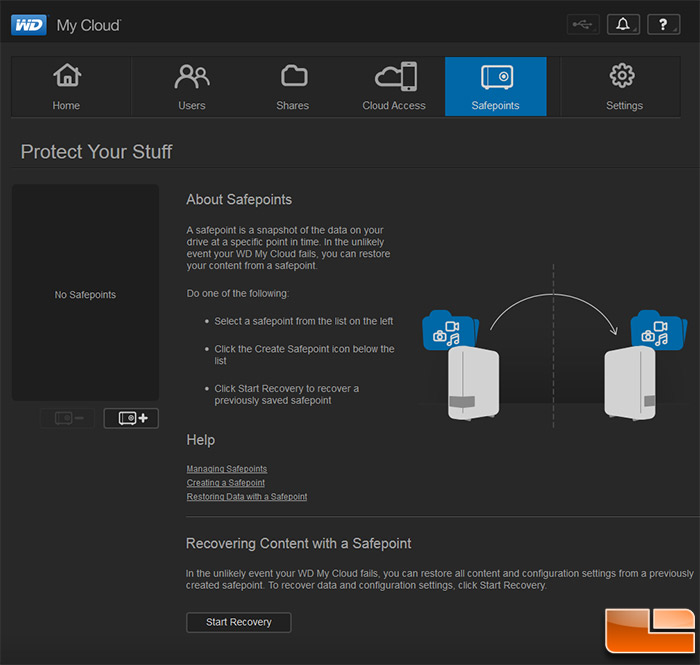
The WDs My Cloud desktop interface will have six tabs on top for Home, Users, Shares, Cloud Access, Safepoints, and Settings that will take the user to more customizations. Out of all the tabs the Cloud Access is the most interesting one. This tab allows the user to sign up for WDMyCloud.com online account for each user account of the NAS server and also to create an access code for mobile device app. This tab basically allows a VPN like connection over the internet for computer users. Say youre traveling away from home or you need something from your My Cloud you find a computer and connected to your WDMyCloud.com account and with a click you can create a network drive linked to a share folder on the My Cloud NAS server at your home. This means you can drag and drop files between the computer and the server as though the two were on the same local network. Basically a VPN access though there is no VPN connection. With the mobile app users can download files from the NAS server to the mobile device or back up files, such as photos and videos from the mobile device onto the NAS server. Another feature that works well is the Safepoints tab this creates a restore point for the server by copying its entire contents onto an external hard drive connected via the USB 3.0 port or to another My Cloud unit.
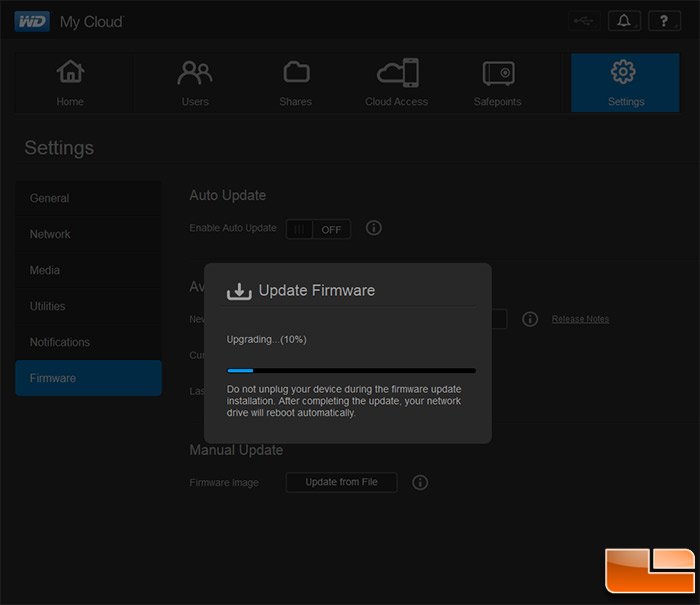
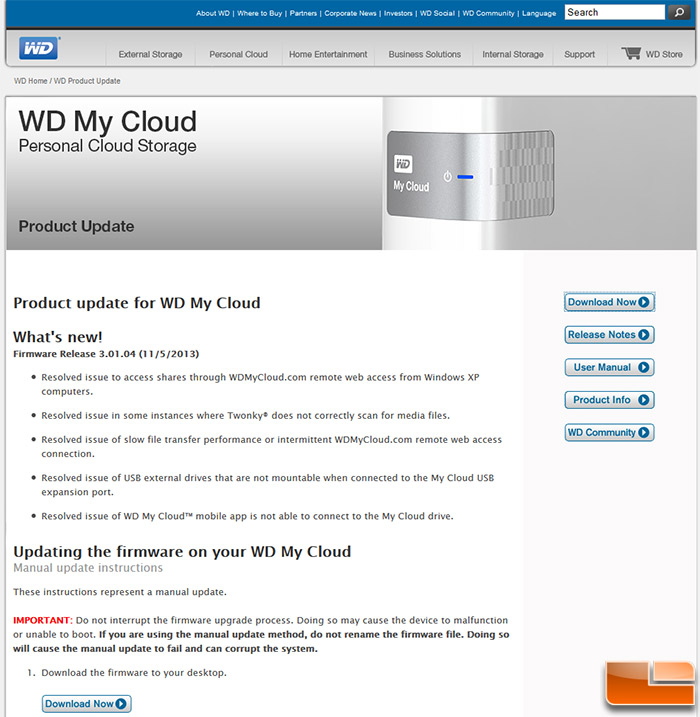
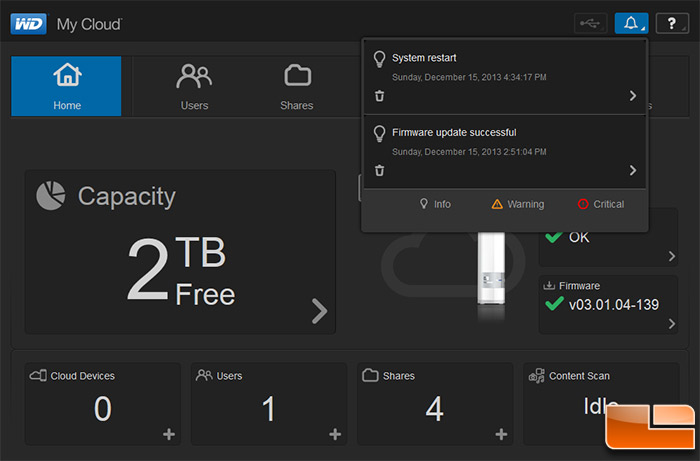


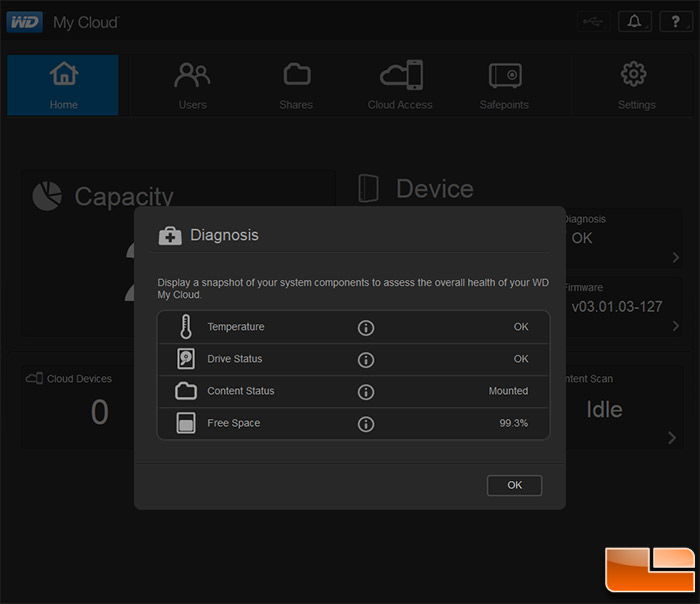
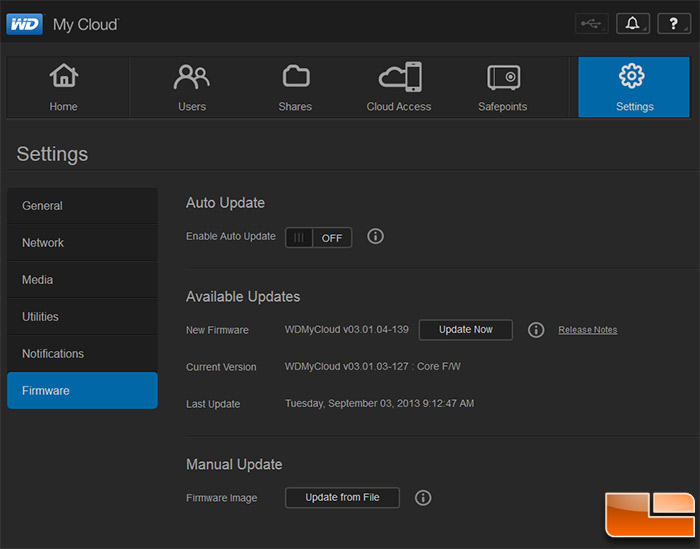
Western Digital shipped our 2TB My Cloud device with firmware version v03.01.03-127, but looking at the home screen we saw that there was a later version available. With the touch of a button, we initiated the firmware update

The update process took about 5 minutes for us to complete (download, install, and reboot of the MY Cloud device). To be honest, we didnt see an overt change in the GUI nor in the NAS performance, but we feel pretty strongly about keeping your devices firmware up to date.
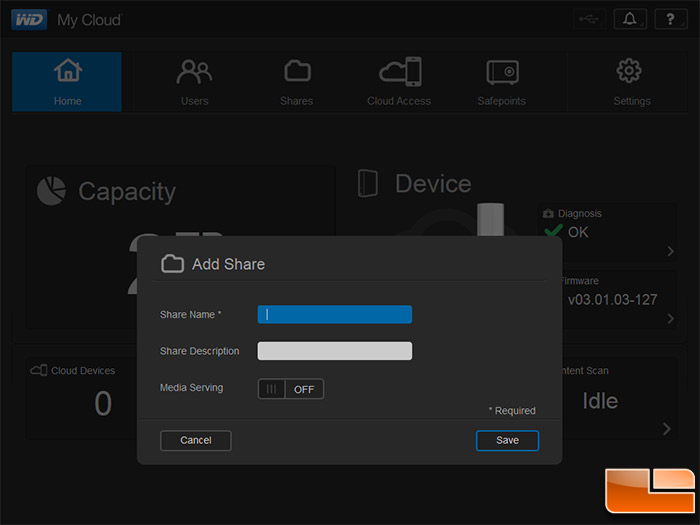
Staying in the Home menu we were able to easily add and/or create folders we wanted to share.

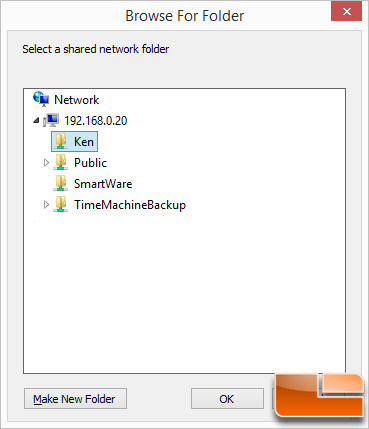
From here we went back to Windows and mapped the network drive to the folder we wanted access to. Of course, your workflow maybe slightly different and you want to use the WD utility. For us, mapping the network drive is ideal and very simple. With this, we are able to drop and drag files easily to the My Cloud device.
Now that the WD My Cloud NAS is all setup and ready to use, lets take a look at some speed tests to evaluate the performance