WD My Passport Wireless 1TB Storage Drive Review
WD My Passport Wireless Setup and Software
There are a number of ways you can setup and use the WD My Passport Wireless since it works on PCs, tablets, smartphones and so on. WD has done a great job at supporting Windows, iOS and Android and we were able to use the My Passport Wireless with software/apps on devices running all three operating systems without any issues. Today, we’ll be walking through the setup procedure and showing you the software on a PC.
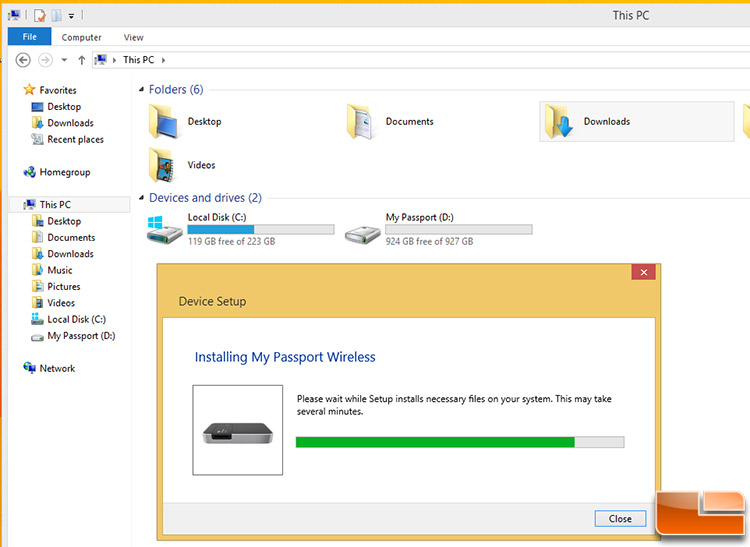
Once we plugged the WD My Passport Wireless into our desktop PC that was running Windows 8.1 Pro with the supplied USB 3.0 cable, it was instantly recognized by the OS and the necessary files were automatically installed on our system and it was automatically assigned a drive letter and was ready to be used.
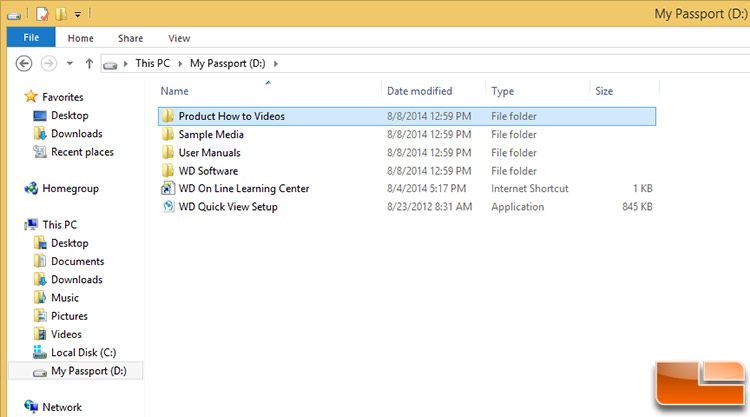
The My Passport Wireless comes pre-loaded with all kinds of goodies that will really help many people out. For example there is a folder of how to videos that can be watched and the user manual in PDF form to teach you how to use this Wi-Fi ready storage drive. There is also a folder of sample media files where you will find music, videos and pictures to play around with before you put on your critical data. The only software in the WD Software folder was WD Quick View, which is a utility that will discover WD network attached storage drives on the network and provide drive status information. To really setup the WD My Passport Wireless you’ll wither need to download WD’s My Cloud mobile app and pair it with the mobile devices and computers over Wi-Fi or you can do the setup on the PC with it hard wired by going to http://mypassport and setting it up locally (Mac users should use http://mypassport.local).
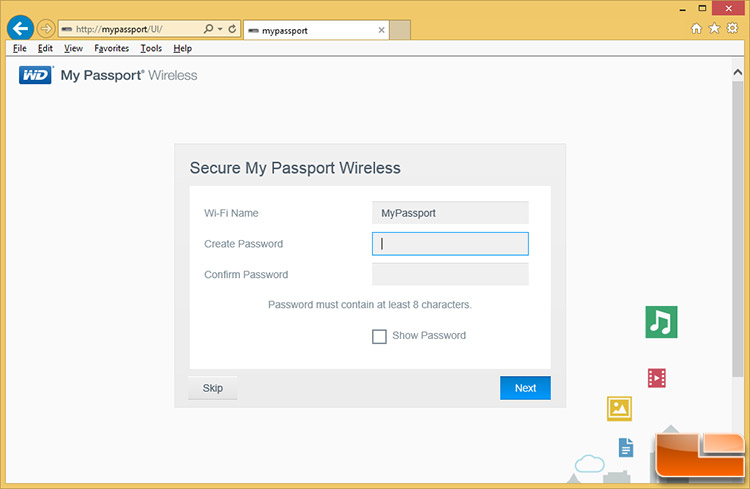
Once you point your browser of choice to the proper URL you can setup the storage device. The very first thing you are asked is to created a password to secure it. We are extremely happy to see that this is the first setup step as security is very important these days as many public cloud users are finding out the hard way. WD has always been big on the personal and private cloud and so are we. You can skip securing the My Passport Wireless if you didn’t want to have one on the device.
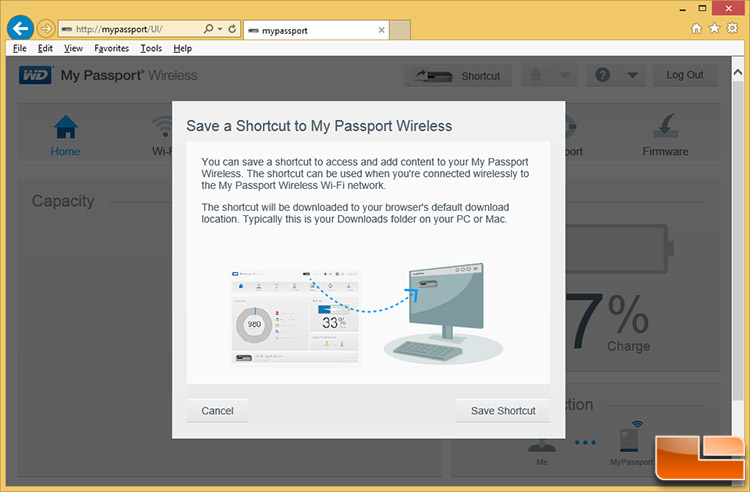
The next thing you are asked to do is to save a shortcut to the My Passport Wireless. This will allow you to quickly access the device by placing a shortcut in your browsers default download location, which is usually your downloads folder on a PC or Mac. We skipped this as we like to manually map drives and assign drive letters to them!
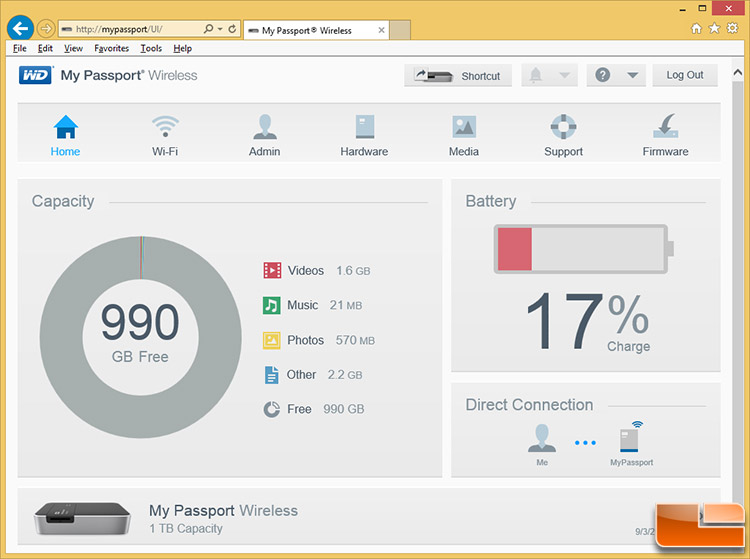
Once you’ve created your password and shortcut you are done with the basic setup and can start using the WD My Passport Wireless software. The home screen is laid out very nicely and it is easy to figure out what is going on. Here on the home menu you can see quickly the vitals on the most critical areas of the drive. For example it shows we have 990GB of data free, our battery is down to just 17% and that we are directly connected to the drive. The home screen also shows the model of the drive you are using, the firmware revision, date and even a quick breakdown on how much capacity is being used up by the most popular file types. The WD My Passport Wireless is a fairly complex portable storage drive, but the user interface isn’t overwhelming and is good for both beginners and advanced users.
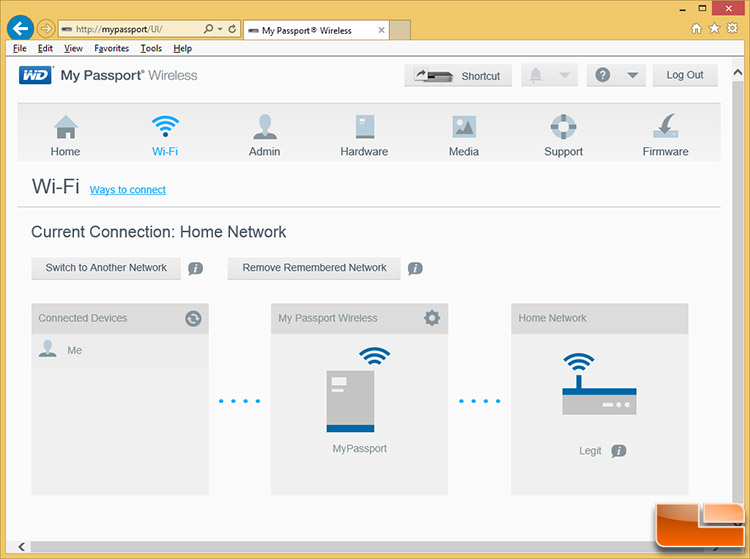
The next menu would be the Wi-Fi settings, which is where you can manage and monitor your wireless information. In the screen capture above you can see that the WD My Passport Wireless was connected to our PC and also our home network. The My Passport Wireless can be connected to up eight different devices at once thanks to the built-in 802.11n single-band (2.4GHz only) with MIMO technology. WD says that the Wireless N with MIMO technology should allow for the streaming of four HD videos simultaneously at 8Mbps.
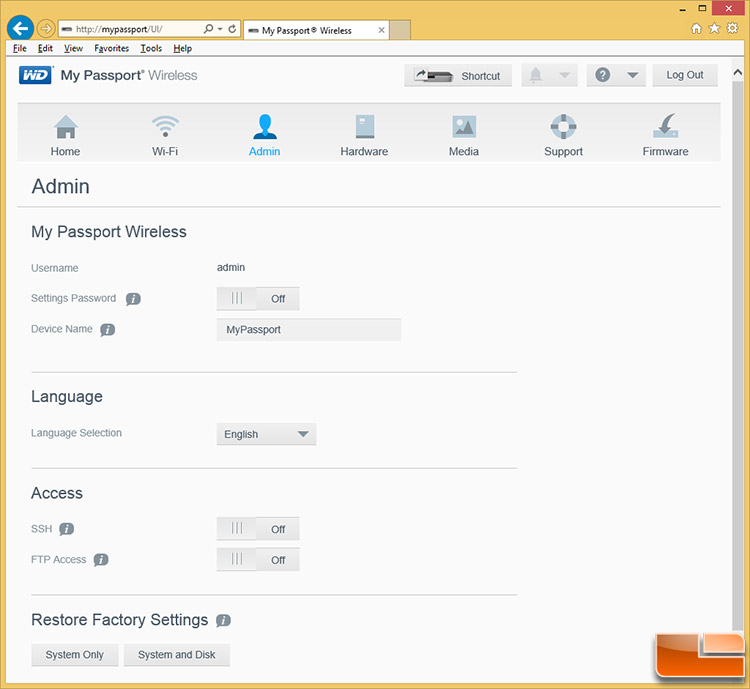
The admin page allows you to enable SSH and FTP access to the My Passport Wireless and you can also change your password and device name here. This also just happens to be the location where you can restore the factory settings, which is nice if you ever what to give this device to a friend or sell it down the road.
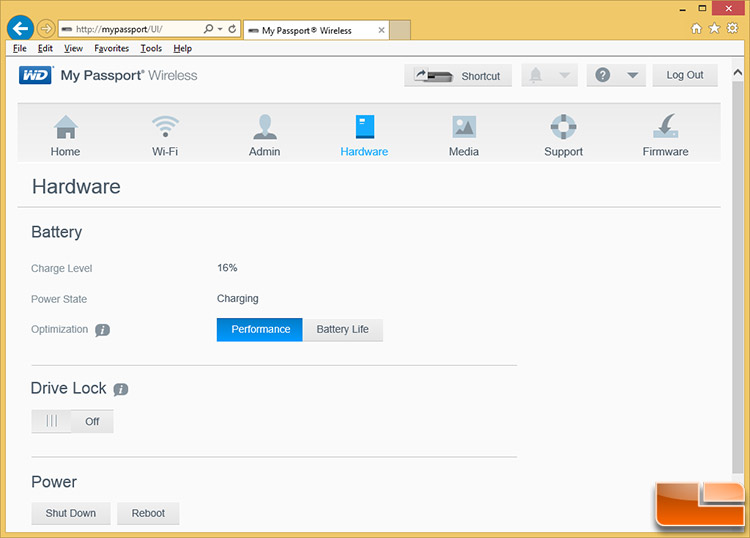
The hardware menu allows you to switch battery modes between performance or enhanced battery life. You can also lock the drive or power it down or reboot it if so desired. The drive lock will disable the USB 3.0 ports data connection, but it will still charge the device.
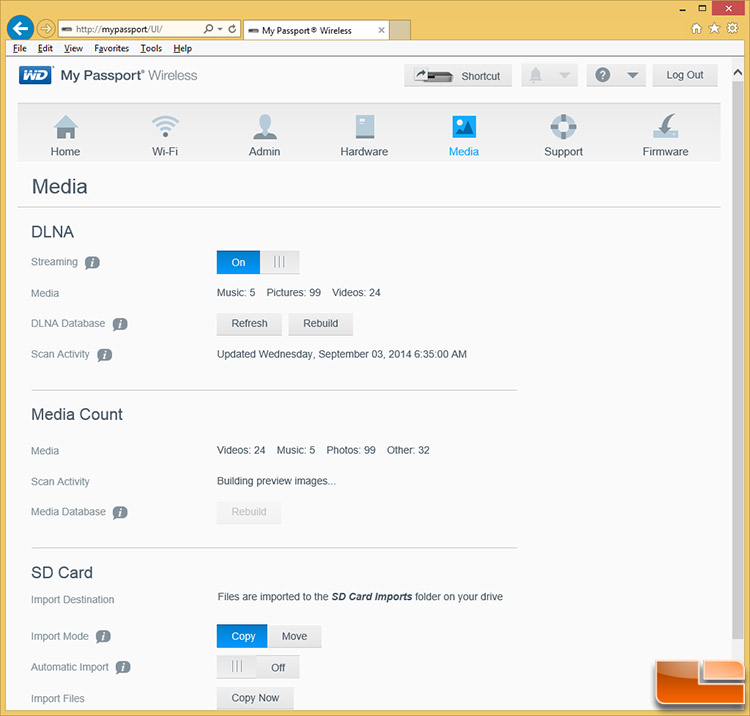
The media tab allows you to take a look and tinker with the DLNA streaming settings, has an option to rebuild the media database and also adjust how the device handles SD cards. By default the SD card settings are set to copy your cards contents to a folder on your drive with the copy file transfer method. You can change it to move all the content off the card if you wish and you can also setup automatic importing.
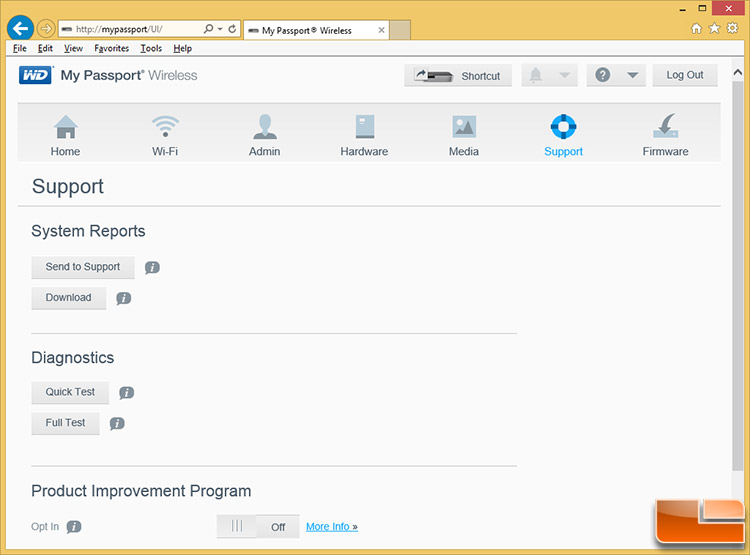
The support menu allows you to run system reports, diagnostics tests and even opt-in to an optional product improvement program.
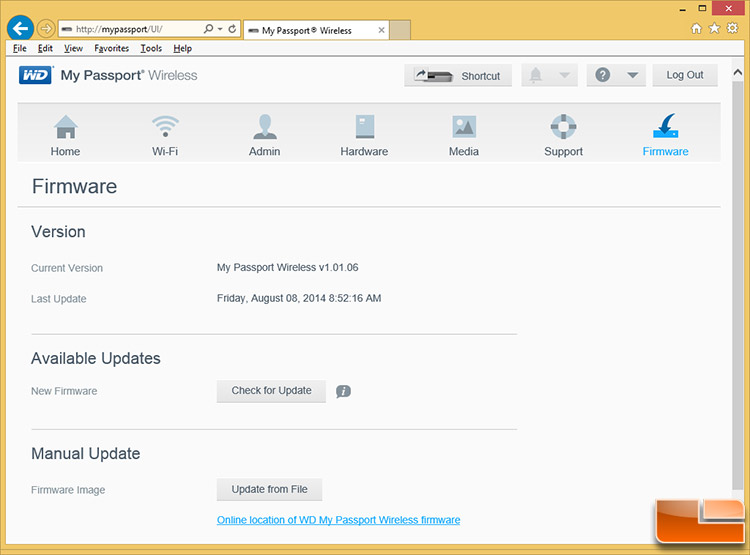
Finally there is the firmware menu that shows you what version of firmware that you are running and it also gives you the chance to check for updates and run a manual firmware image update if you already have a build downloaded and needing to be installed.
Let’s take a look at the My Passport Wireless when it comes to performance.