WD My Cloud EX2 2-Bay Personal Cloud NAS Review
Setting Up The WD My Cloud EX2
WD is trying to make personal storage easy and this product is aimed at first time NAS users. In fact, WD never calls this a networked attached storage server. They keep it simple and call it personal cloud storage. The first thing that you need to do is to power up the My Cloud EX2 and connect it to your network. To do this you simply give it power and plug it into your wired network, which most likely means plugging it into your wireless router. Once that is done you should be able to find the My Cloud EX2 on your local network.
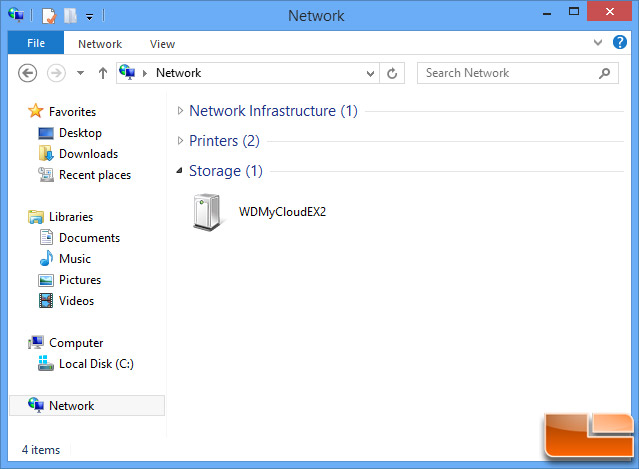
Our Windows 8 system had no issues finding the WD My Cloud EX2 on our network and we were able to run the pre-installed software on the NAS to set everything up. If you can’t locate the EX2 on your computer or smartphone, you can download the WD My Cloud EX2 setup software. The WD My Cloud EX2 software is available for both Windows and Mac, but it should be noted WD Smartware backup program is only for Windows.

From there you are taken to the WD End User License Agreement (EULA) that you must accept before being able to continue.
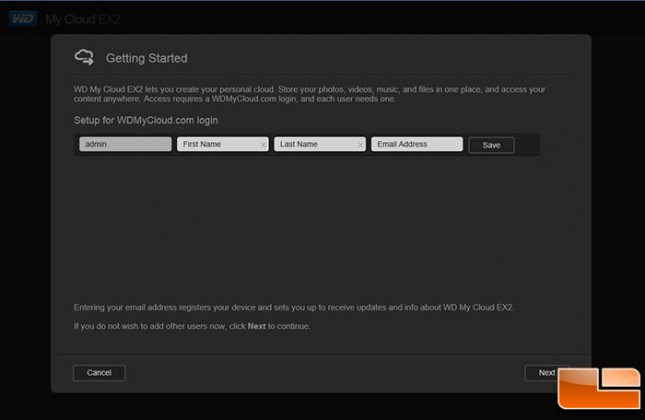
The next step is setting up your personal cloud. If you want to be able to access your files from outside your home you must fill in this information as you need that account to login remotely. This is something you’ll want to enable if you want to use the WD My Cloud mobile app on your iOS or Android smartphone and tablet.
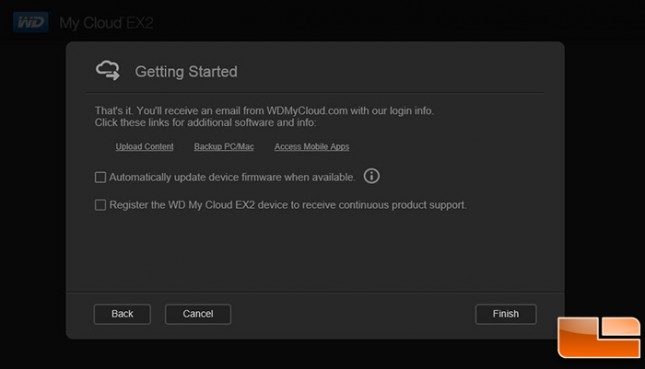
After setting up your personal cloud information you are down. You can then choose to install the WD My Cloud application and create helpful shortcuts on your desktop. No drive letters are mapped at this point, so if you wanted to map drive letters you need to restart your PC and then you can right click the EX2 under storage devices and map a drive letter for it.