WD Labs PiDrive 314GB Hard Drive Review
Setting up the WD PiDrive
The setup for the WD PiDrive is easy, even if you have no clue what you are doing in Linux. If you can format an SD card to FAT32 you can setup this drive. First you will need an SD card, at least a 4GB Micro SD card, USB keyboard/mouse, HDMI cable, TV or Monitor, internet connection, and well a Raspberry Pi. I will be using a new Raspberry Pi 3 Model B.
Go over to WD Labs website and download the BerryBoot program and extract the files to a freshly formatted SD card (formatted to FAT32). Put that into your Raspberry Pi, hook up the PiDrive, keyboard, and mouse and then power up the Raspberry Pi.

Once the system boots up the BerryBoot program starts and will ask you questions to help format the screen resolution and what type of network you will be using for the install.
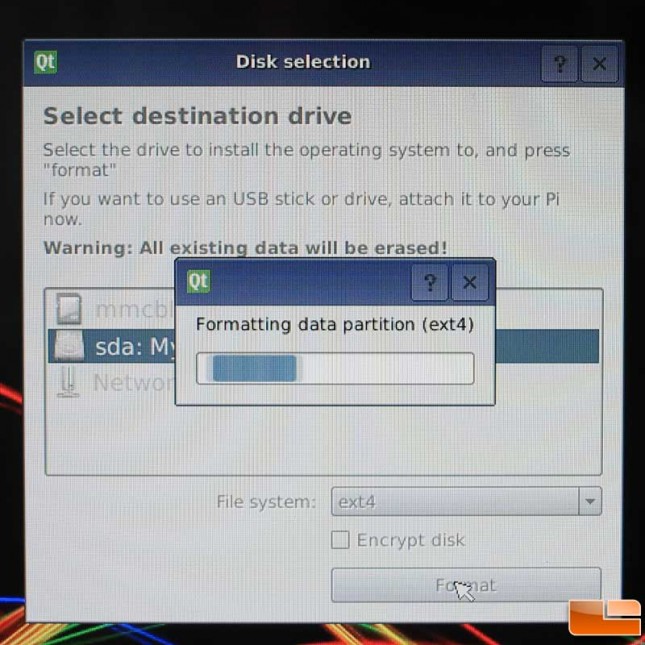
Pick you installation drive. It then formats the drive for you; you can even encrypt the drive if you choose too.
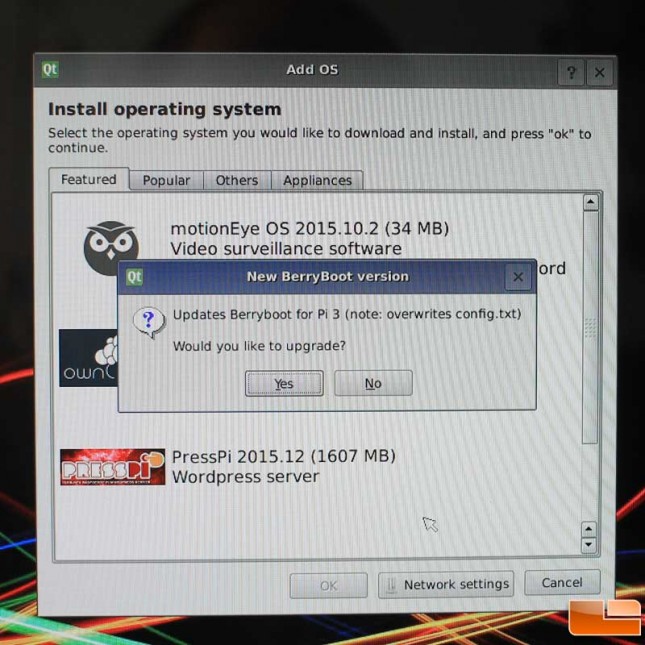
Once the format is done BerryBoot connects to the internet and checks for updates.
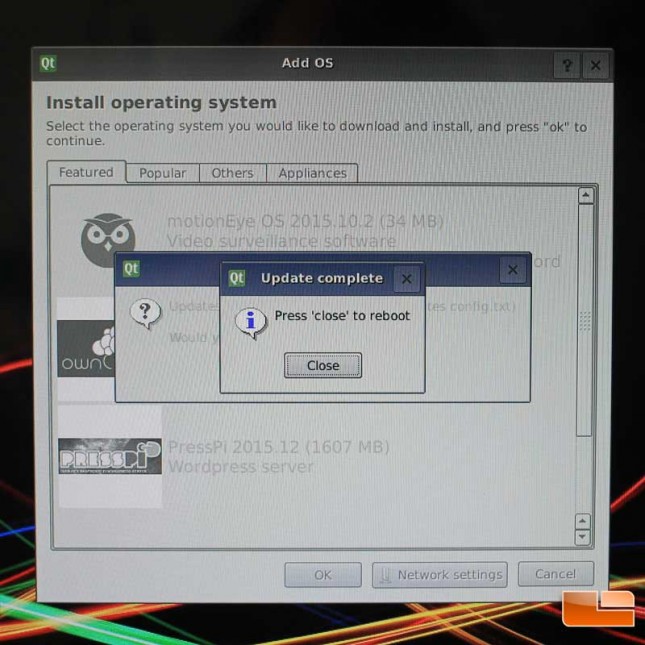
Once updated the system reboots.
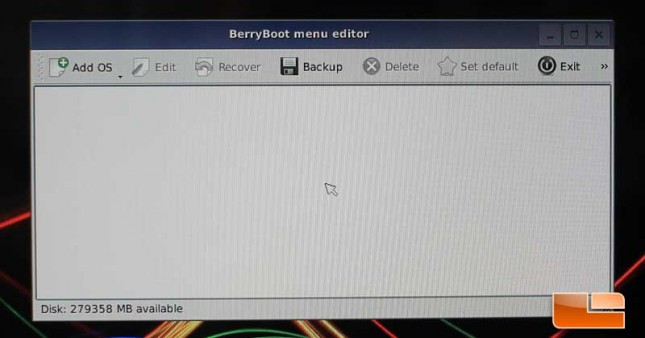
The screen looks different than the first boot up. Now you have to click the ADD OS button at the top left. From there you can pick from a list of installs that have been setup and tweaked for the Raspberry Pi systems.
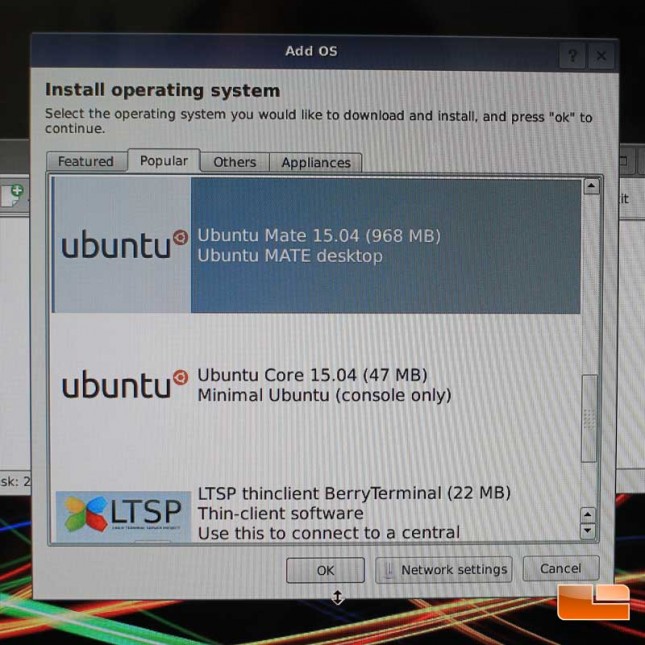
For my testing I will be putting on Ubunut MATE. I did notice that the version here is 15.04, current version of Ubuntu MATE is 15.10. I would later learn that you cant do an in place update from 15.04 to 15.10 on the Pi. So if you want Ubuntu MATE 15.10 you will need to do the install the more traditional disk imaging route. For now Im going to stick with Ubuntu 15.04.
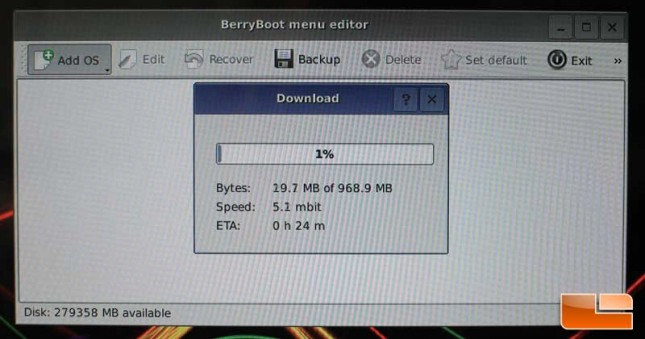
Once you pick what you want to install BerryBoot starts to download the install files. Now depending on internet speed and how many teenagers you have flogging your network this could take a while. Once downloaded you choose exit and the BerryBoot restarts.
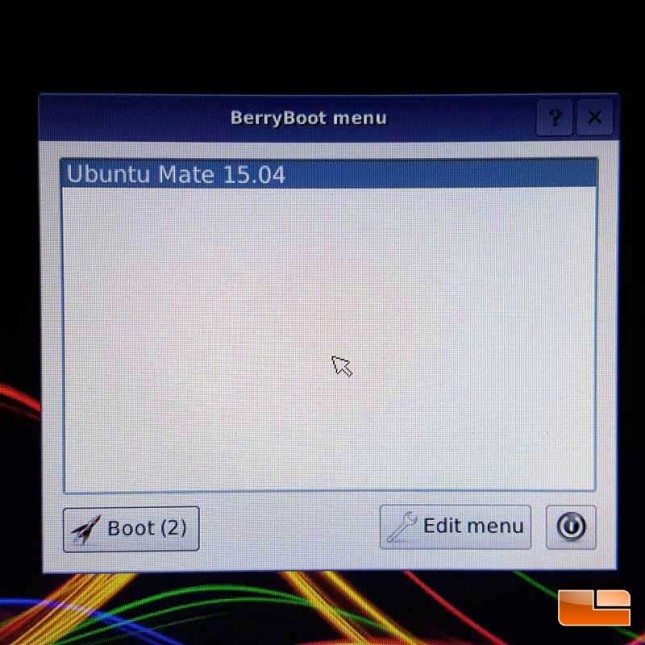
On startup you get a boot menu with the OS you installed and 10 second countdown timer. This gives you time to edit the menu to get back to the add OS screen to remove or add another OS.
BerryBoot is nice. It simplifies a lot of under the hood stuff that most noobs to Linux may get frustrated with, like resizing partitions, or line commands to edit config files for setting boot folders, ect.. BerryBoot does it all for you.
If youre a Linux geek, or a fan of jumping into the deep end head first, you can grab one of the many Raspberry Pi tweaked Linux distros that fits your needs and then image the PiDrive like normal. Since the Raspberry Pi can only boot to the Micro SD card slot you will need to copy the boot portion over to the SD card and the edit the cmdline.txt to update the root location value to point to the PiDrive. Then you will need to resize the partition either via terminal once booted or something like GPARTED on another system.