Vantec NexStar HDD Duplicator Review
Vantec NexStar Drive Duplicator Tour and Operation
The operation of the dock is very simple and we’ll start with a product tour.
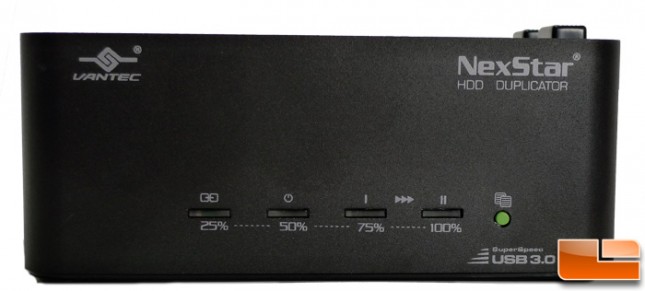
The front is probably the busiest side of the dock with four LEDs and a solitary lime green button. The button is what initiates the duplication and the LEDs are the indicators for progress and/or errors which we’ll speak a bit more about below when we outline the operation.
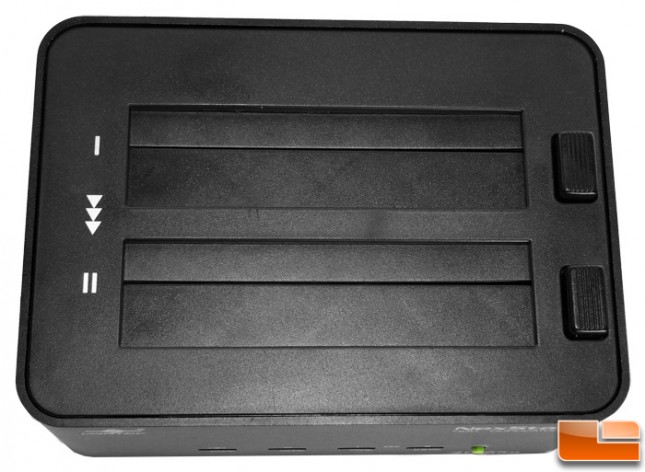
The top of the dock has a pair of slots for the insertion of drives, each with dual flaps that accommodate both 2.5″ and 3.5″ drives. There are corresponding buttons to the right of the slots which are used to eject the drives safely without having to yank on them. They pop out like toast. Off to the left are markings which indicate that drive one sits towards the rear and drive two resides on the front as well as arrows depicting the direction of data when copying from one drive to another. Kind of important to know.
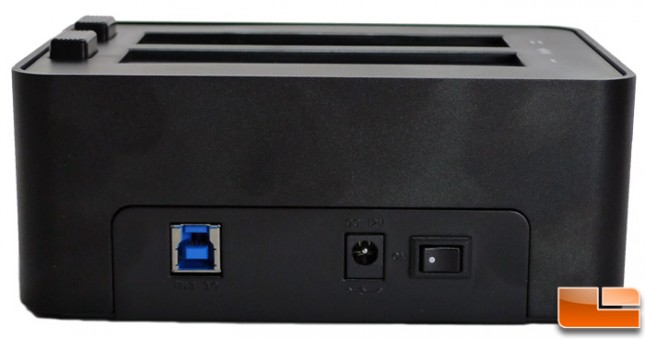
Around the back we find the USB 3.0 port off to the left and nearer to the center is the AC adapter port and finally, to the right is a power toggle switch. This is handy to have and not found on all docks.
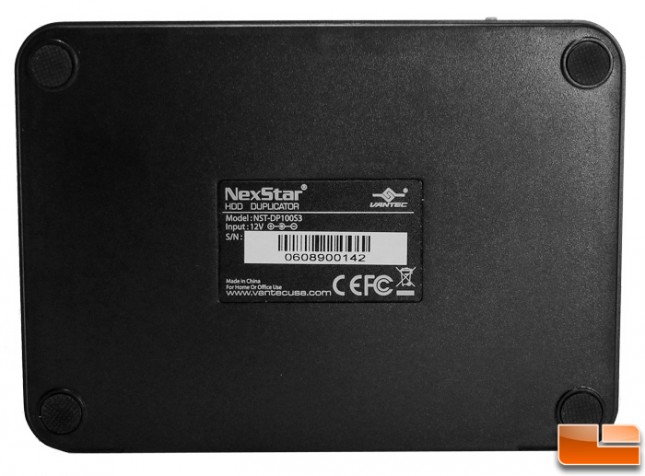
The bottom is unremarkable with the most notable feature being the no-slip circular feet in each corner plus we also find the product sticker down here. Overall, the build feels solid with aluminum and plastic body trimmed all in black. Much of what we expect from Vantec given our experience with their products.
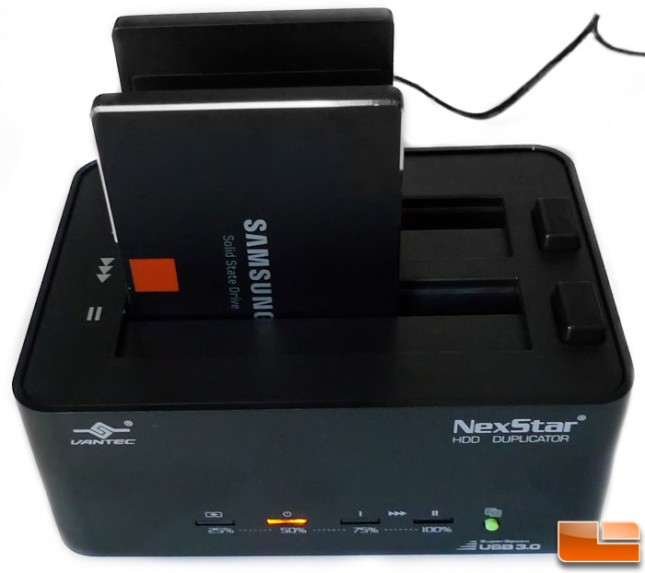
Drive cloning operation is very simple. Place the source drive in the rear dock and the target drive in the front dock. It’s important to note that the target drive, has to be equal to or larger than the source drive, regardless of the size of the data being transferred. An attempt to clone to a smaller drive or a failure in the process will be met with an angry red LED on the far right which represents the source drive. To begin the cloning process, the green button is depressed for five seconds. At this time the LEDs will cycle amber in color from left to right and back again while the operation is underway. As progress is made, the first LED will remain lit solidly indicating that 25% of the operation has been completed. The remaining lights will cycle as before. As you may have guessed, once the second light remains solidly lit it indicates that 50% is complete, the third 75%, and so on. Finally, when complete, all will flash amber simultaneously and that it. Task done.
For normal dock operation, the USB 3.0 cable needs to be connected. Once a drive is inserted, it shows as another drive on the system and the first two LEDs will glow solid blue and the third or fourth lights will also alight depending on which (or both) docks have a drive inserted. IO activity is indicated with the blue lights flashing to red and back in synch with the activity.
