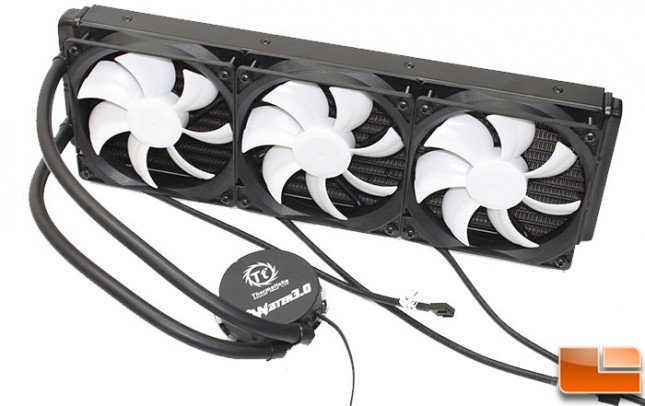
Thermaltake Water 3.0 Ultimate AIO CPU Cooler Review
Water 3.0 Ultimate Installation
I am pretty new to working with AIO liquid coolers, I tend to swap cases and systems pretty frequently, they always appeared to be more trouble than they’re worth. I started with a single 120mm AIO cooler, and quickly came to the conclusion that the AIO’s have improved dramatically over the years and installing them is no harder than most enthusiast grade air coolers. Then I stepped up to a 240mm cooler and again was surprised at how easy it was to move between cases. Most of the ones I have looked at are pretty similar and based on the Asetek design. The Thermaltake Water 3.0 Ultimate follows this design principle and installs without any major issues, dispite it’s size.
As we mentioned earlier, Thermaltake includes brackets to install the Water 3.0 on AMD and Intel systems. As we are installing it in an Intel i5-4960K system, this is a socket 1150, so we first get the appropriate hardware ready to be installed.
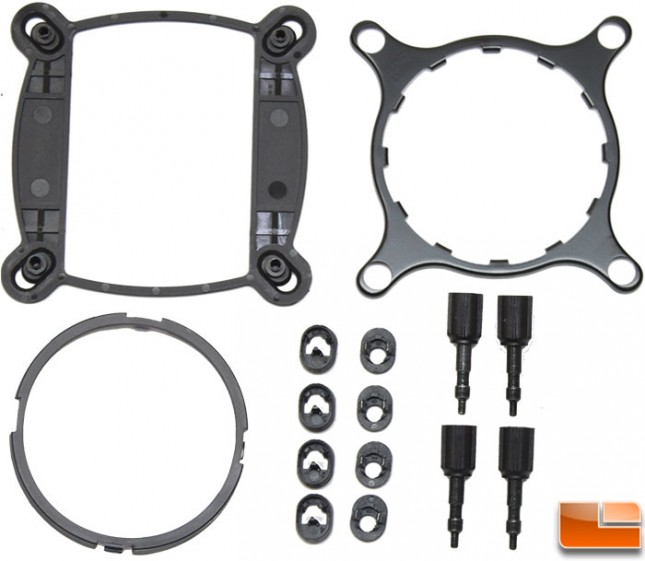
Assemble the mounting bracket, which will secure the water block to the backside support brace. Install the plastic clips in the right location and then pop the screws into the clips.
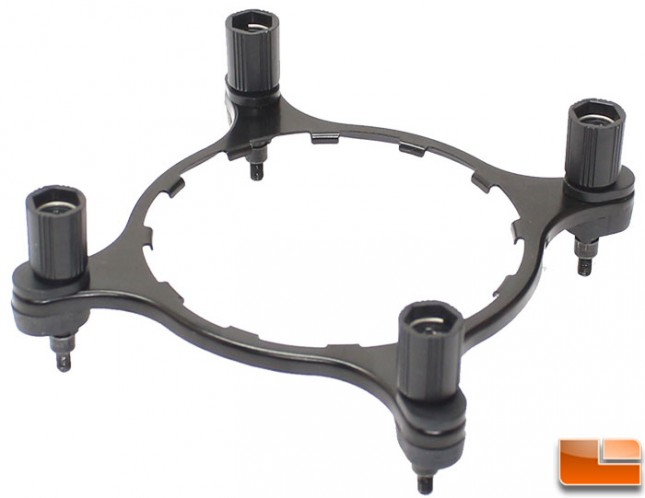
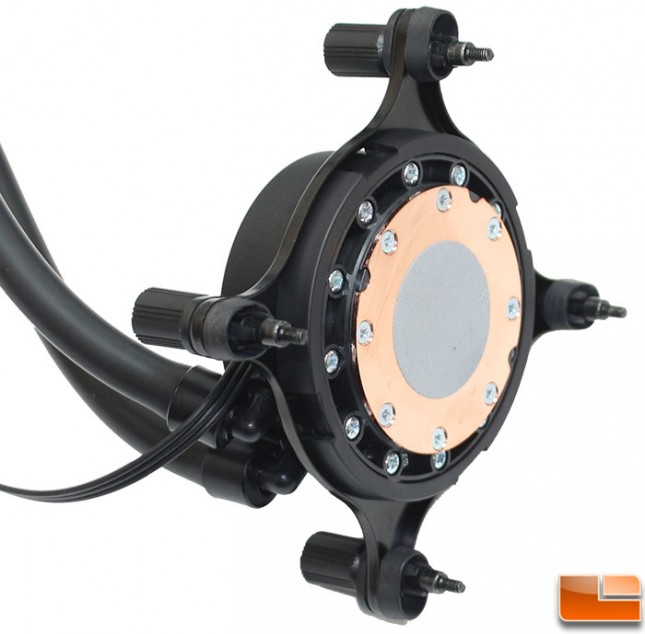
With the bracket ready to be attached to the water block, line it up onto the water block and give it a little twist so it can hook into the slots on the water block. Then attach the retention ring and it is ready to be attached to the motherboard.
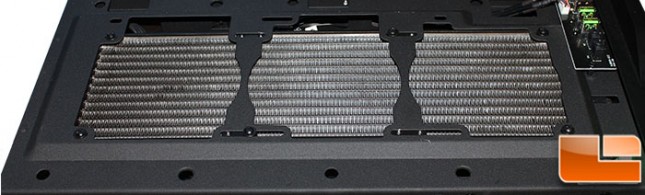
The install documentation says to install the fans once the radiator is attached to the case, however I know from past experience that the bottom screws are difficult to install if the motherboard is already in place, so I went ahead and attached the fans to the radiator.
Using the little screws and washers, the Water 3.0 Ultimate gets installed into the NZXT H440 Razer Edition chasiss without any issues.
Before attaching the water block, make sure the CPU is cleaned off of any residue from old coolers. Place the water block into position and use the large thumb screws to secure it to the cooler support bracket; be sure to tighten them in a criss-cross pattern.
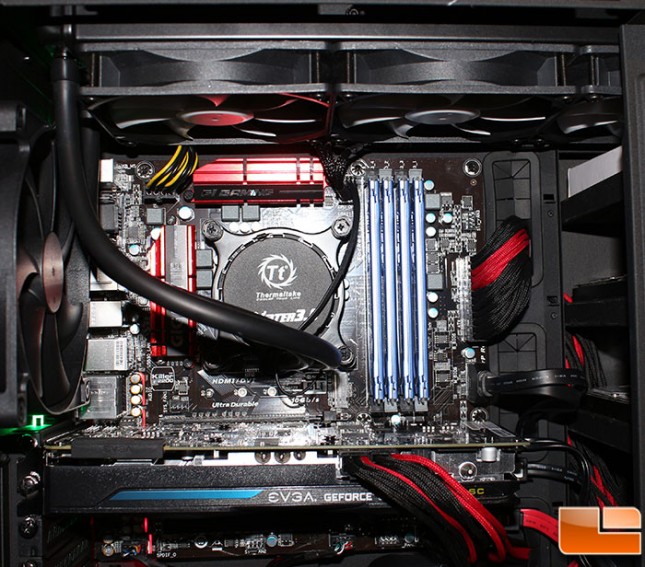
Be sure to power the three fans and the water pump, I will be attaching them to the CPU and CPU_OPT headers on the motherboard; which are both PWM controlled.
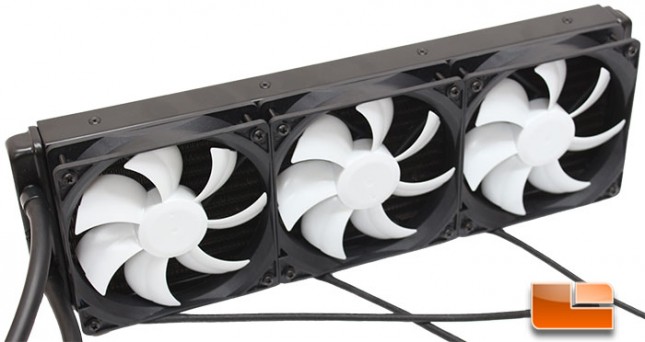
Some of the various AIO liquid coolers offer LED’s on the pump housing, some change colors with temperature, others simply light the pump housing logo. Thermaltake has not included any type of LED on the fans or the pump housing, this should help keep the price down for consumer.
Now that everything is installed and operational, let’s give it a good 24-hour burn-in and get to doing some benchmarks.