Thermaltake Core X71 Full-Tower Chassis Review
Hardware Installation Inside The Core X71
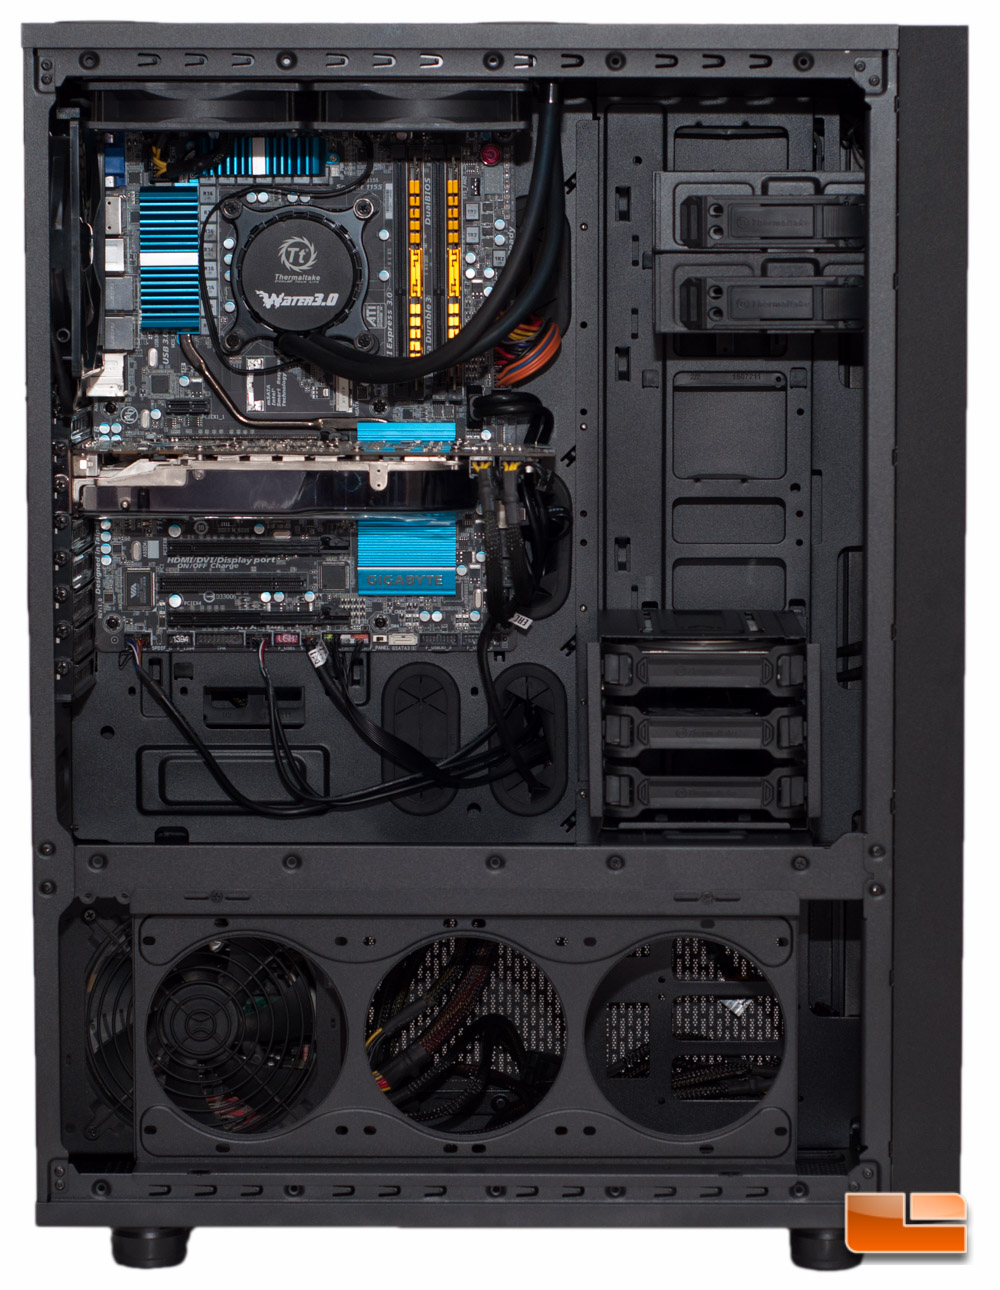
Being that this is a full-tower chassis, I expect near zero difficulties when installing my hardware inside this case. Im going to be leaving the hard drive cage where it was from the factory, plus I will end up just using a 2.5-inch laptop HDD in place of a 2.5-inch SSD for demonstration, as I dont have any SSDs available for this build. The 8800 GTX that Im using in this build is definitely a golden oldie, but the card length is similar to cards that are out on the market today, measuring approximately 10-9/16-inches (~268 mm) long.
Since the standoffs are installed from the factory, there is little prep work to do here.
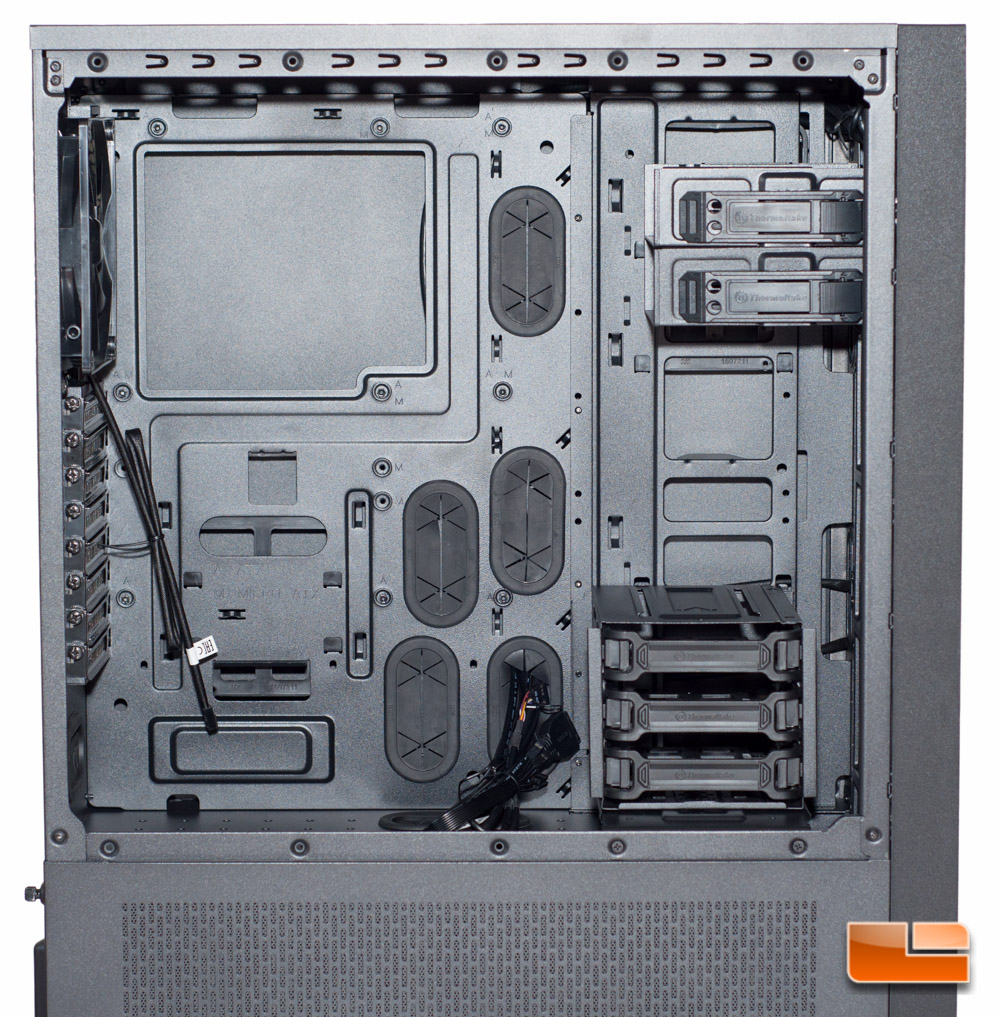
I was able to drop the motherboard in place and mount it with the included screws and had zero issues fighting the install.
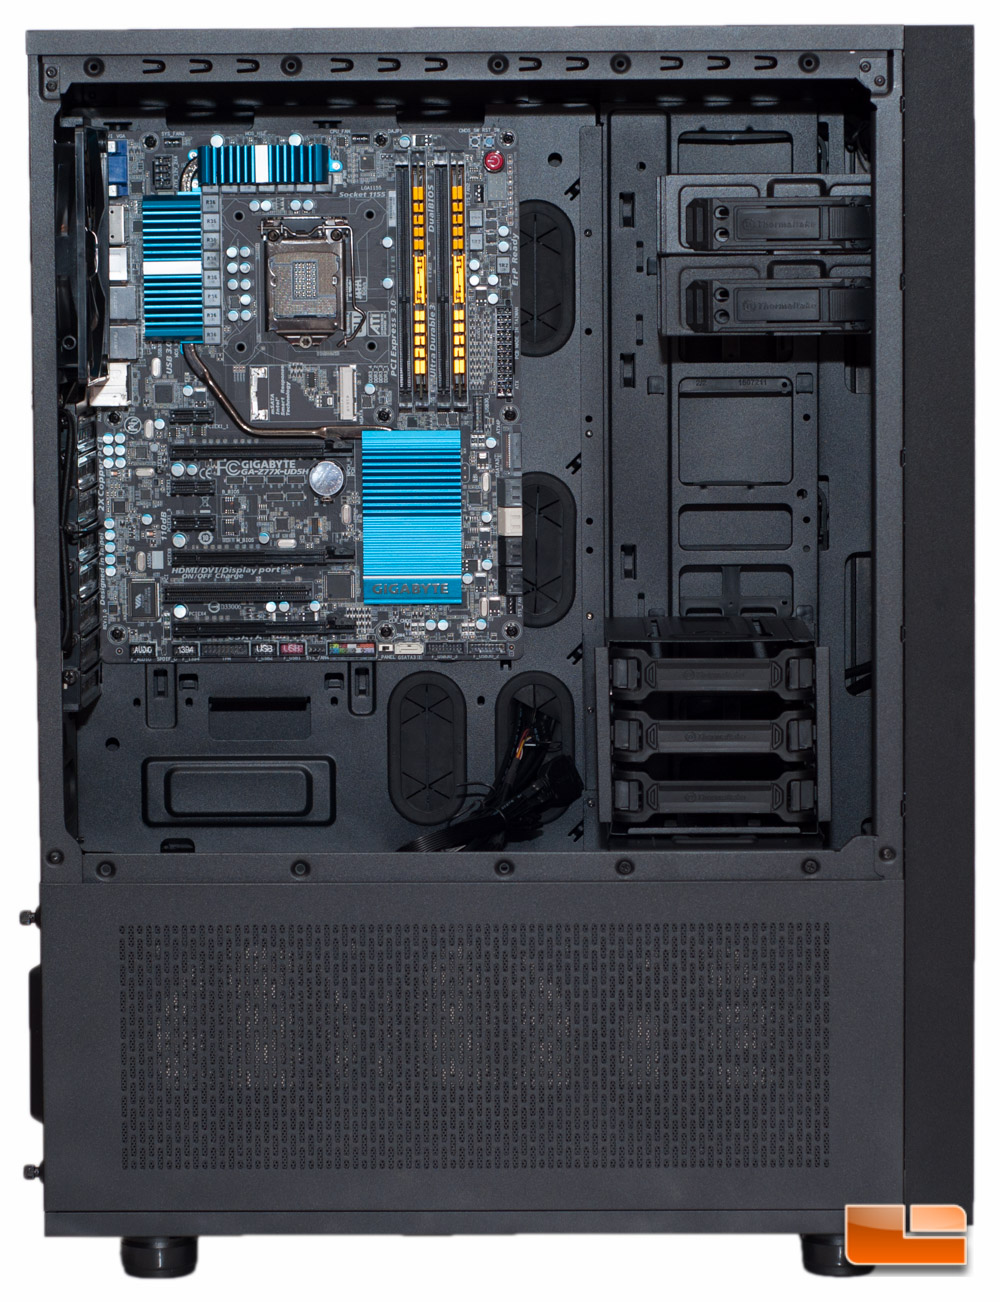
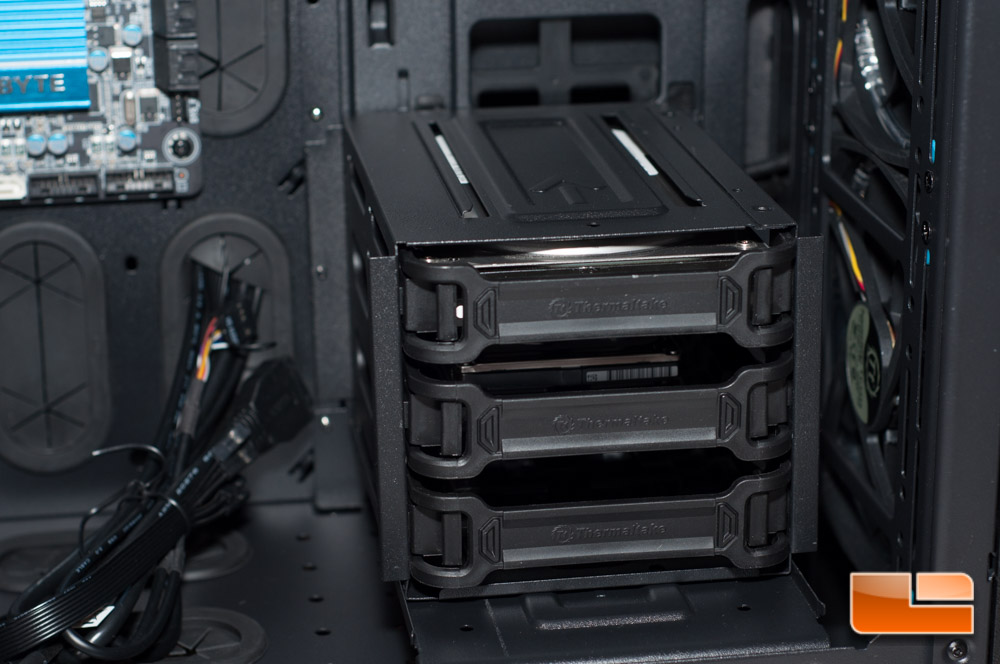
I then placed my HDDs in the areas that I wanted them, which turned out to just be in the drive cage in the main chamber.
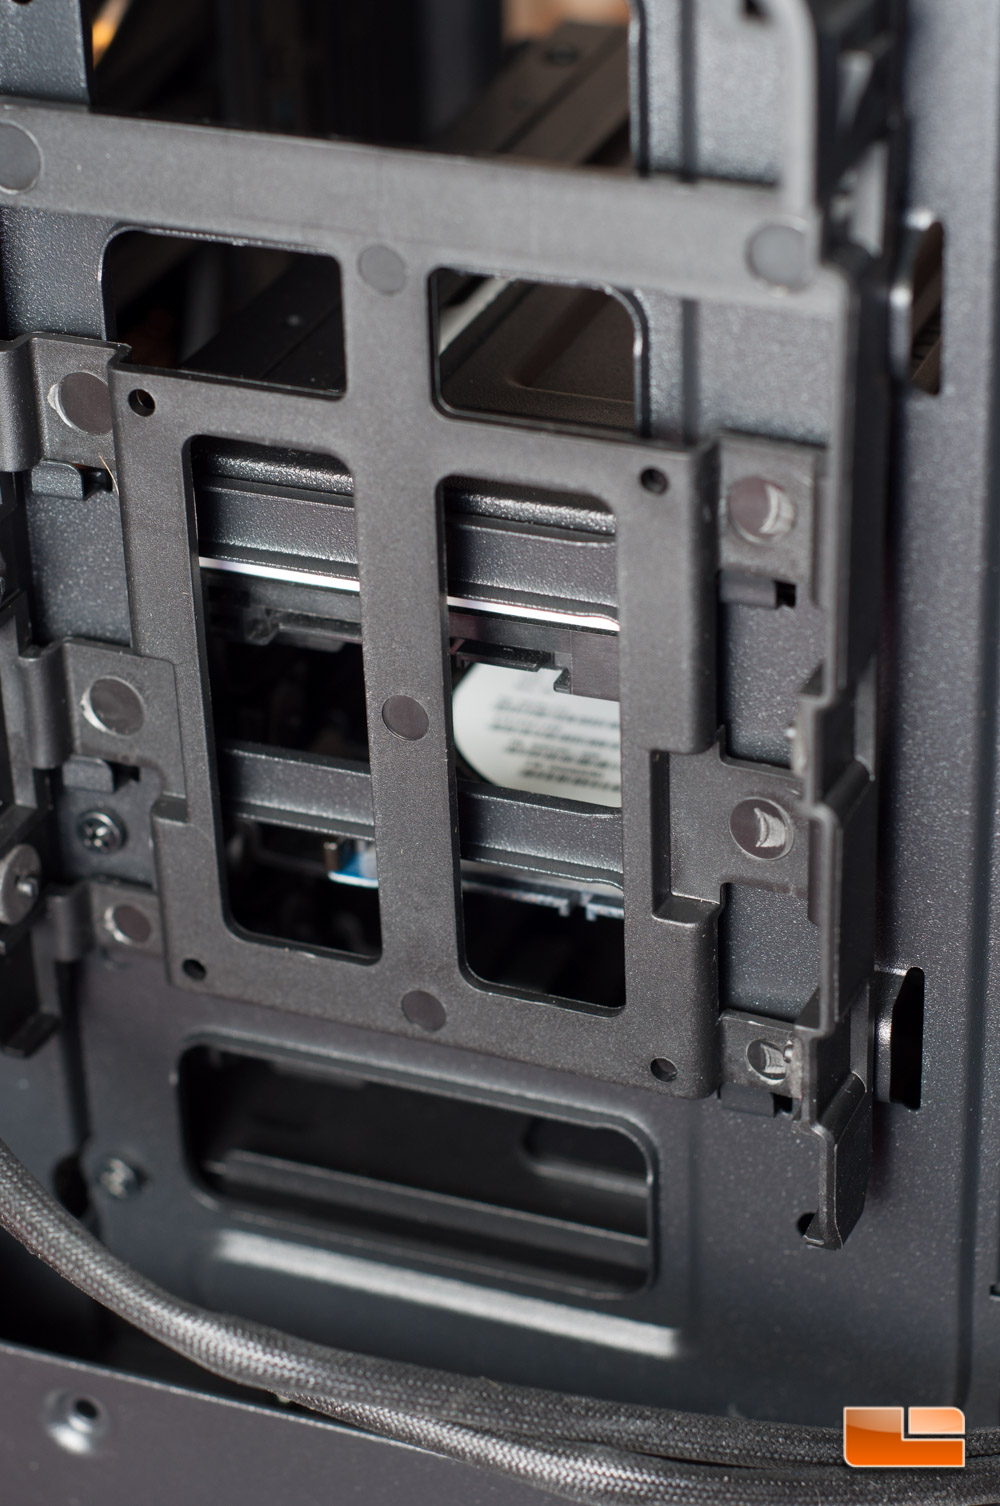
I did put a 3.5-inch and 2.5-inch drive on the backside of the motherboard tray for demonstration purposes, but I did not hook them up.
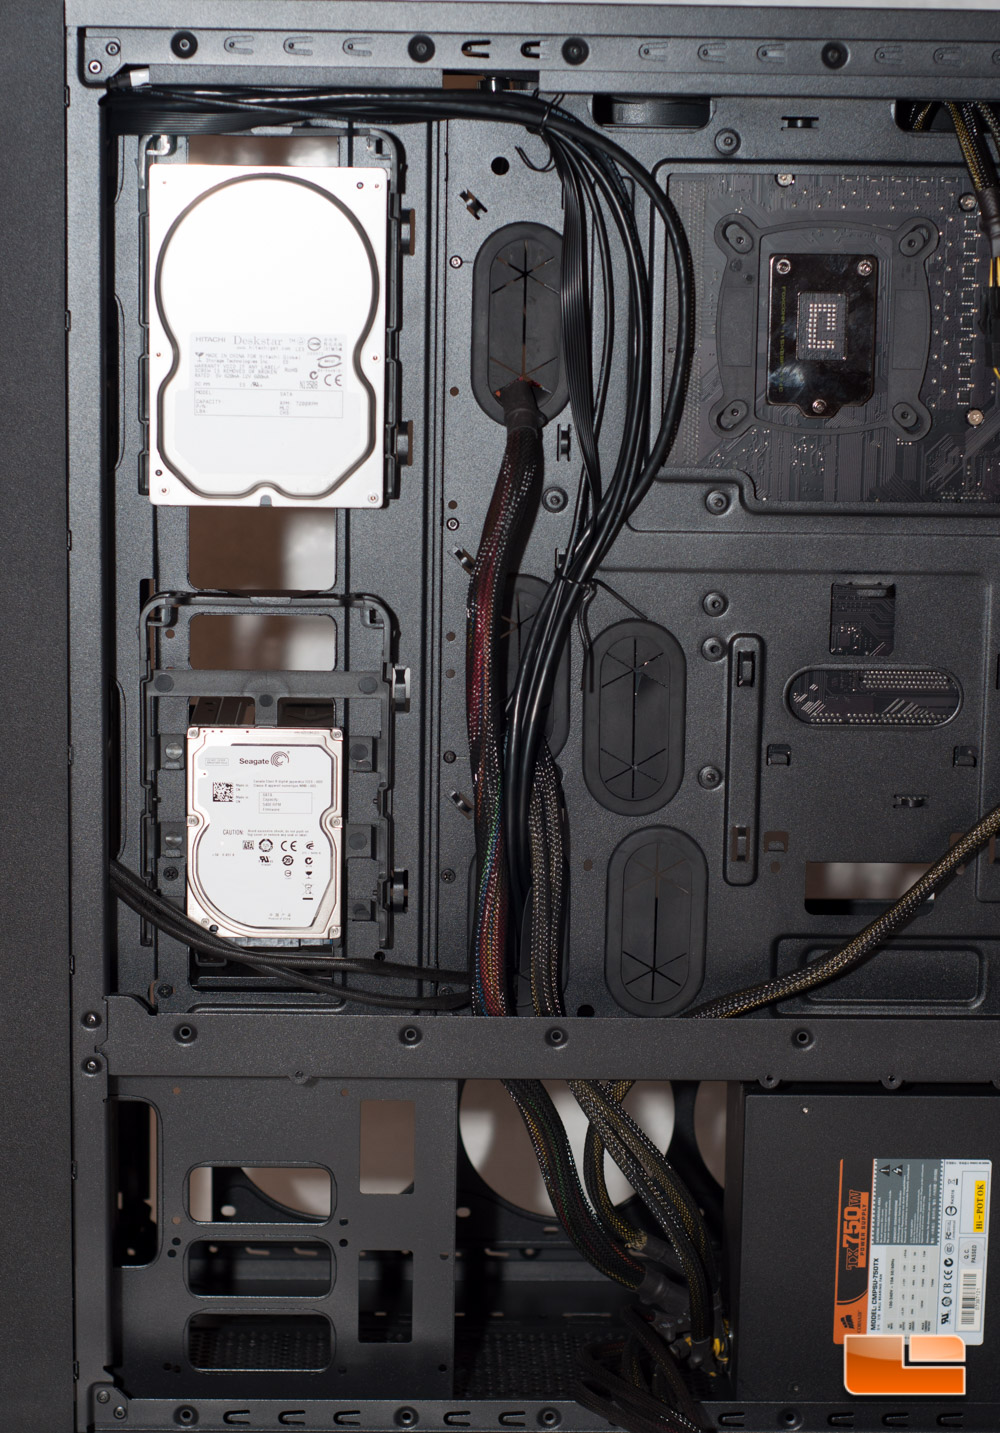
I do have to note that the third location that you could put a drive in the rear, you will not be able to access any of the drives in the cage while the cage is in the top chamber. The bracket and drive will effectively block the SATA connections, leaving you with no way to connect the drives.
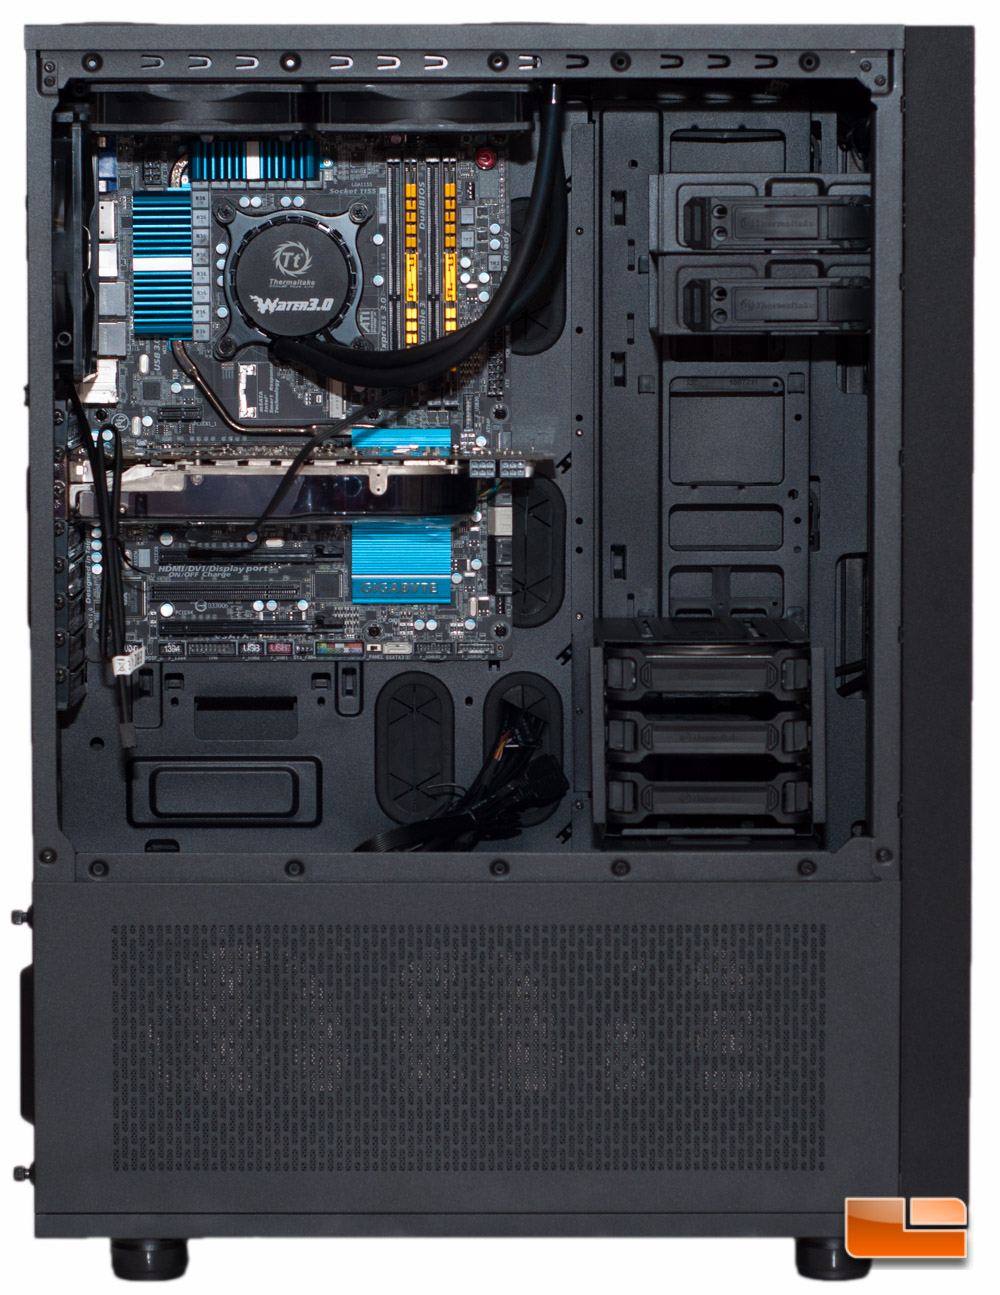
Next I mounted my video card and CPU cooler, using the Thermaltake Water 3.0 240mm cooler that I previously reviewed. I chose to do a top mount as the tubing for this cooler isnt extra-long like some other coolers can be. I found that I had zero issues fitting this cooler in place, too. There was an absurd amount of room to mount your cooler, and this is absolutely NOT a bad thing – I’m extremely happy!
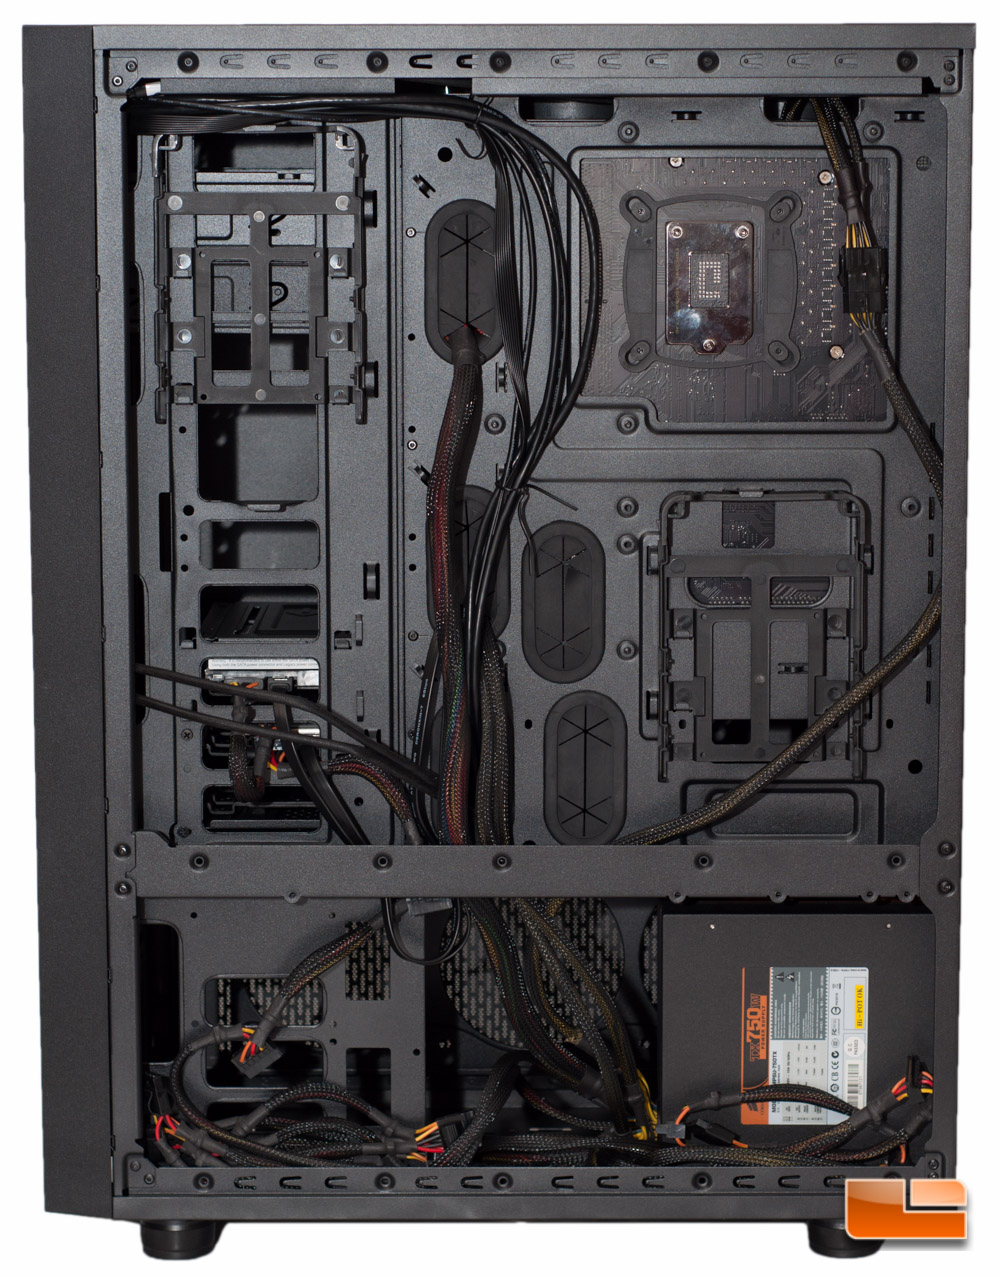
The last component that I mounted was my PSU, and fortunately was able to use the lower chamber using the included 8-pin adapter for motherboard power. If your PSUs cables arent long enough, you will end up having to use the upper chamber and just tuck your extra wires away theres plenty of space to do it. You have approximately 1.5 inches of space behind the motherboard tray to route wires, which I found simply awesome.
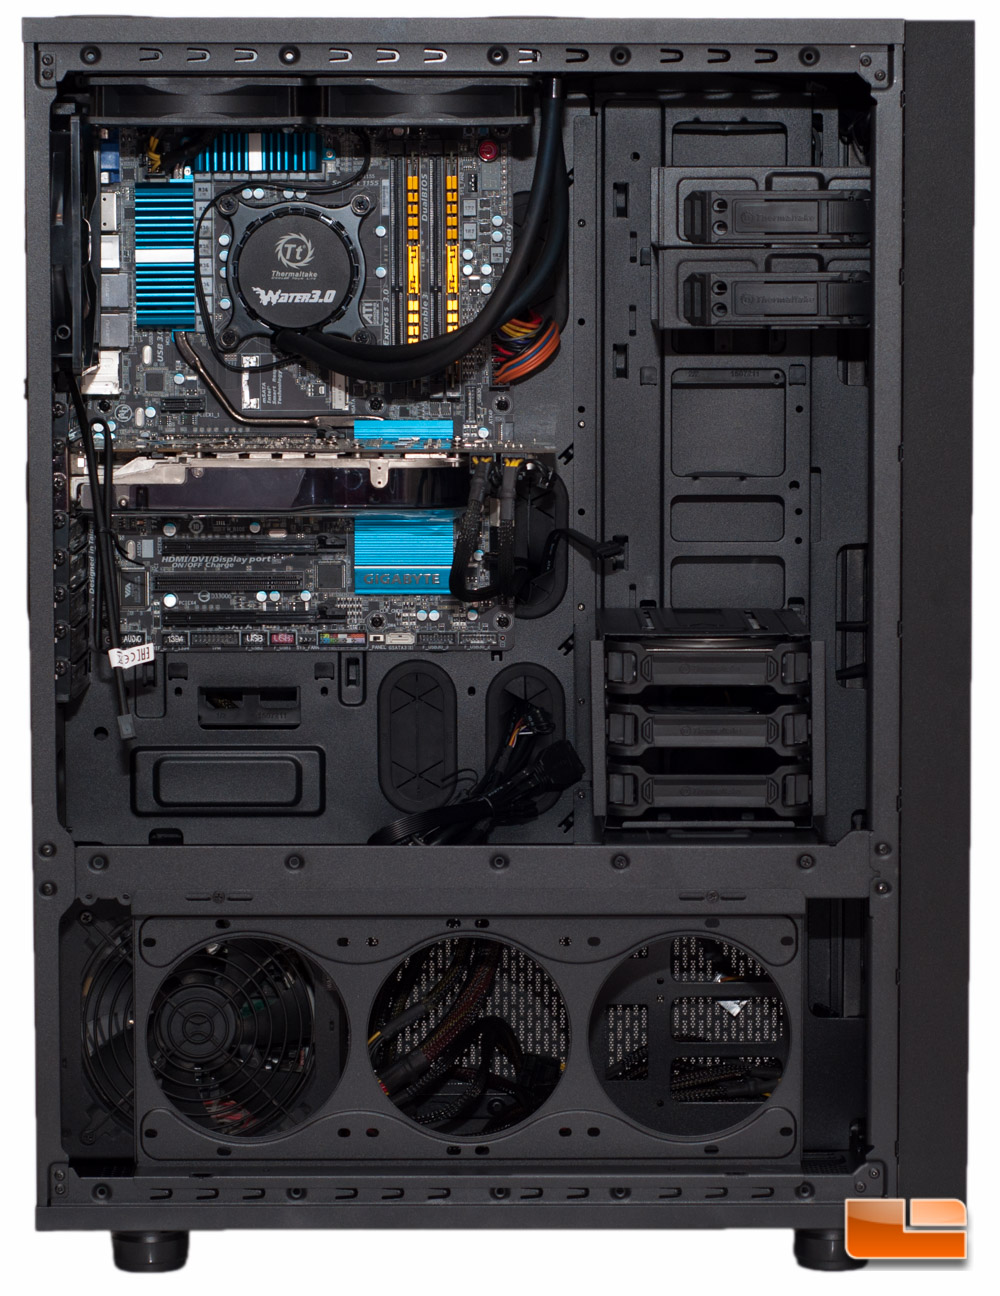
Lastly I connected everything and here is the complete system.
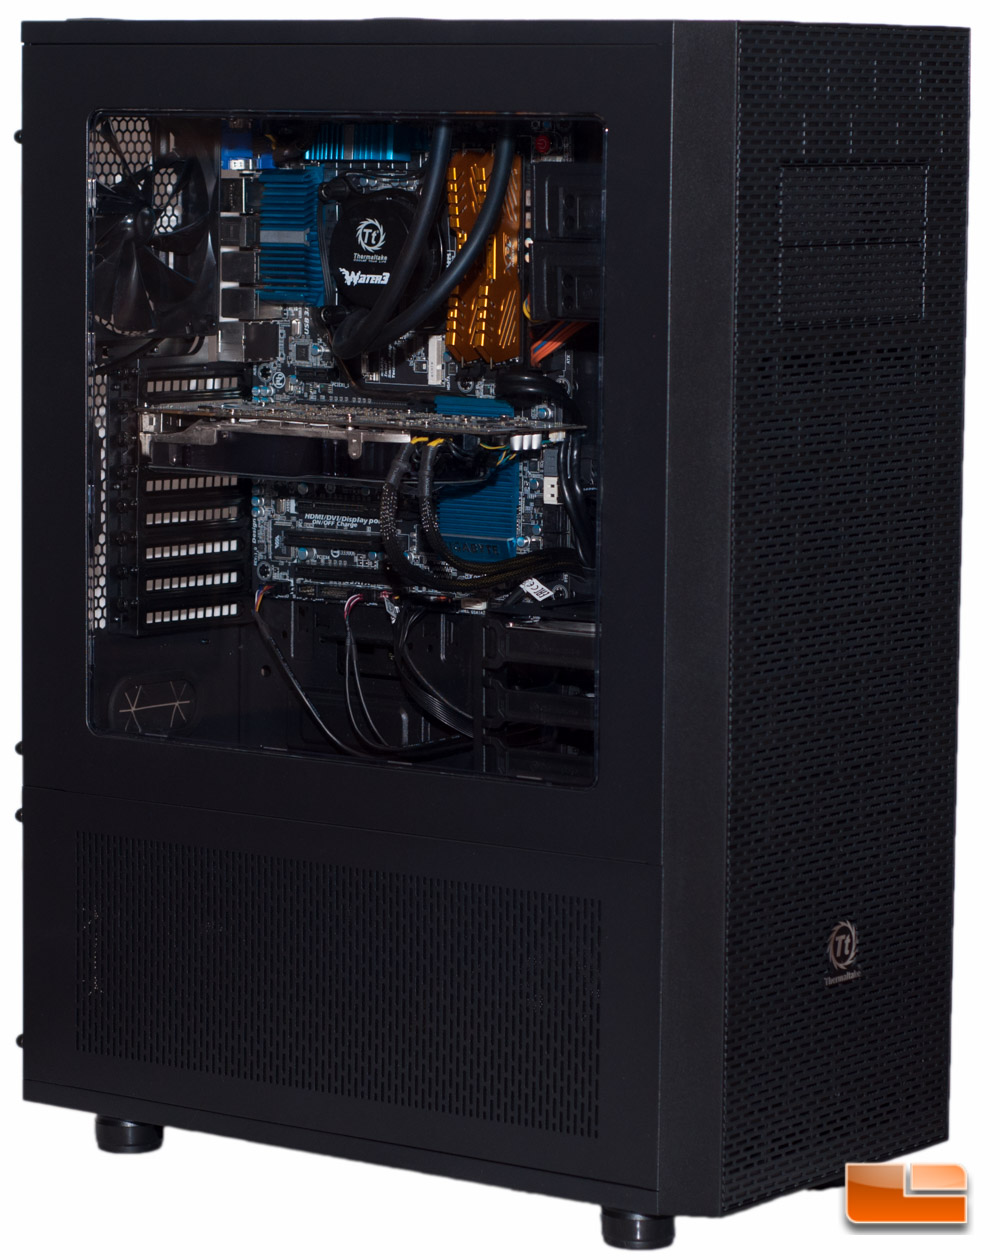
One more shot with the door on, but not powered on.
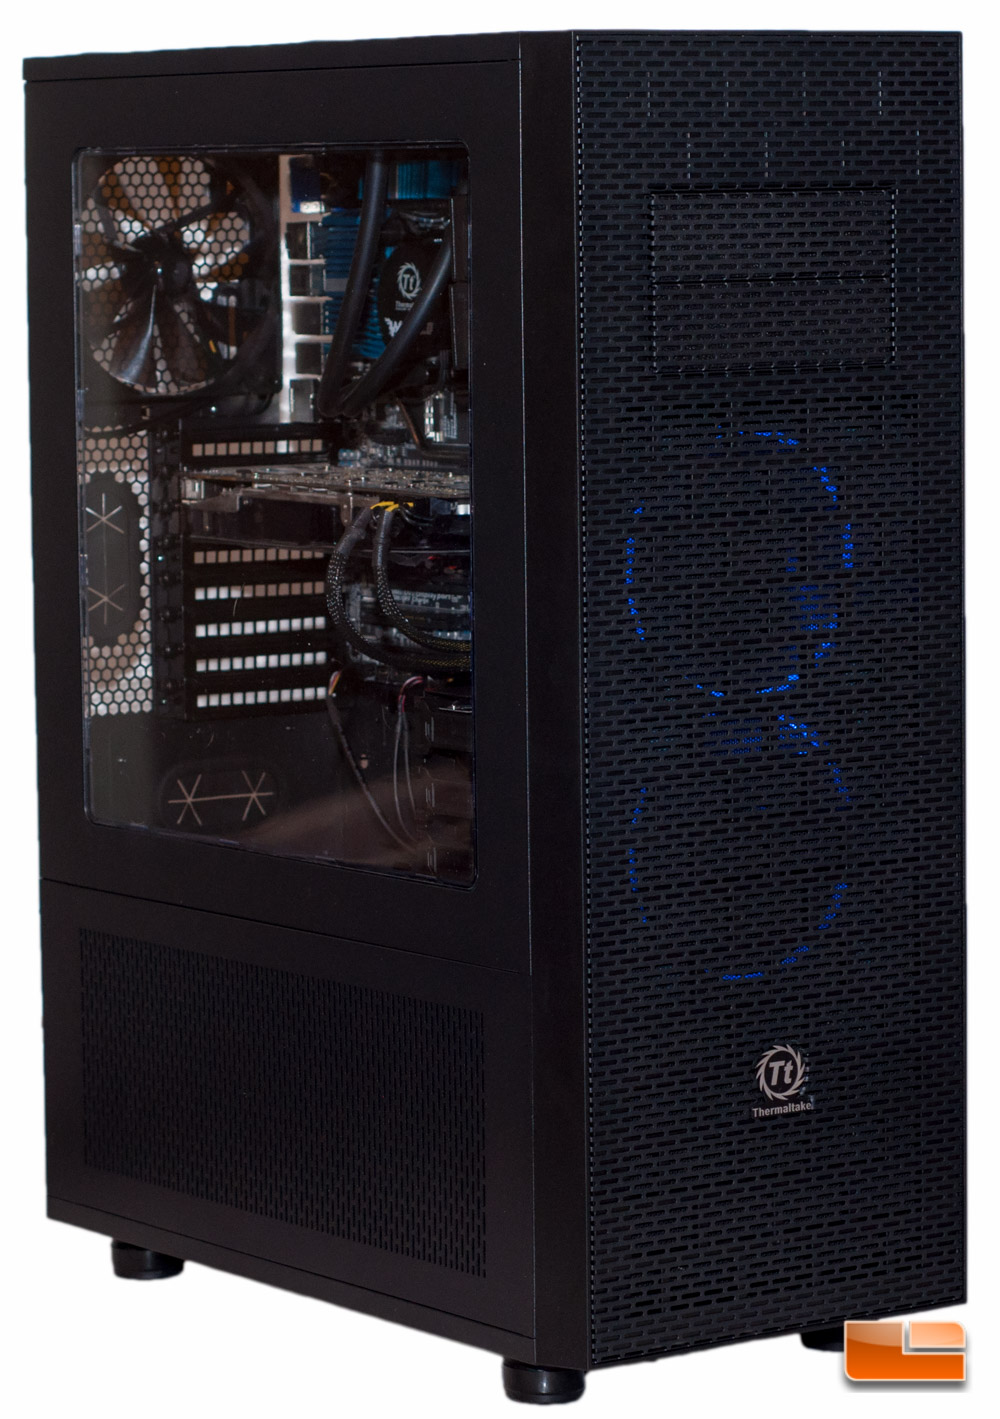
Firing up the system, I have to say the included fans are whisper quiet, so I dont think youll need that silent adapter. The blue glow from the two front Riing LED fans is a great accent behind the grille of the front cover. Unfortunately you cannot turn the LED off, so that is one con that I have to point out here.
Overall the build was incredibly easy, as you have tons of room to work with on the inside and more than enough room on the rear for wire management.
Lets wrap this review up with some final thoughts.