Thermaltake Core X71 Full-Tower Chassis Review
Core X71 Packaging and Exterior Impressions
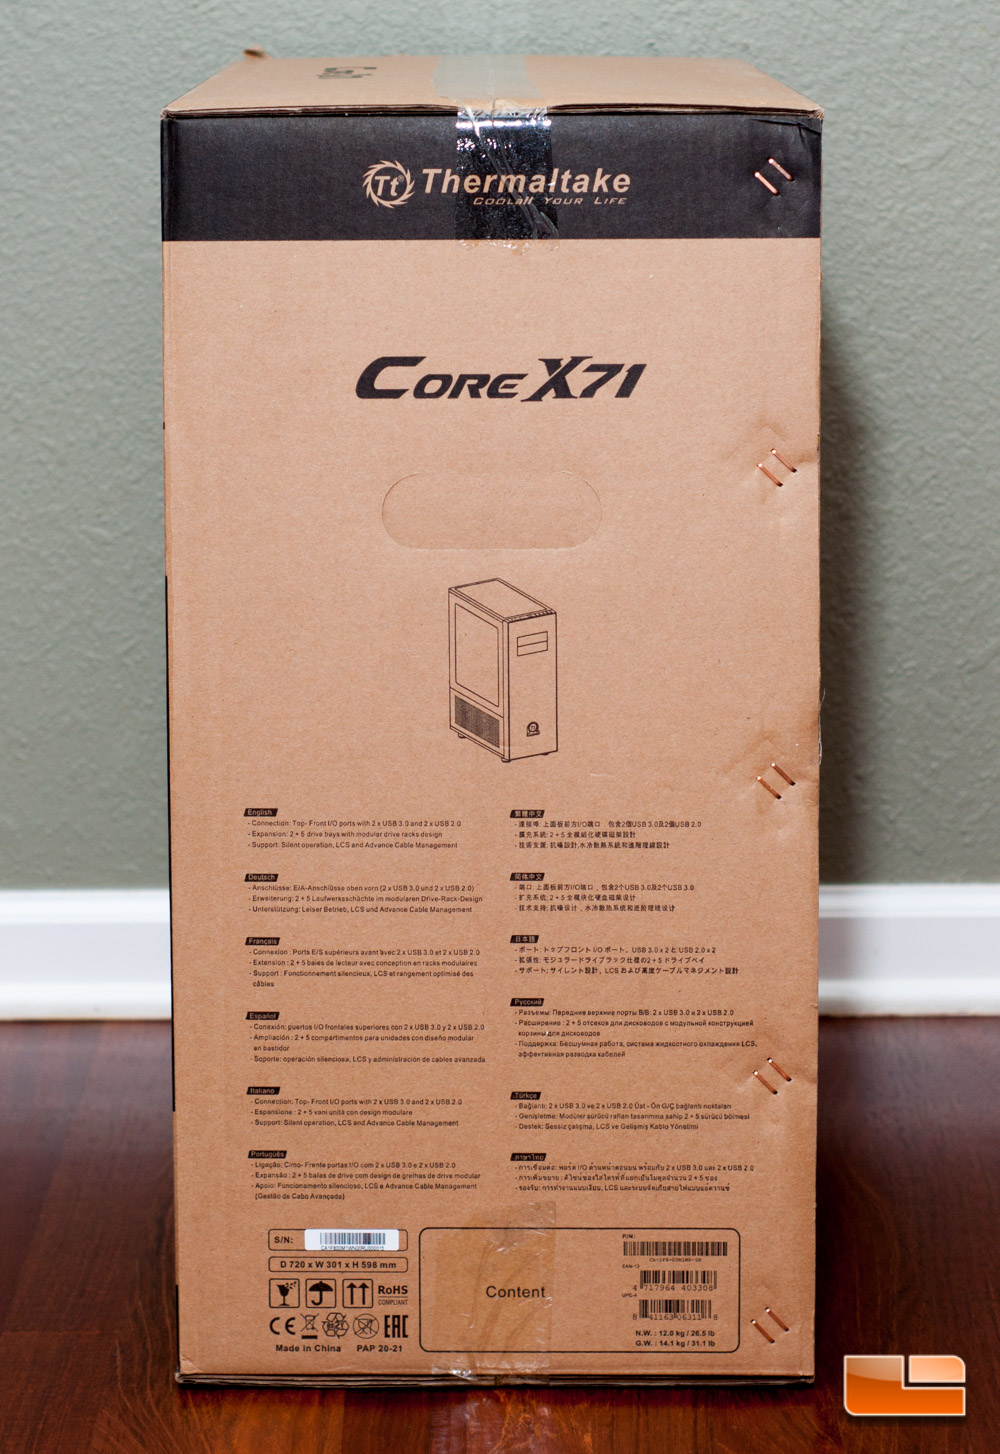
Thermaltake doesnt really do a whole lot special with their packaging, so we werent expecting a whole lot. In fact, when we were asked to review this case, they werent sure if the final packaging would be ready. To our surprise, it came shipped directly from China in a Core V71 package, with some modifications. Lets put it this way, it didnt really fully fit inside the V71 box, so they had to add cardboard to one end while leaving the flaps open.
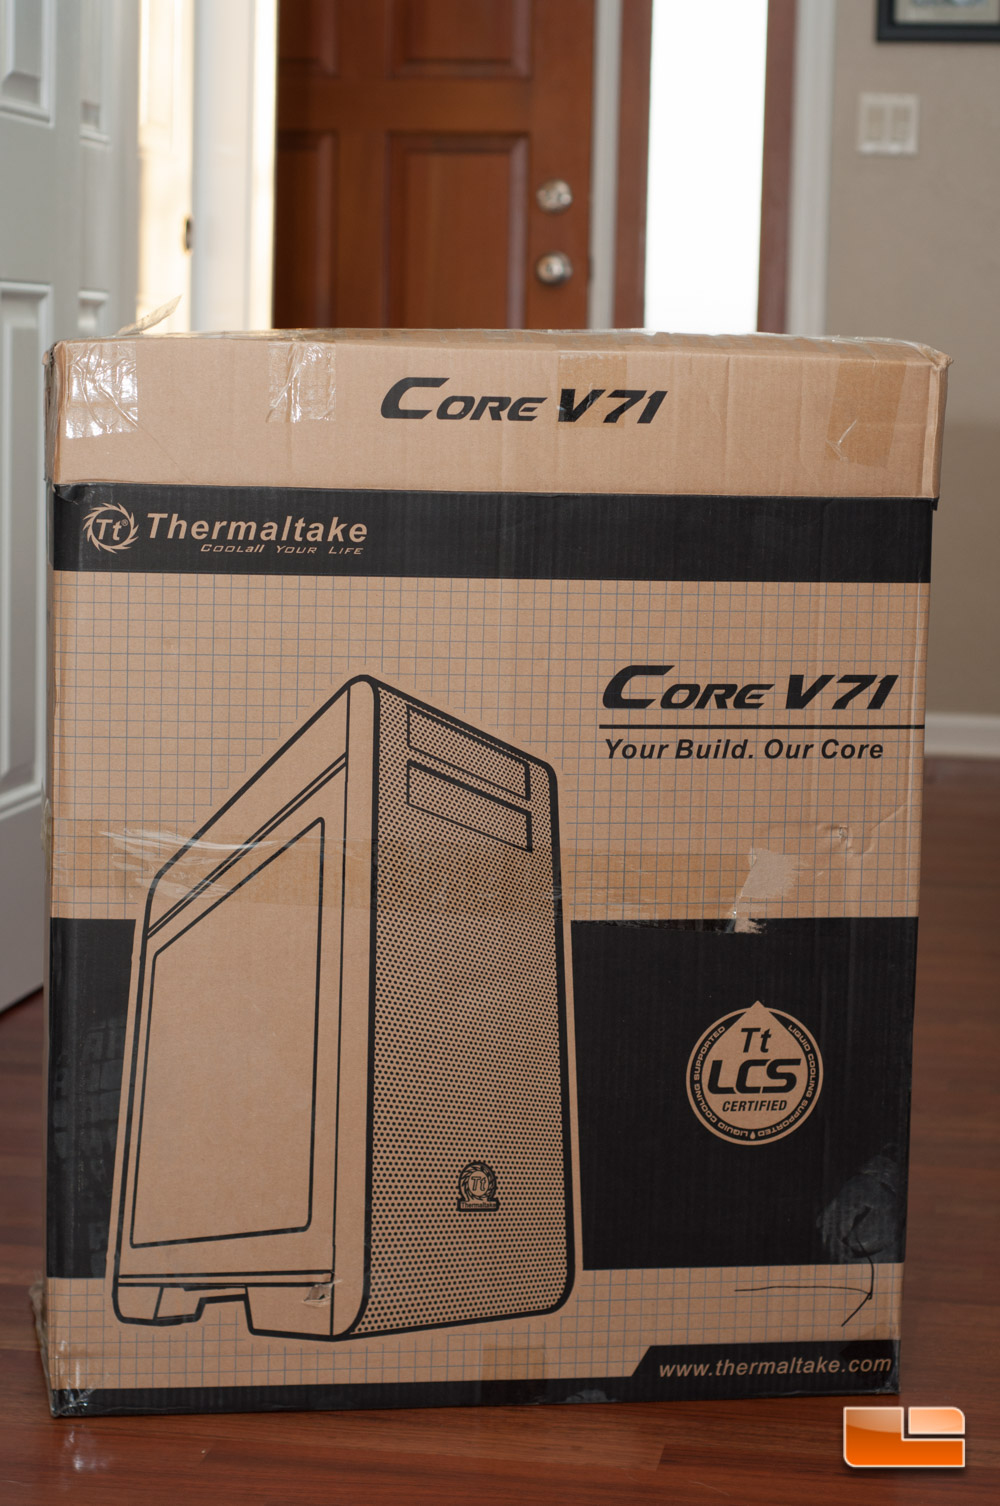
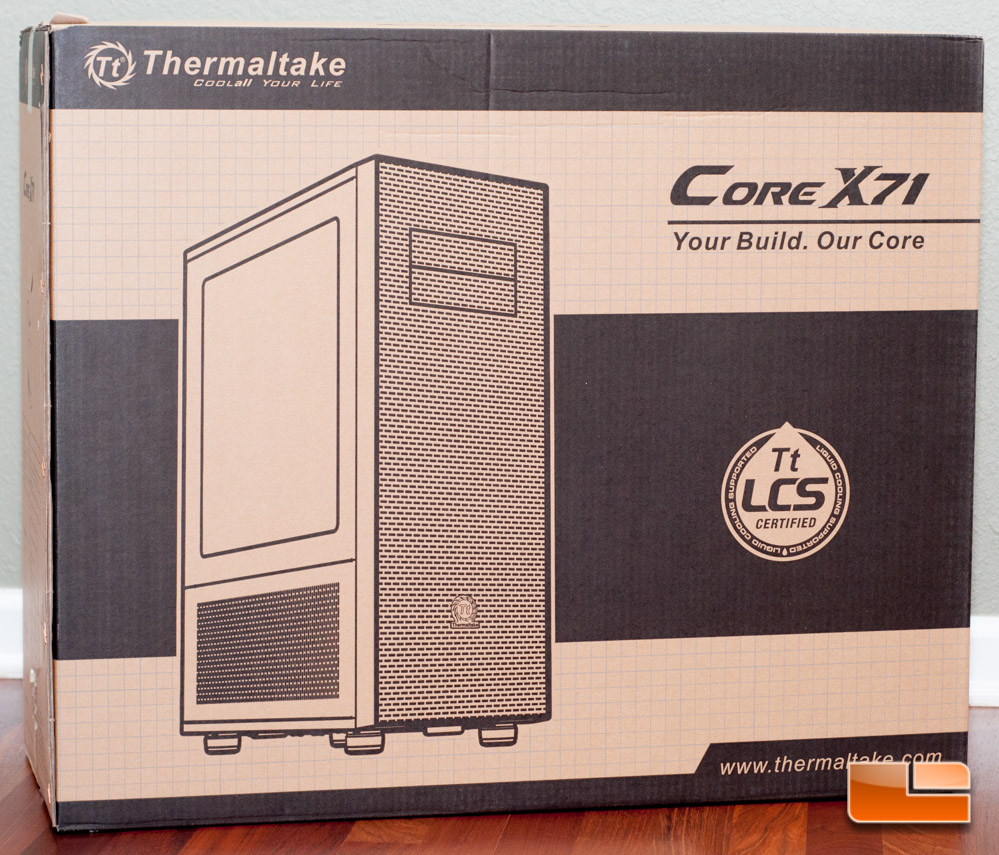
Well, upon opening the box and pulling it out of the V71 package, we were surprised to find the X71 packaging. This was likely done to keep prying eyes off of an unannounced product during shipping.
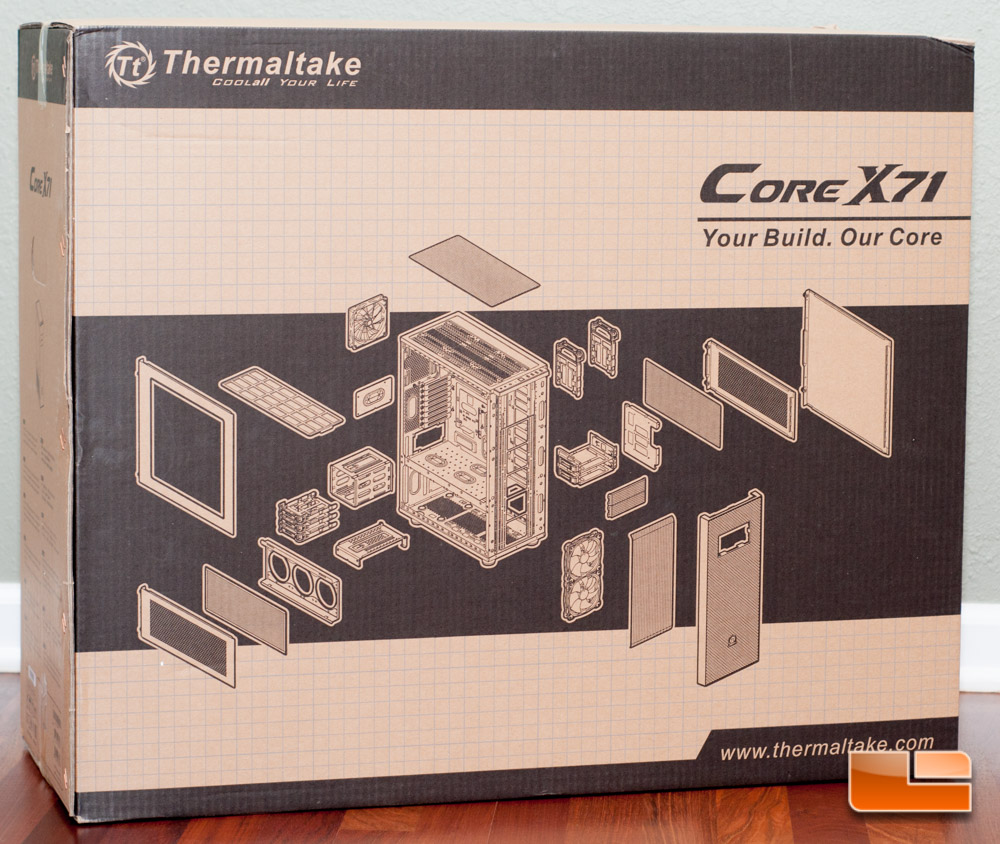
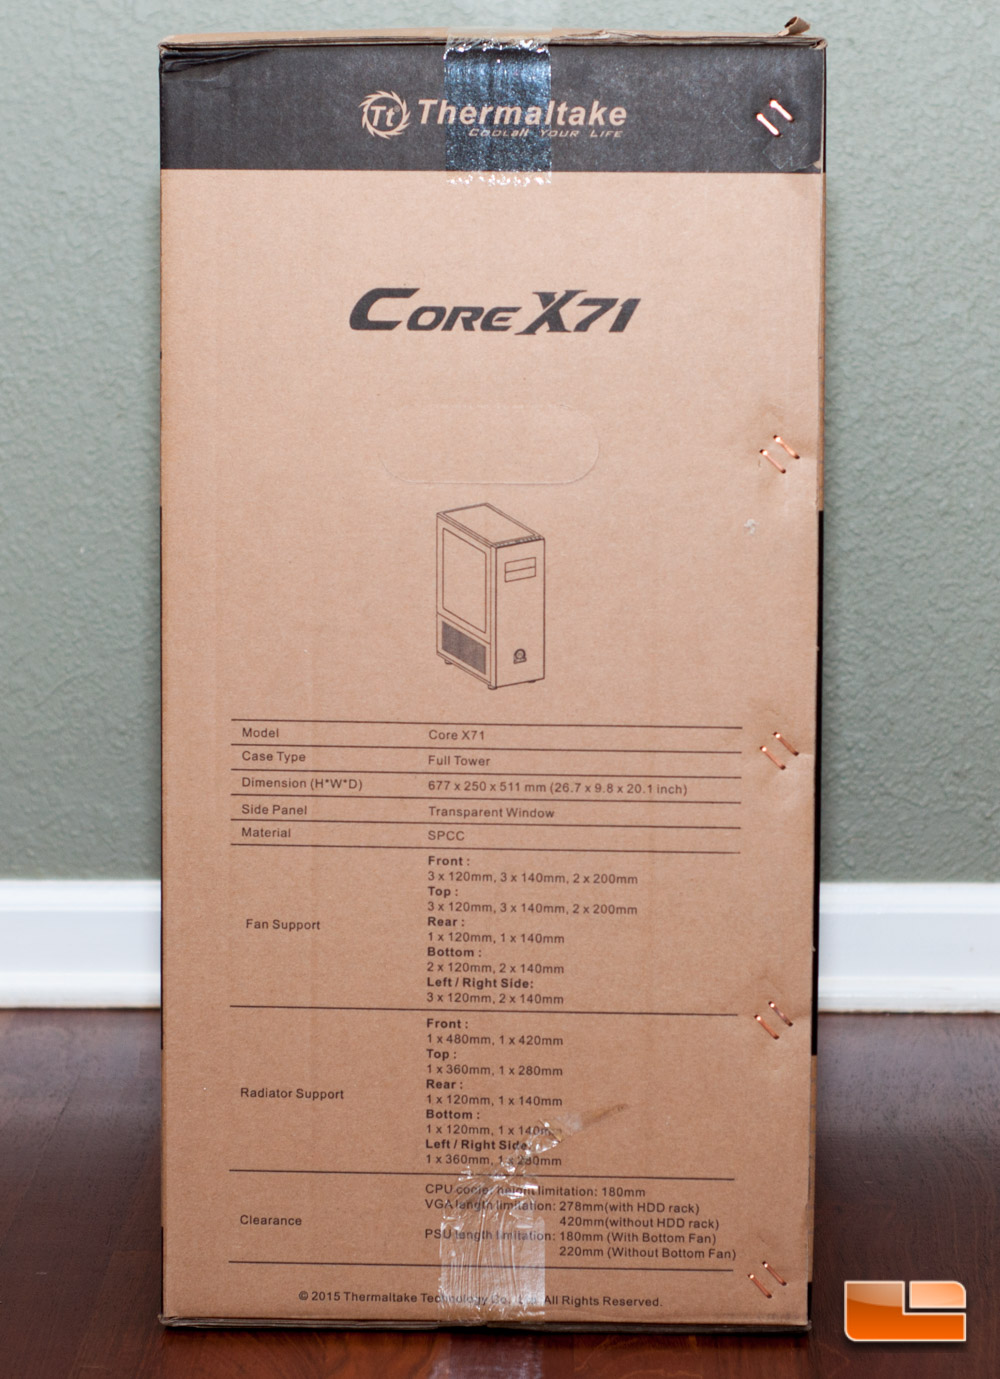
On the front of the box we have a drawing of the X71 and thats about it. Flipping to the first side we find a bunch of the technical specifications that you will find on Page 1 of this review. The next side just tells you about the top I/O connections, how many expansion bays youre receiving, and that this case is quiet with Thermaltake LCS (Liquid Cooling System) approval, and advanced cable management features are present.
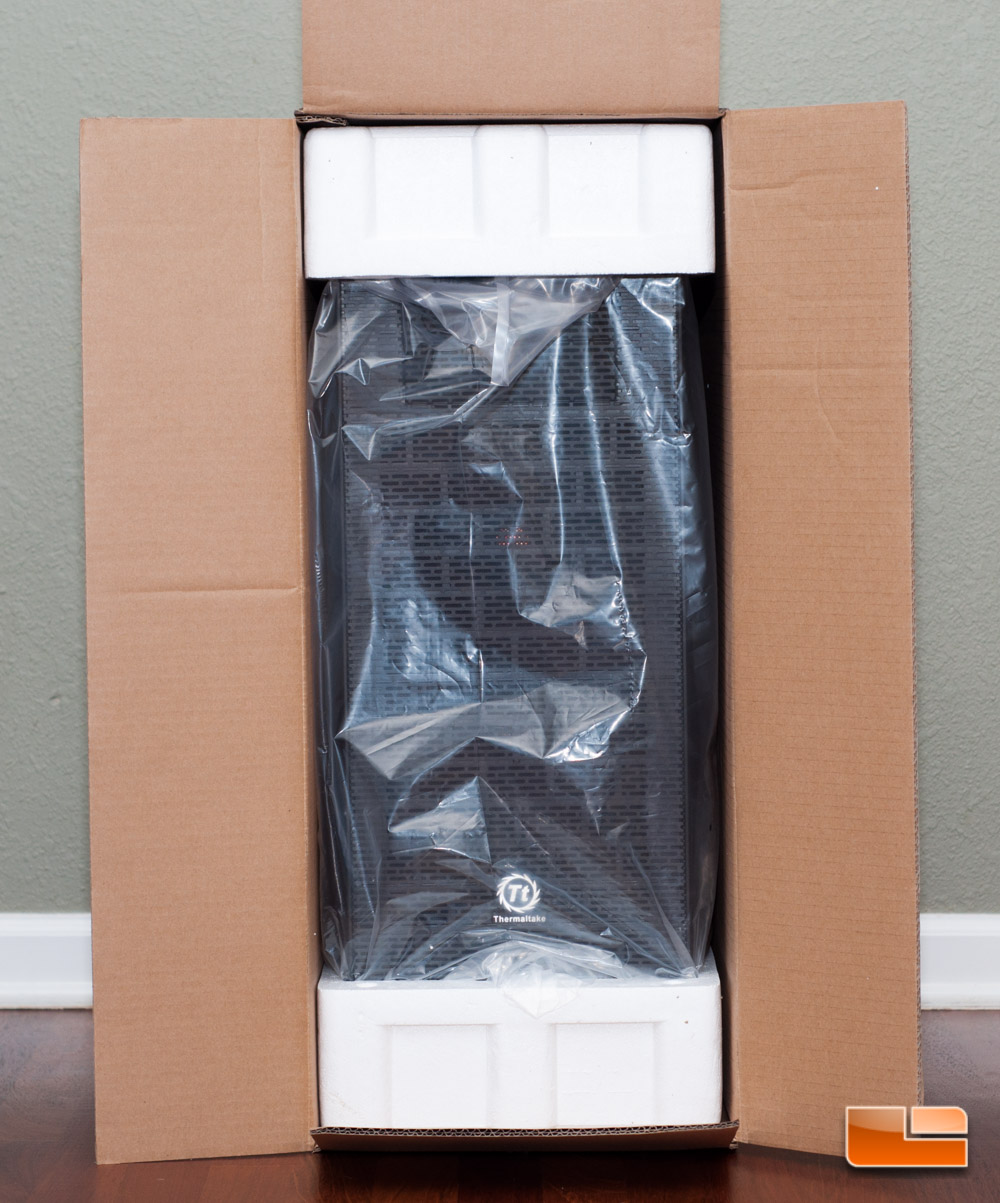
Opening up the box you will find the case is enclosed in formed Styrofoam blocks, which did protect our X71 quite well.
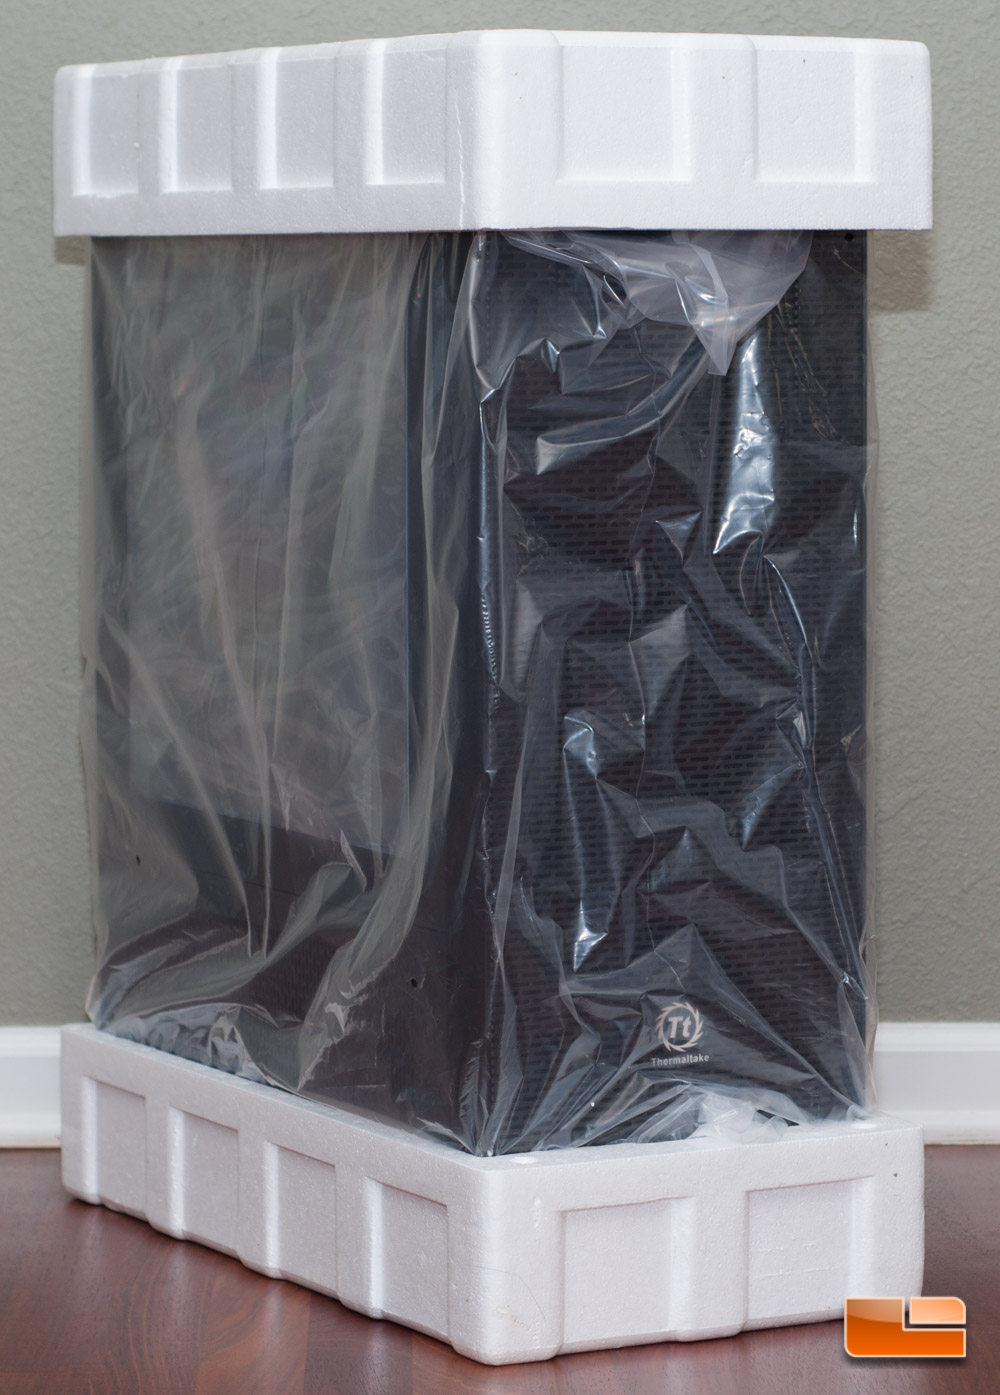
Pulling all of the packing materials off, we find that the acrylic window is protected on both sides.
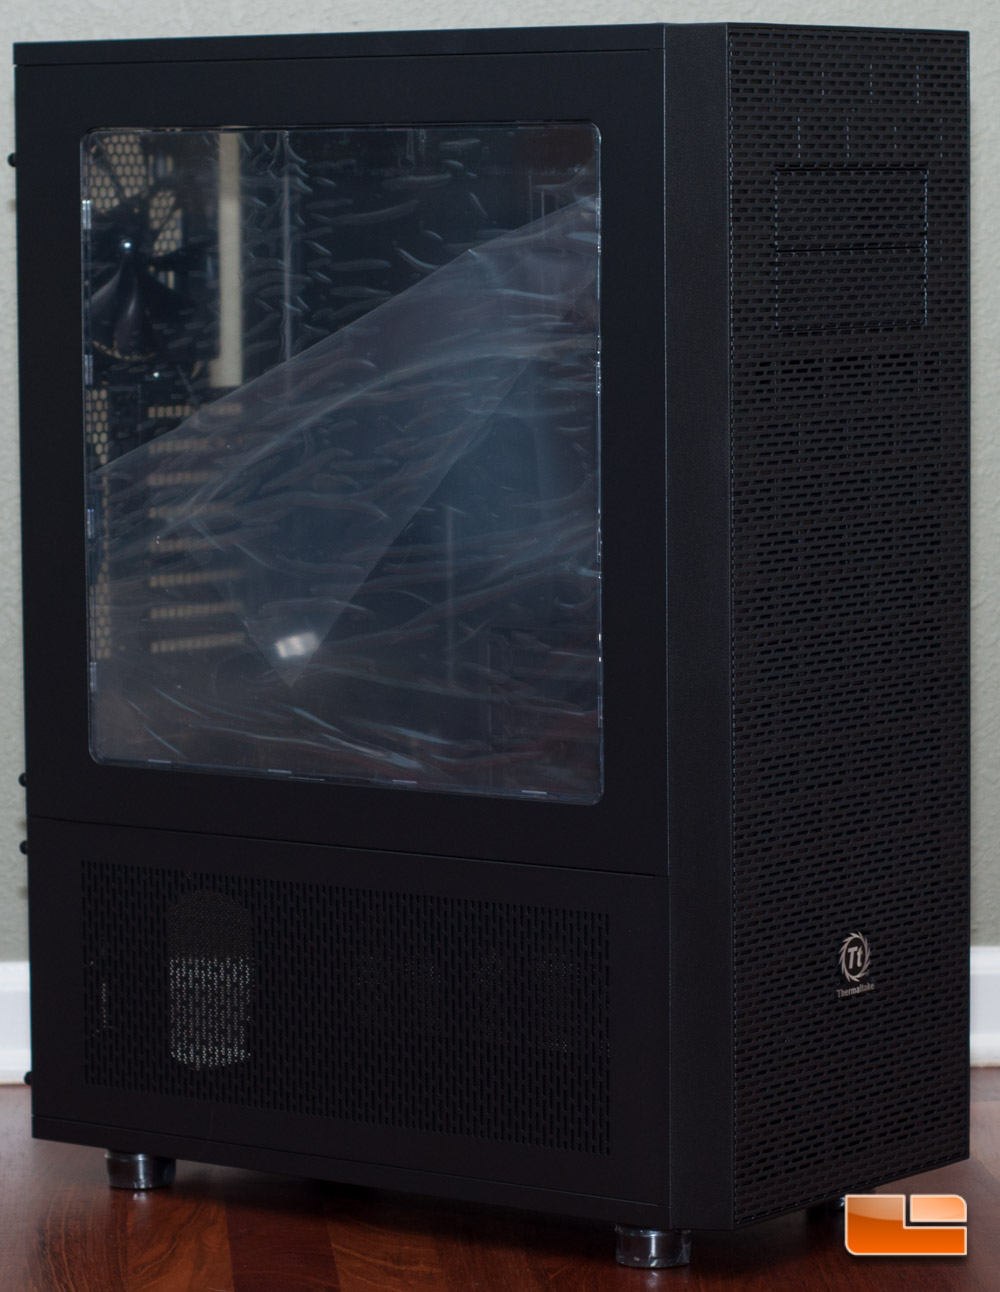
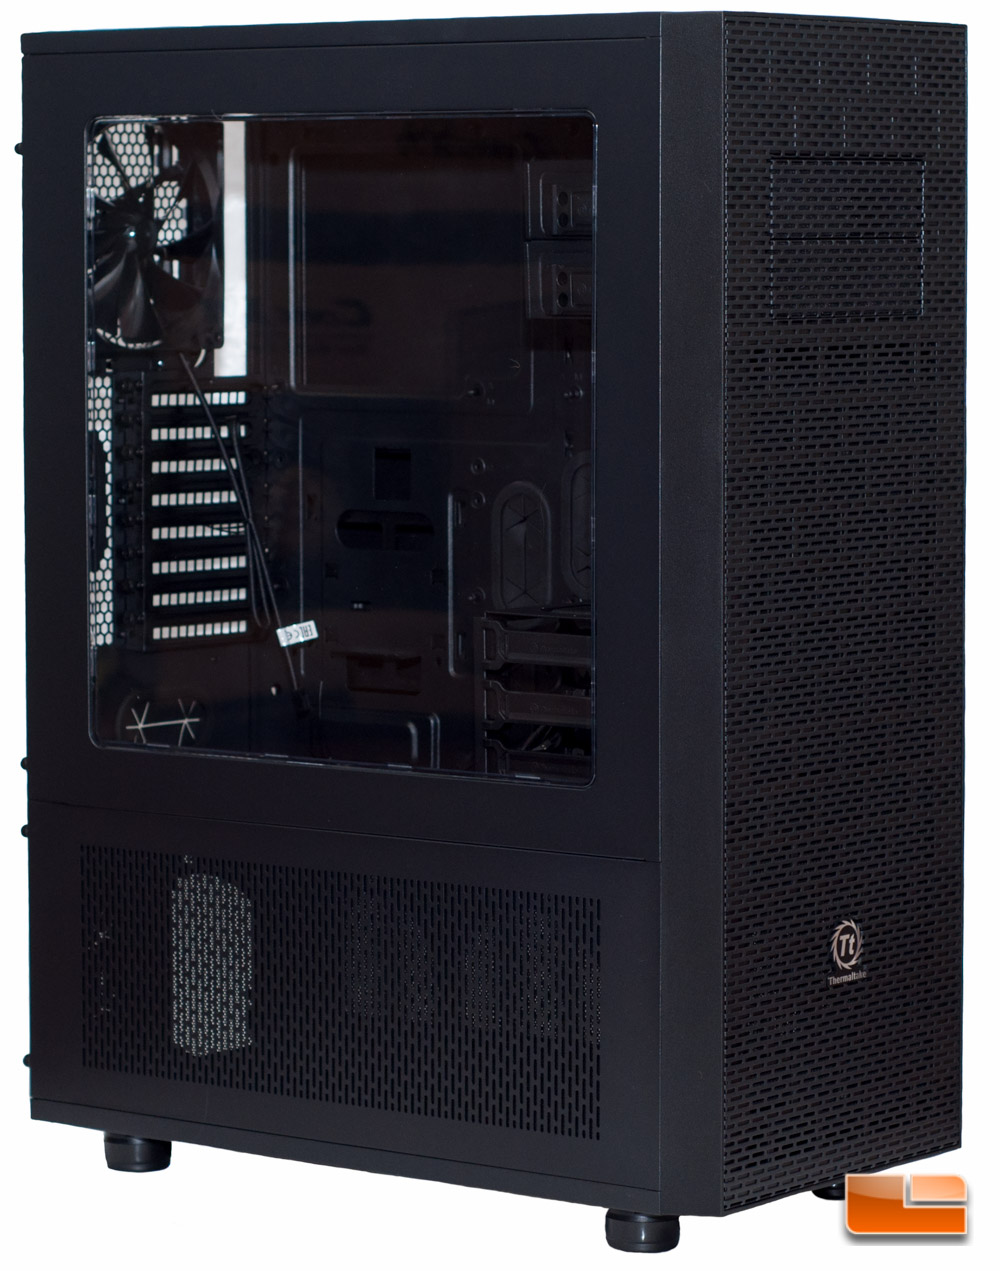
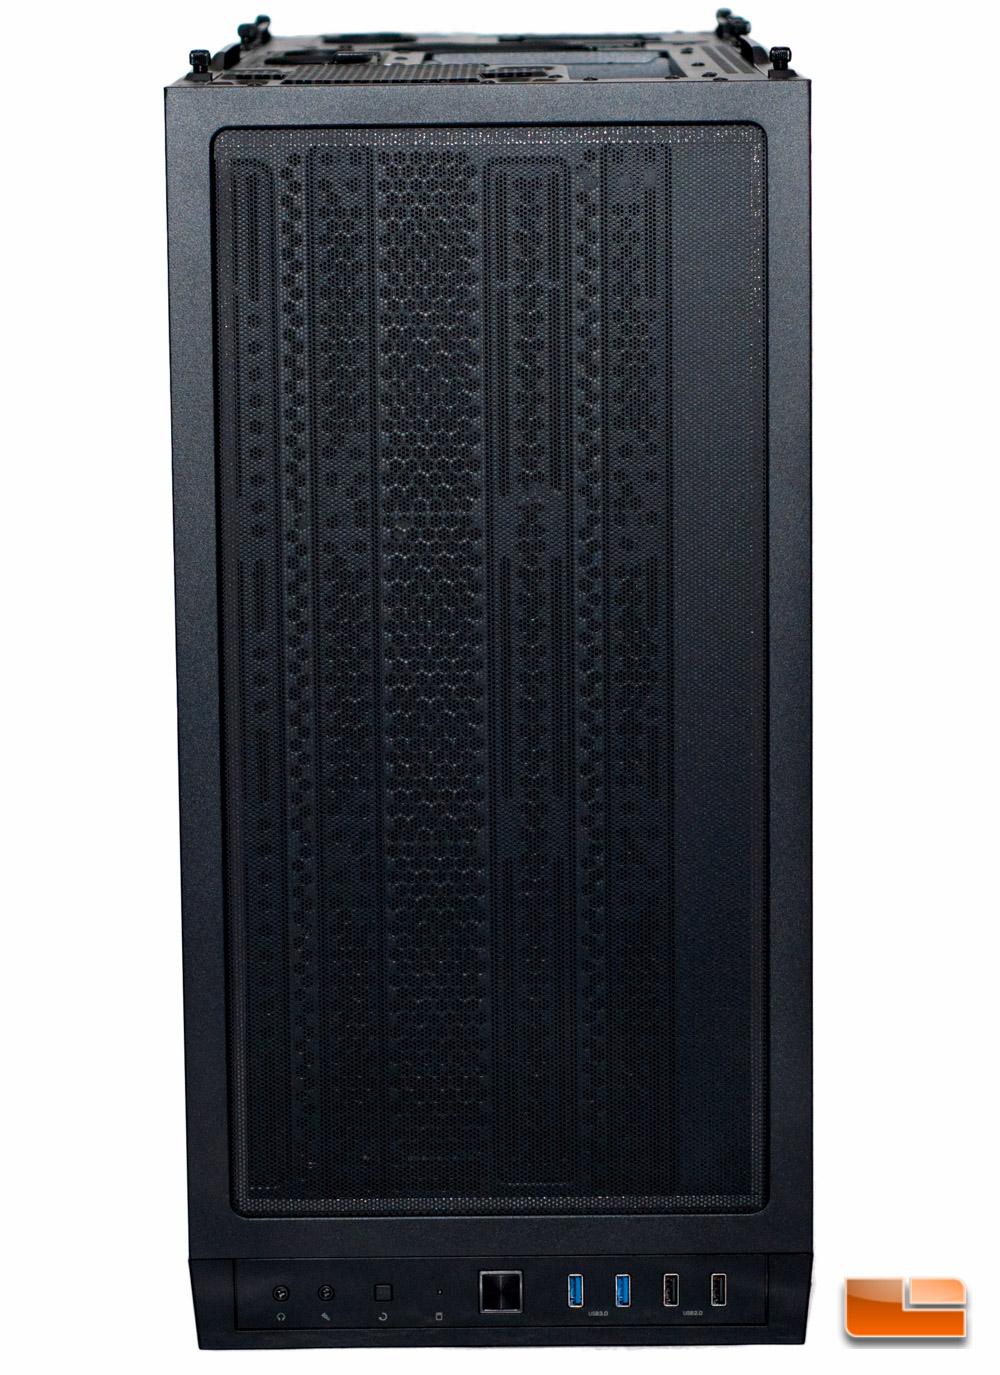
After removing the plastic protecting the acrylic, I cant help but think how nice this case looks! Im digging it on so many levels, and so much is running through my head on how I can configure this down the road with my custom cooling loop. I also am blown away with how massive the Core X71 is, with it measuring 677 x 250 x 511 mm (26.7 x 9.8 x 20.1 inches). The exterior visual features of the Core X71 are fairly similar to that of several others in the Core X series, such as the X2 that we reviewed last year.
Starting with the front of the case, youll find nicely laid out horizontal slits, which looks pretty cool. There are only two 5.25-inch bays on this case, so youll have to choose wisely with what youd like to use these for. You can either drop an optical drive (or two) into the slots, or put in 2x 3.5-inch or 4x 2.5-inch drives. Or in my case, my former custom cooling loop has a reservoir that takes up two of the 5.25-inch bays.
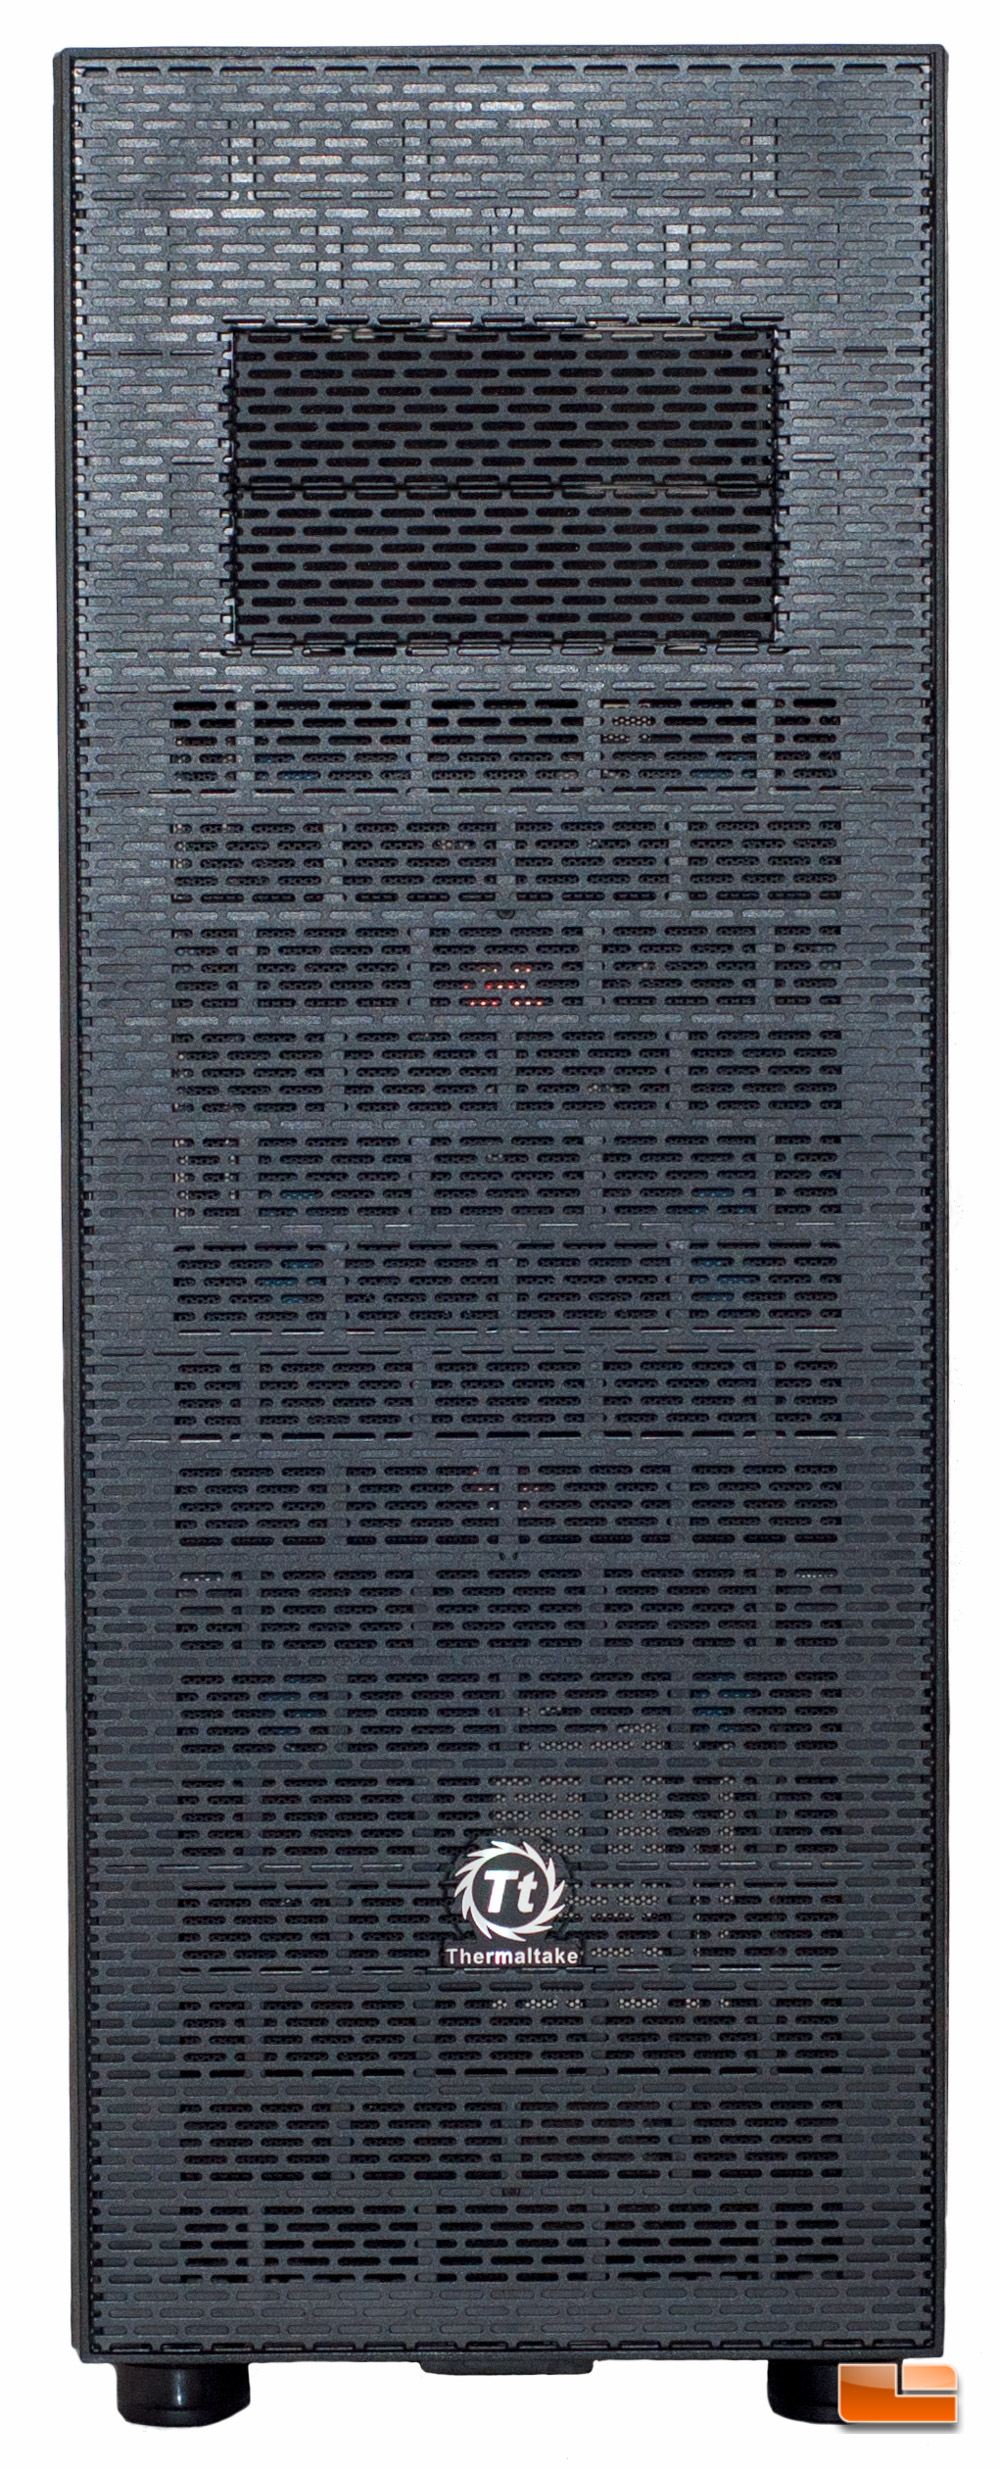
The front of the case pops off very easily, which uses the traditional method of tugging forward from the bottom. You will see the cutout to place your fingers in the forthcoming bottom shot. With the front removed, we expose the two pre-installed 140mm Riing LED Blue fans, which are rated for up to 1400 RPM @ 28 dBA.
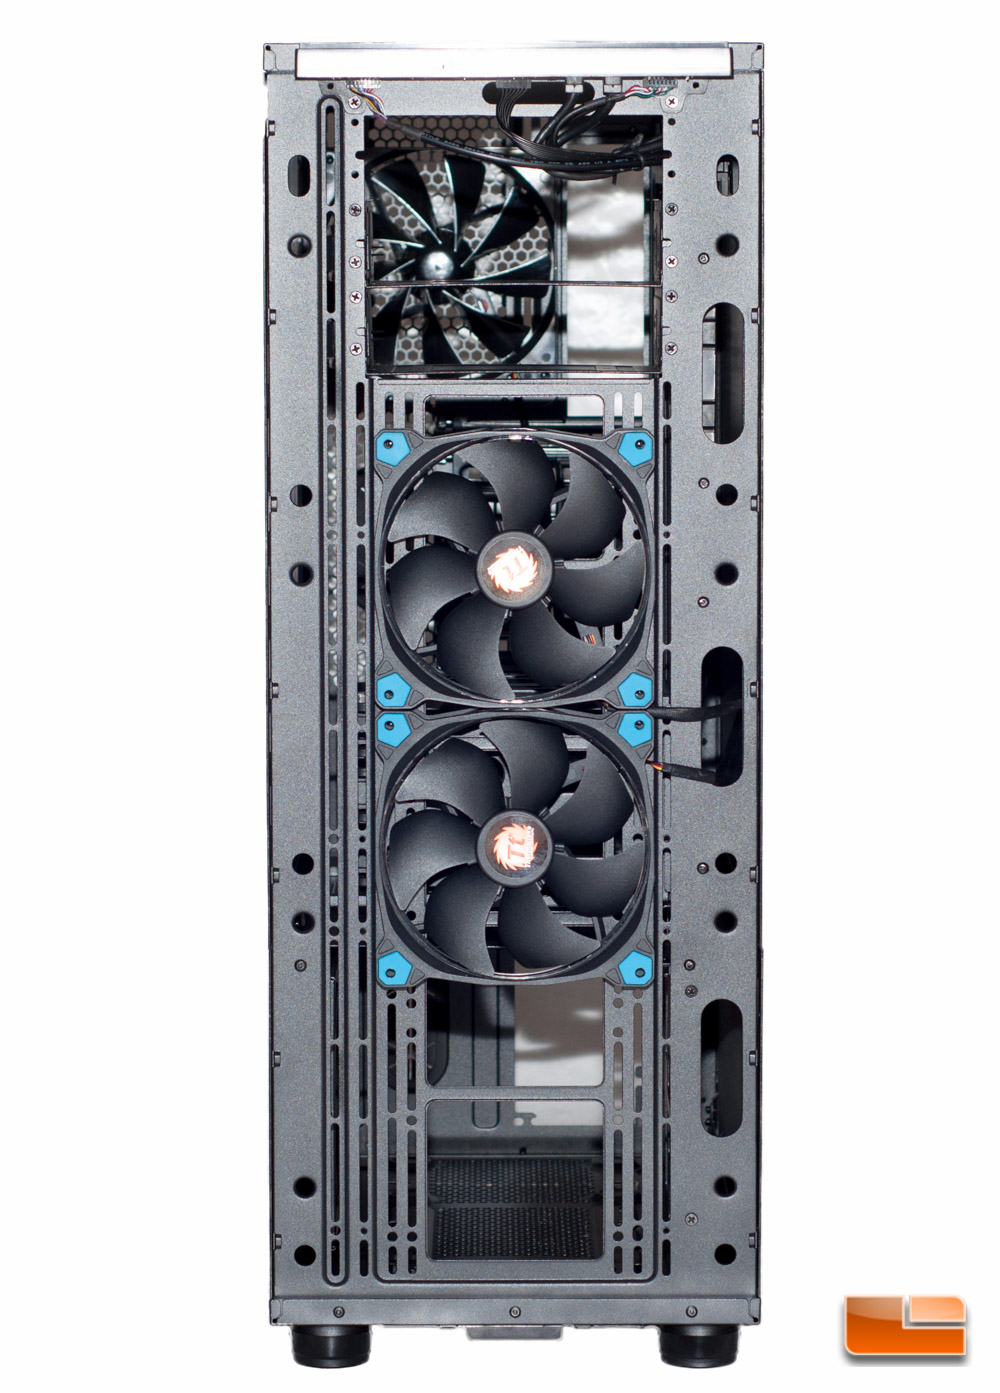
The front is filtered, just like darn near every other opening on this case. Behind the 5.25-inch fillers, youll find foam filters in place.
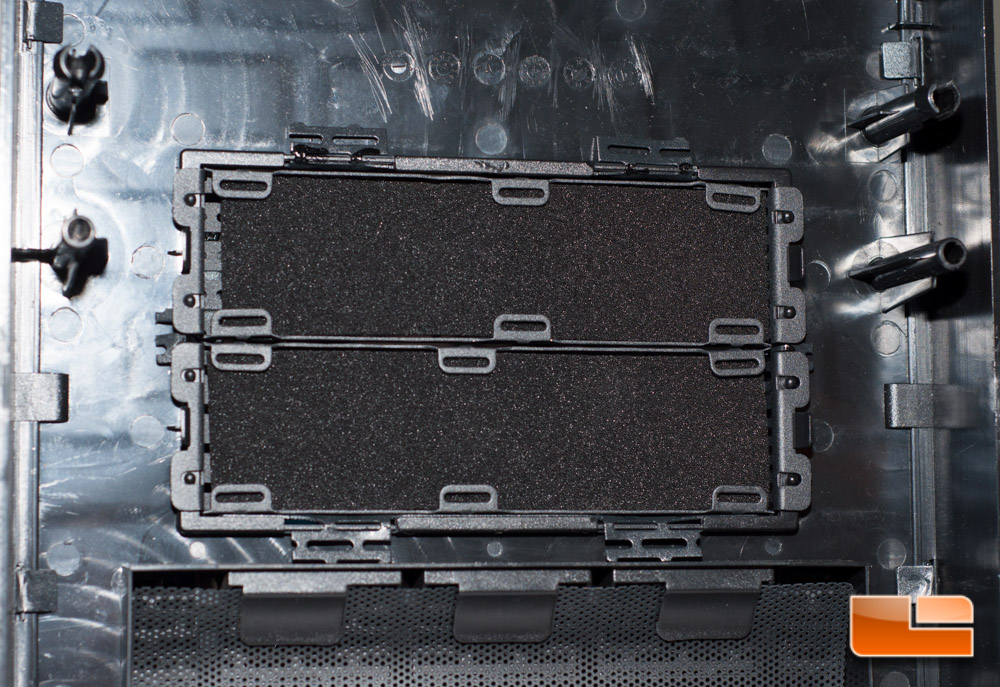
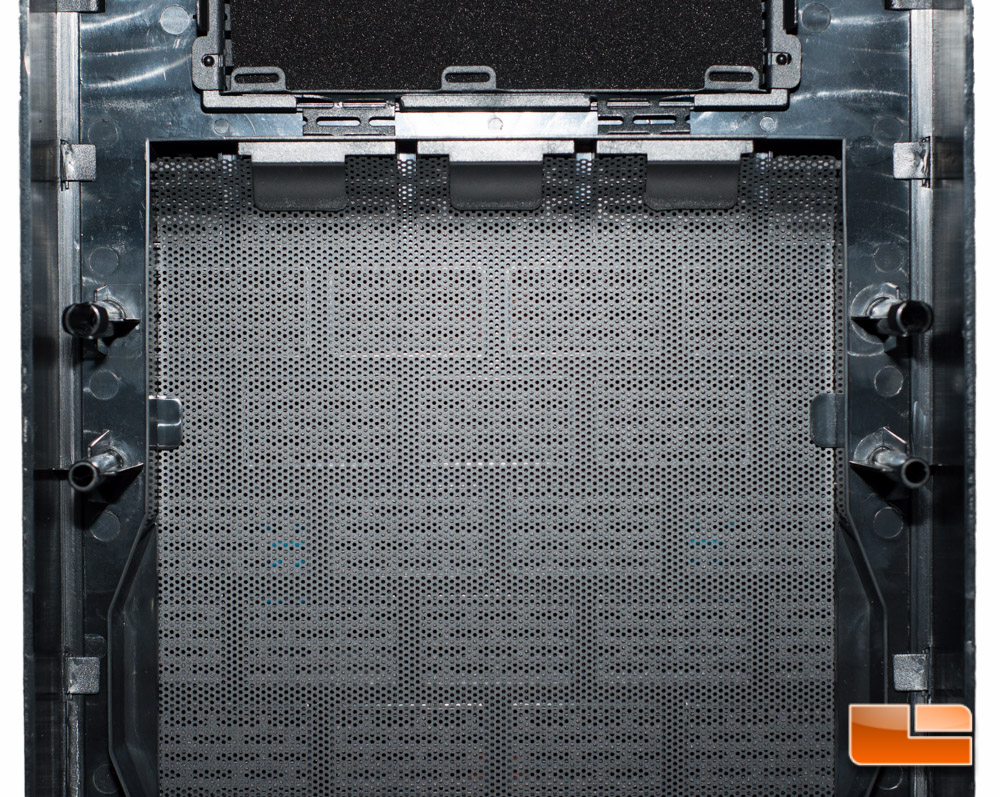
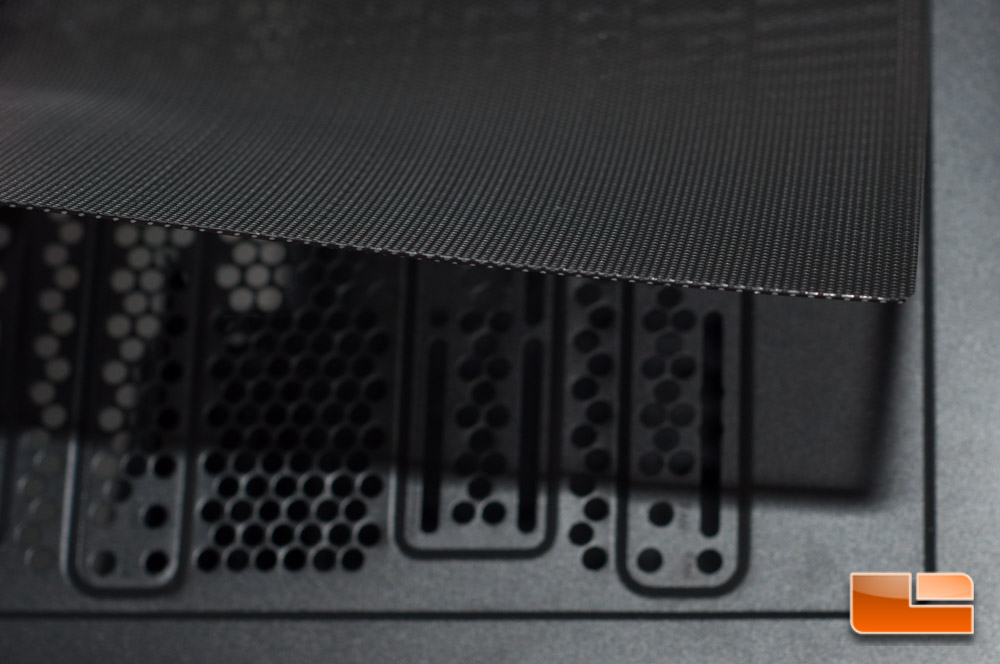
Below the 5.25-inch bays, where the intake fans reside, is a removable mesh filter, which is identical to what is found on the top and bottom sides. This filter is not magnetic, rather you just have to tug it out, releasing it from its retaining clips. There are slots to tug it, as seen on the bottom of both below pictures.
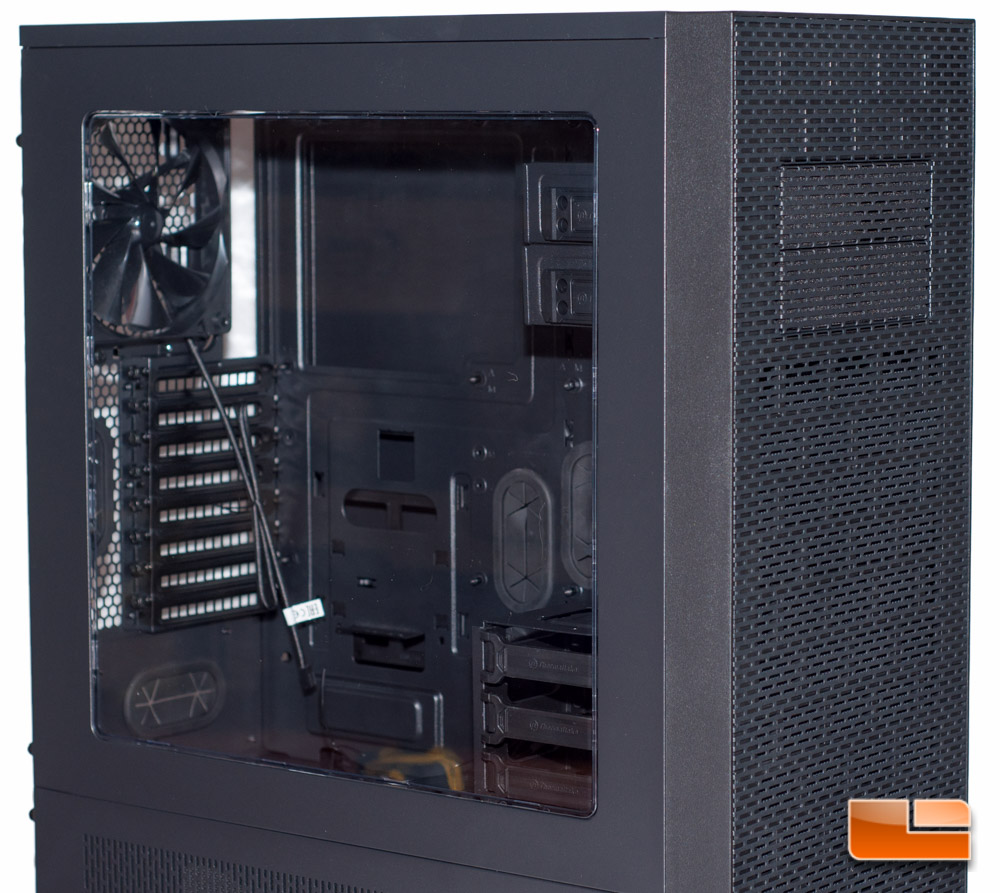
Finally moving to the left side with the massive acrylic window, you will also notice a mesh area. Behind that area is where you could mount up to a 360mm radiator in install 3x 120mm fans.
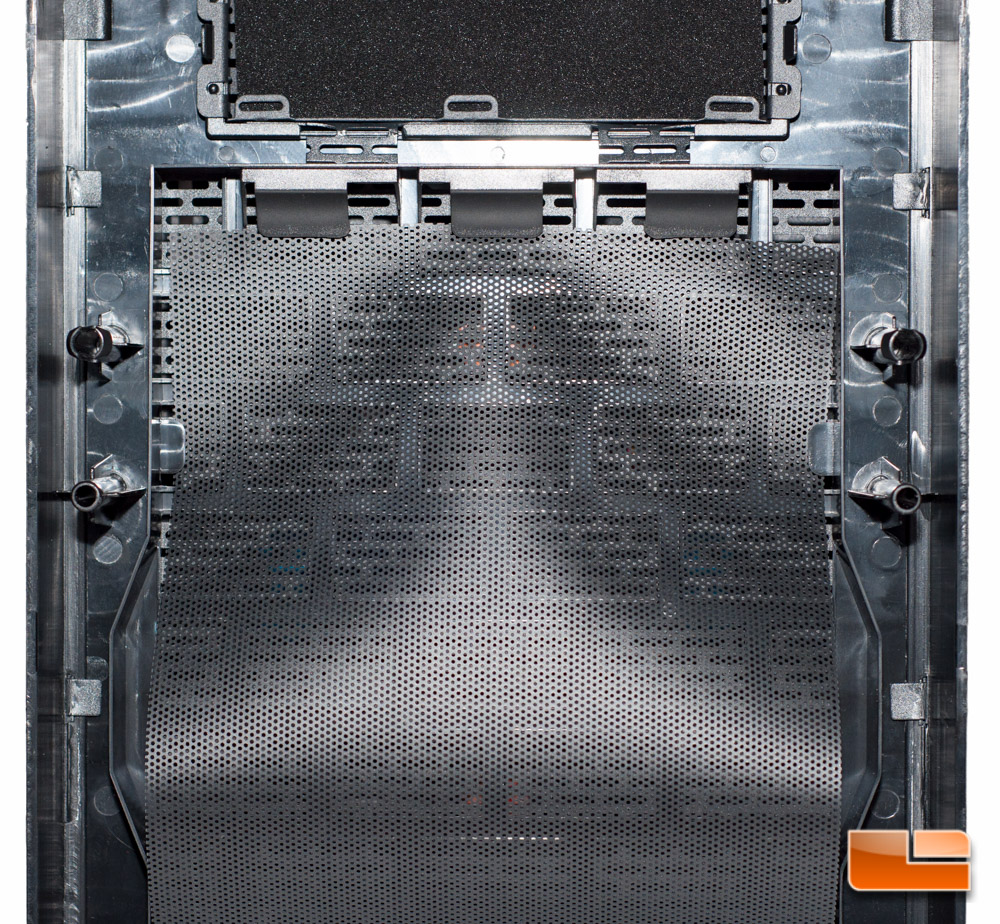
Both pieces are independently removed, so you dont have to rip open your whole case just to get to the bottom filters.
or to the top components.
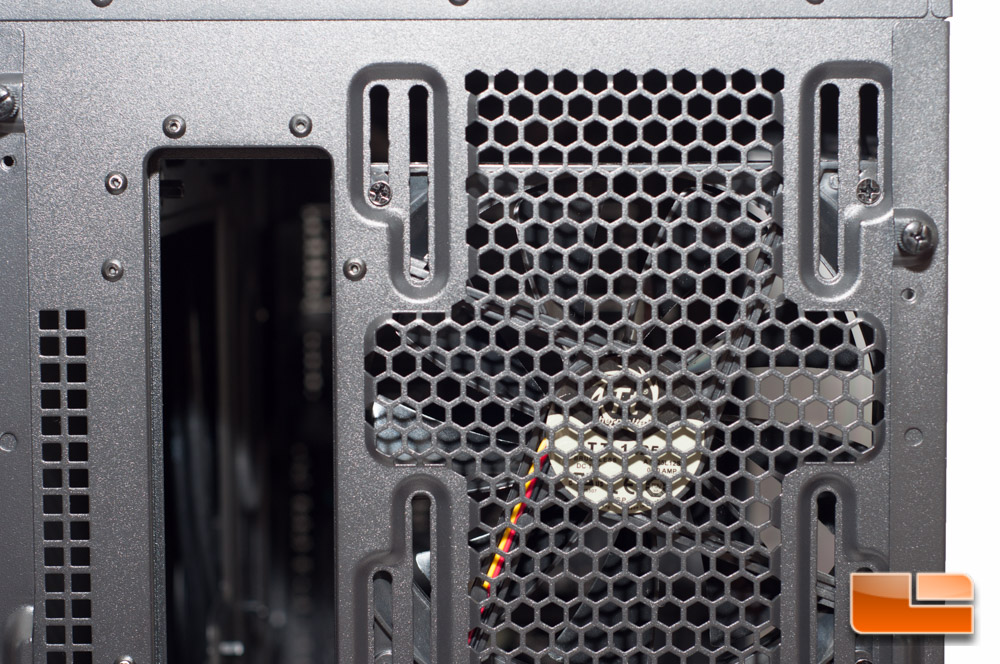
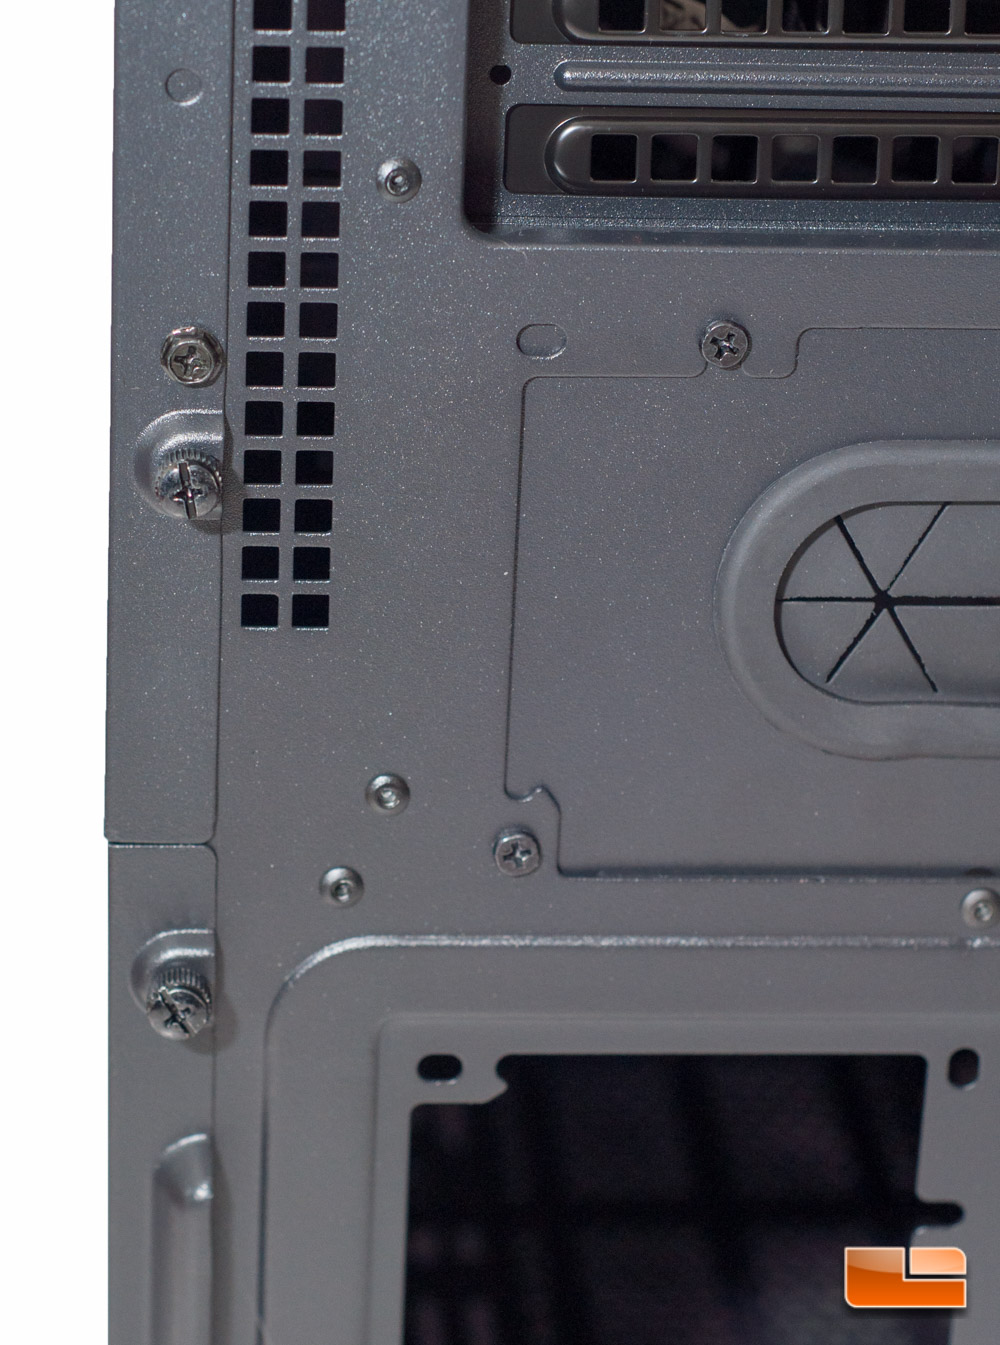
The rear end appears to have a lot going on, but its pretty simple. There are eight expansion slots available with this case, with a bunch of pass-thru grommets for external water cooling. By default, the PSU is designed to be mounted on the very bottom of the chassis, on its side. If youre not able or not willing to put it down there, you may remove the middle grommet and your PSU conveniently will fit in that space instead. The doors also have a place to grab and remove
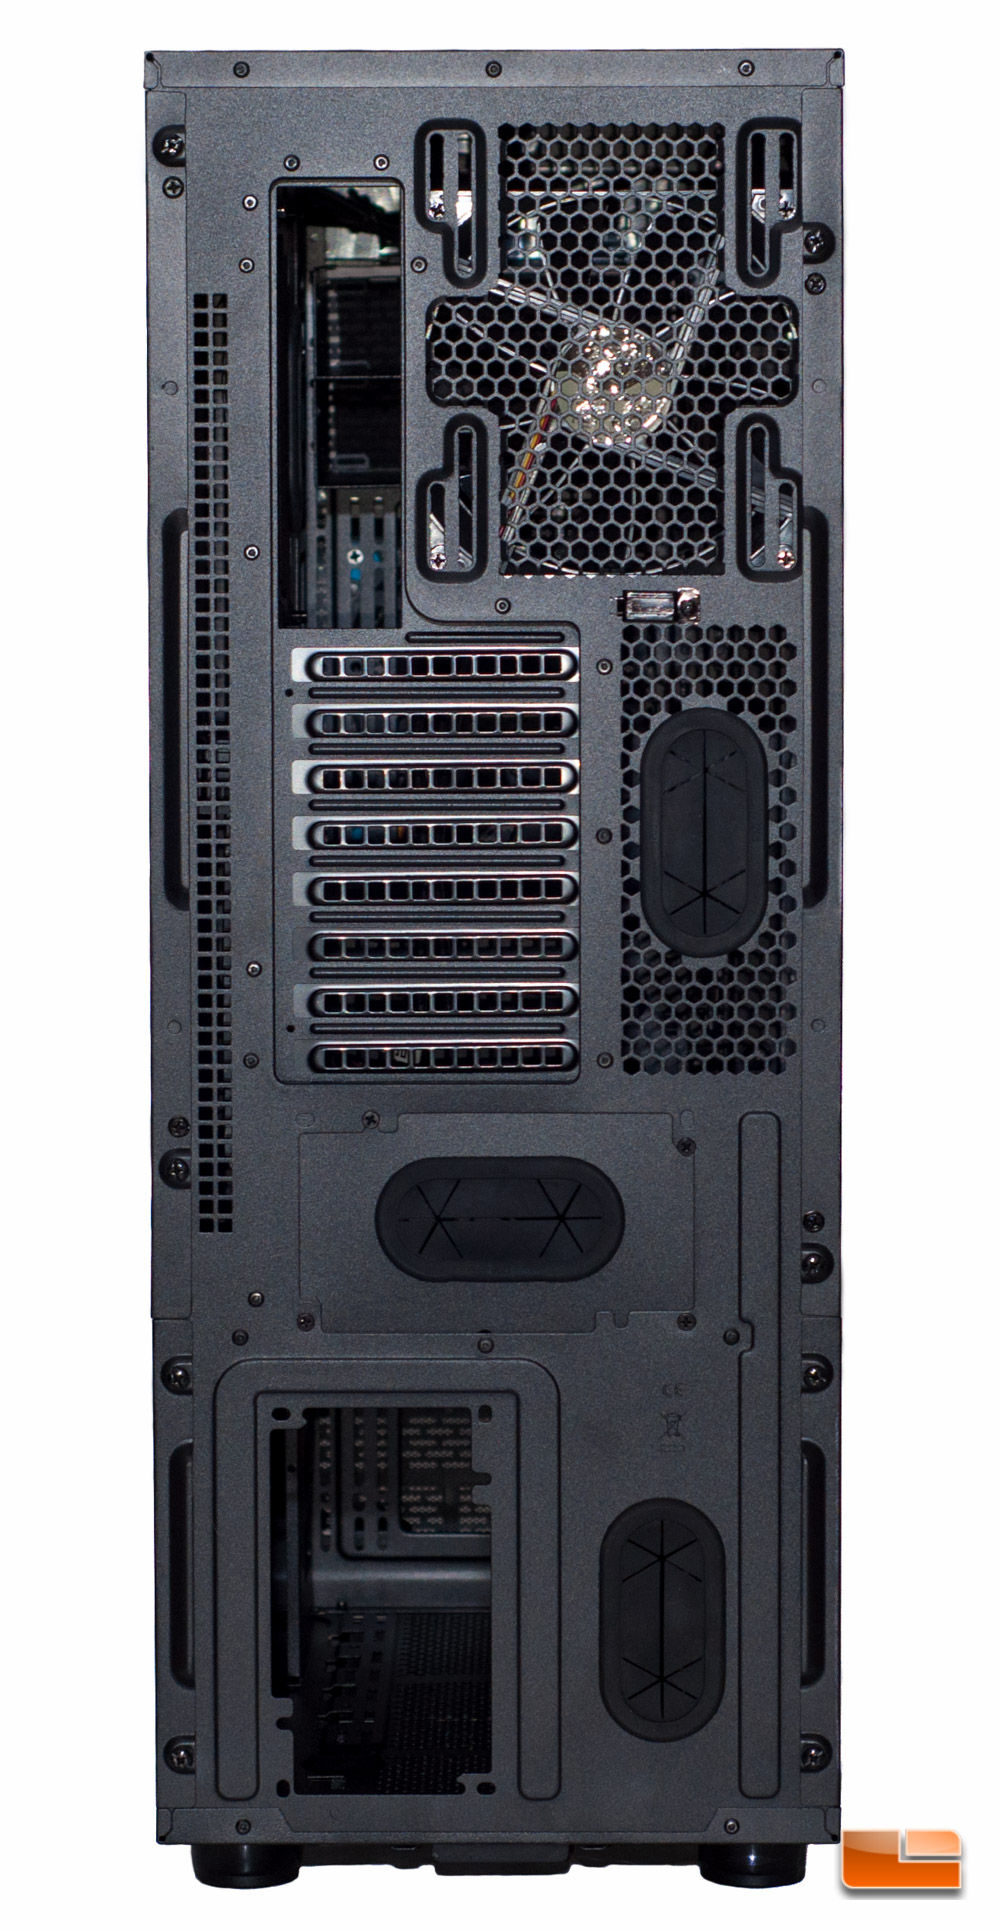
The exhaust fan is adjustable in height for either itself or for a 120/140mm radiator put in place.
One thing that I found extremely odd was the fact that there were screws holding on the main sides along with the thumb screws. I am uncertain if this was for shipping, but they were completely unnecessary for every-day use of the product. In the below picture, youll see three screws on the left. The first is the one that had to be removed with a driver, while the next two are thumb screws.
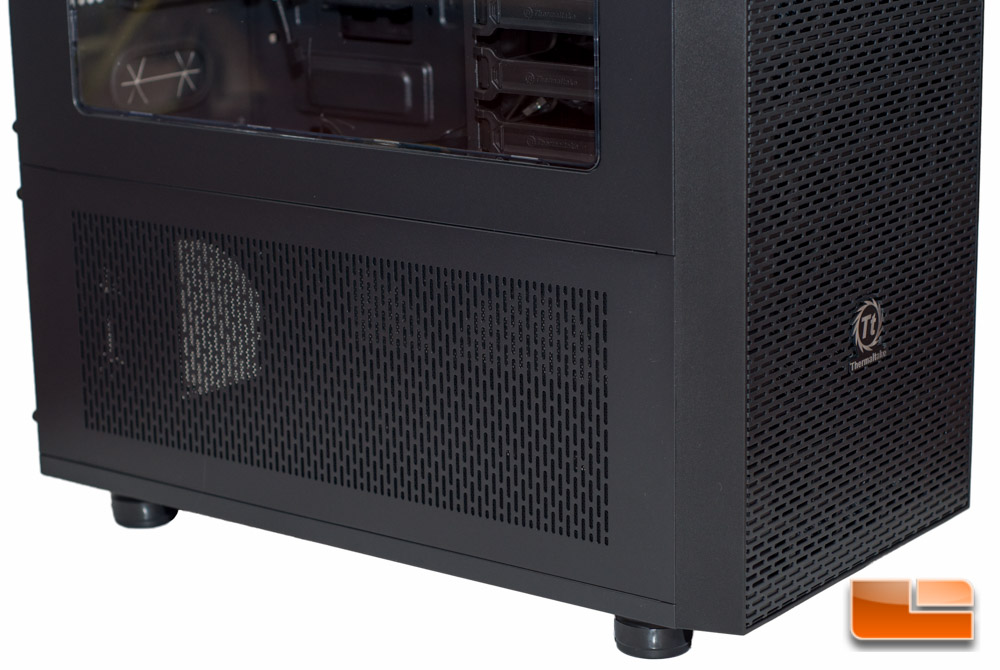
Moving over to the right hand side, its a whole lot of nothing, visually. The side panel is flat, with the bottom being the mesh, filtered zone. Both doors remove independently, again.
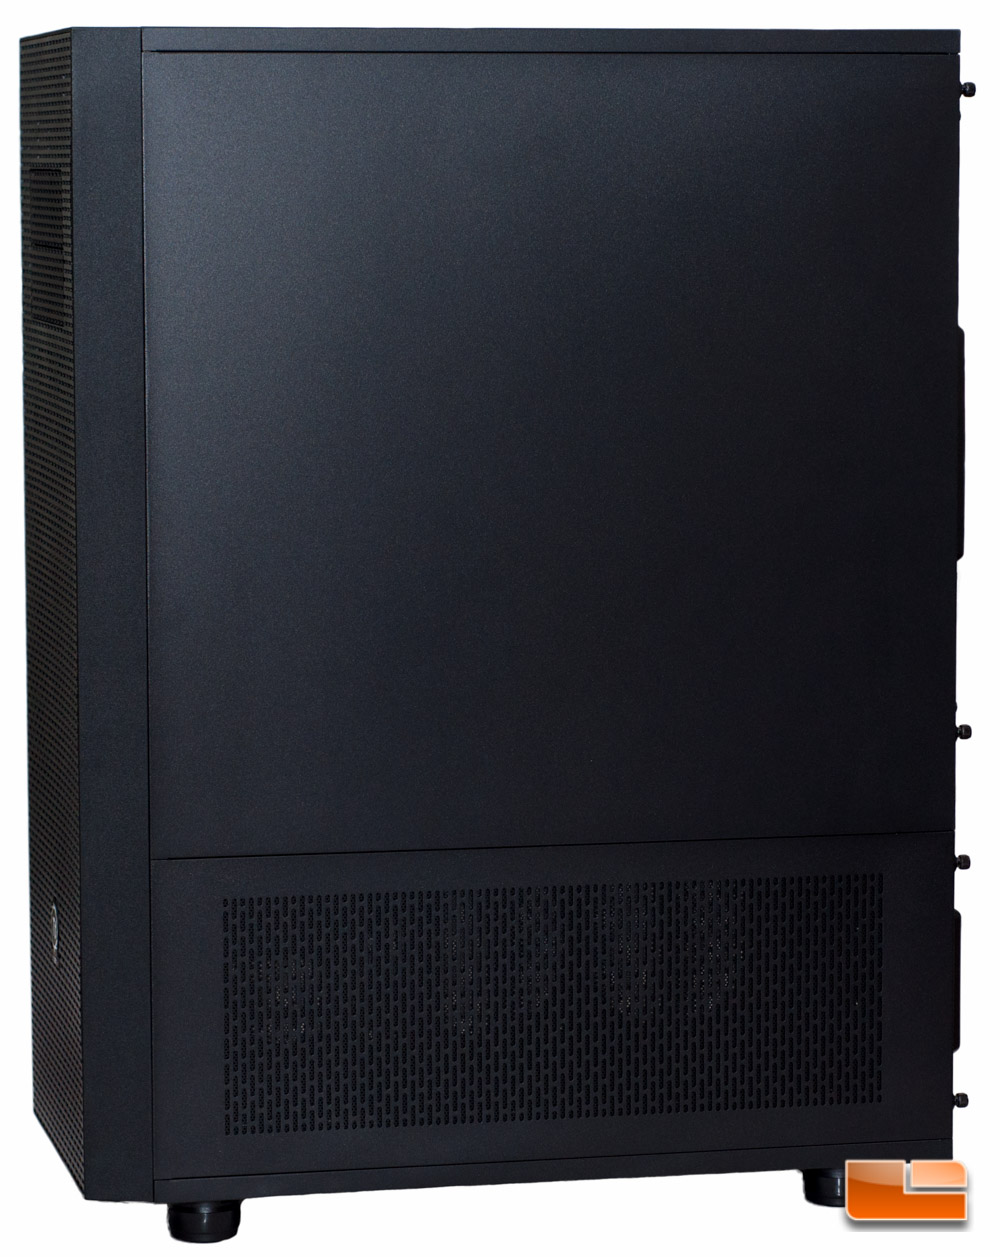
Here is what the small side door looks like along with the filter.

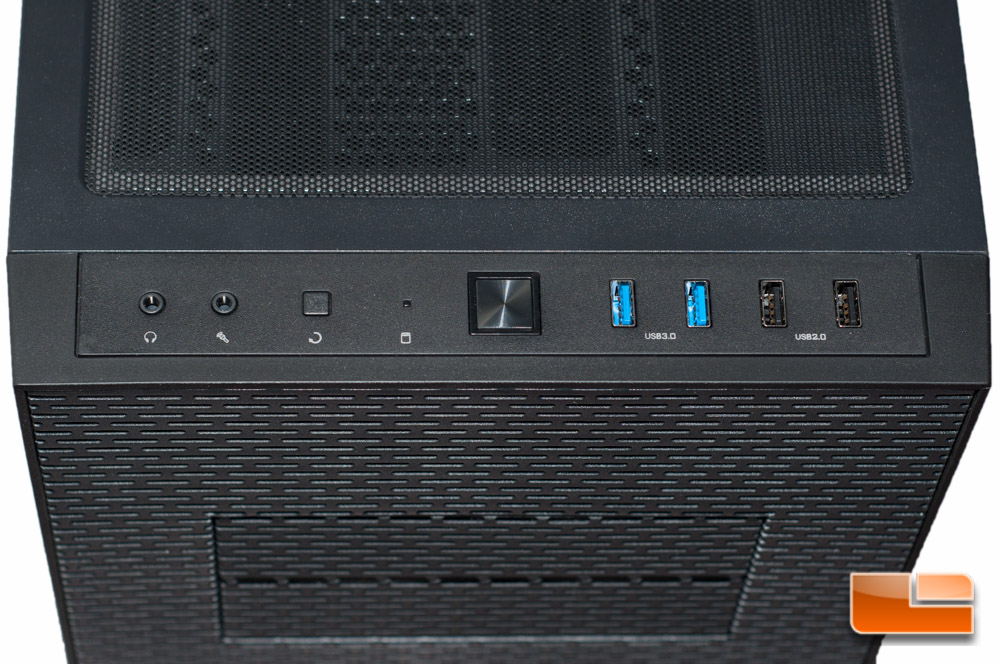
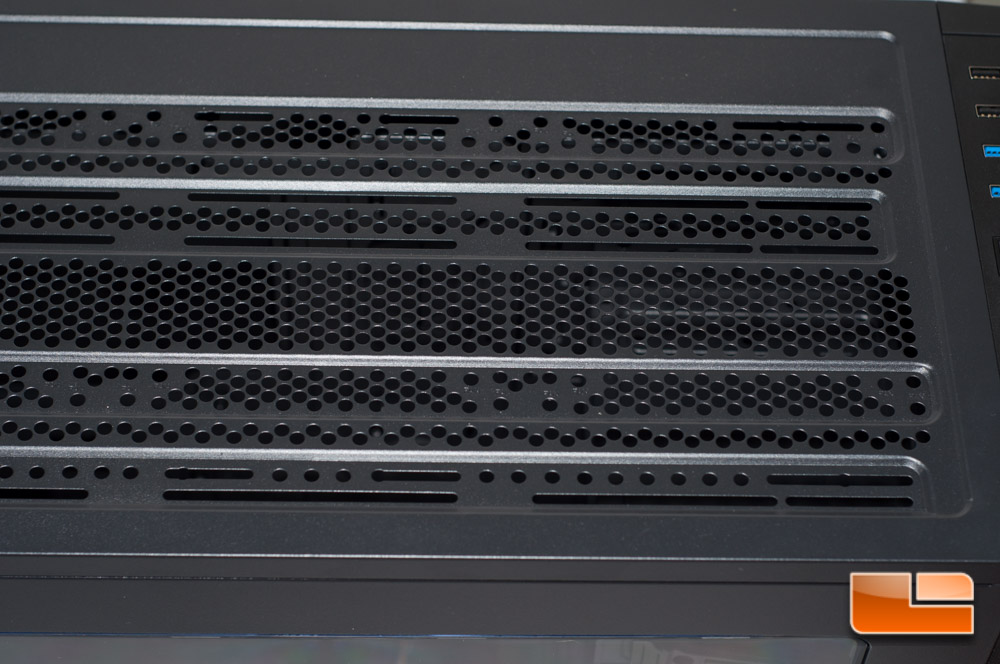
The top is a bit more interesting than the right side; here we find the I/O panel and catch our first glimpse at the cooling availability for the top. There is also a removable filter up top, which is attached magnetically and is simply removed.
The I/O panel is located on the front edge and is inclusive of a headphone and microphone jack, reset button, HDD activity LED, power button, 2x USB 3.0 and 2x USB 2.0 ports.
The top, like everything else, is filtered. This filter also holds on magnetically for easy removal.
Lastly, the zone that you will install any cooling seems limitless. There are markings to where you should be installing the fans, plus slots where you can install the fans.
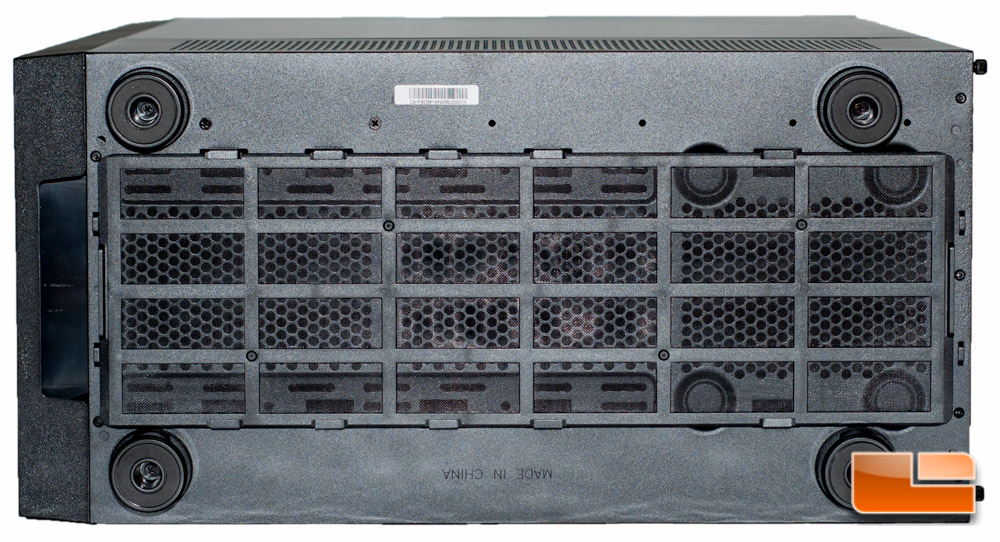
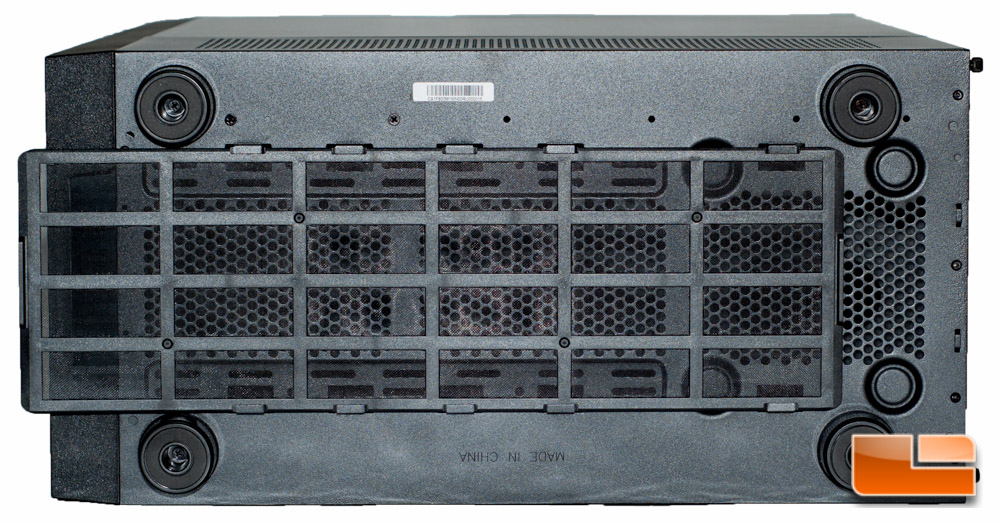
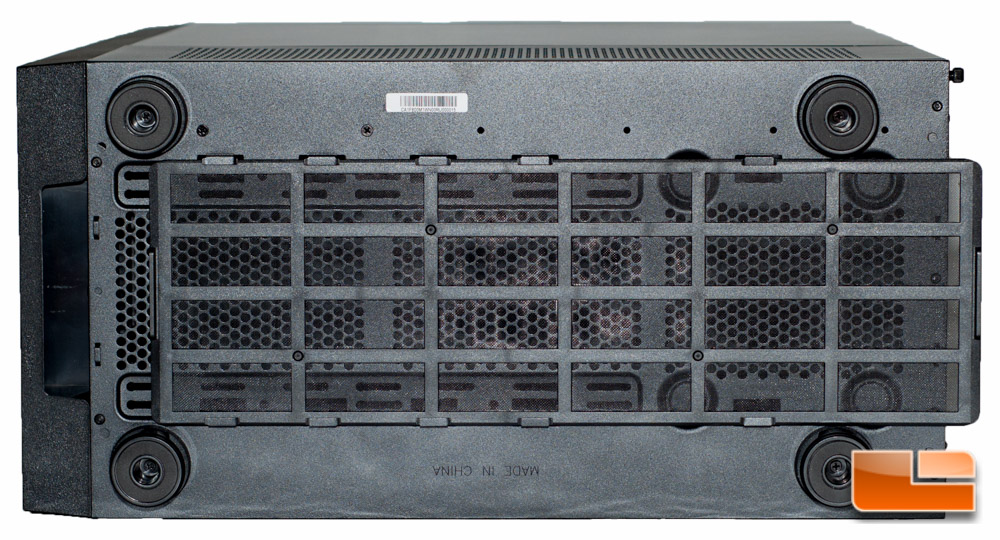
Finally, the bottom usually seems like a boring area, but Thermaltake did a good job designing this zone. There are four feet with rubber caps, keeping the Core X71 one inch off of the ground. Here you also see the full-length filter that is removable from either the front or rear (see additional pictures). I cant tell you how much it bothers me when cases have filters that only remove from the rear, so this is a nice feature. The hole that you grab to remove the front face is also on the left side of the following pictures.
I do wish that the X71 had doors that fit a little more snug, like Ive seen on many other cases that I own or have reviewed. I actually let go of the left door for a brief moment to grab something, after unscrewing the thumb screws, and it fell off. Many other cases that Ive reviewed theyre a little snugger. Thankfully that short drop to my hardwood floor didnt damage the product. I would have to say this is a minor issue, though.
The accessories included are similar to what they include with their other cases, providing you with everything that you need to install your system. Thermaltake does include the motherboard speaker for BIOS beeps, cable ties, a low-noise cable to reduce how much noise your fans make while spinning, an 8-pin extension cable, and additional fan mounting brackets. There was also one additional rogue screw in the box, which I couldnt find a home to. Im just hoping it was accidentally dropped in there from the factory and not meant to go somewhere.

This wraps up the product tour, so lets move on and take a look at the interior of the Core X71 and see what it all has to offer.