Thermaltake Core X2 Micro ATX Cube Chassis Review
Thermaltake Core X2 Cube Chassis Exterior
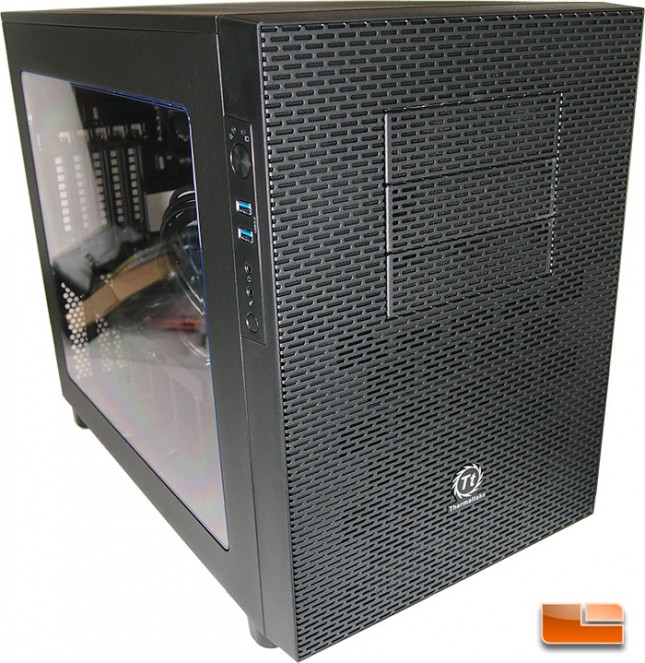
The Thermaltake Core X2 chassis is a pretty slick looking chassis overall. Although it is meant for a mATX motherboard, the Core X2 isn’t lacking in size. The outside dimensions of the Core X2 are an impressive 18.3 x 12.6 x 21.3 inches, once we move to the inside of the TT Core X2 there should be plenty of space for us to work with.
The front of the Thermaltake Core X2 is fully ventilated to keep the system cool during those long hours of gaming. The X2 will support up to three 5.25″ devices, whether it’s an optical drive, card reader, or fan controller. All three of the drive bays can be sacrificed to add in additional fans, or a larger radiator. We’ll get back to that once we move to the inside of the Core X2.
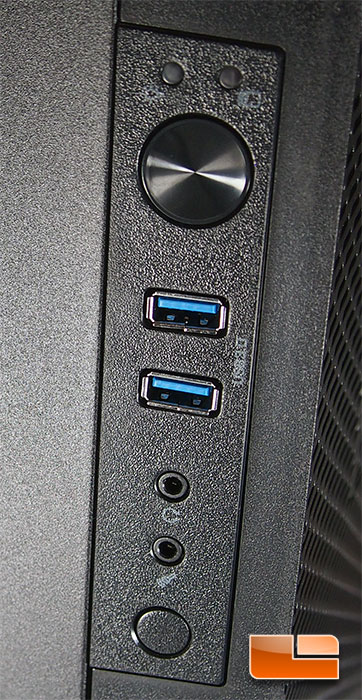
The front I/O panel on the Thermaltake Core X2 is pretty much what I would expect and features the usual suspects. Top and bottom of the I/O panel feature the power and reset buttons, tucked between the buttons is a pair of SuperSpeed USB 3.0 ports, and the ever important headphone and microphone jacks. Just above the power button there is a pair of LED’s, one is for power and the other is the HDD activity light. Depending on the orientation of the Core X2 on the desk, there may be an issue with the side placement of the front I/O panel. Thermaltake has designed the Core X2 so that the front I/O can be moved to either side of the chassis.

The Thermaltake Core X2 side panel is one big window! Looking through the side panel will reveal everything about your system. Which is great when you want to show off your system to everybody. Depending on the orientation of the Thermaltake Core X2 on your desk, the window may end up on the wrong side. Thermaltake has taken that into consideration and has make the side panels interchangeable, meaning you can put this one on the back side, on that one on this side!
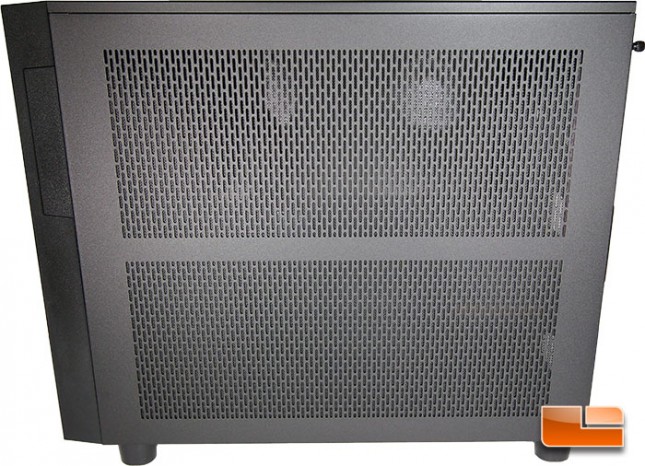
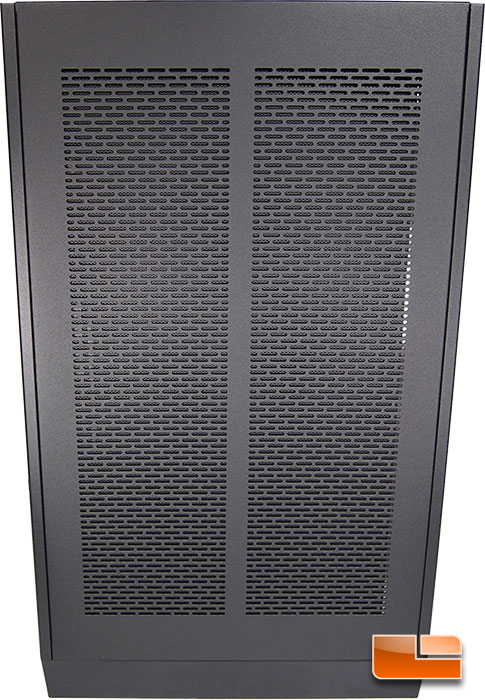
This particular side panel of the Thermaltake Core X2 isnt quite as see through as the window, but it does have plenty ventilation through it to keep the airflow going.
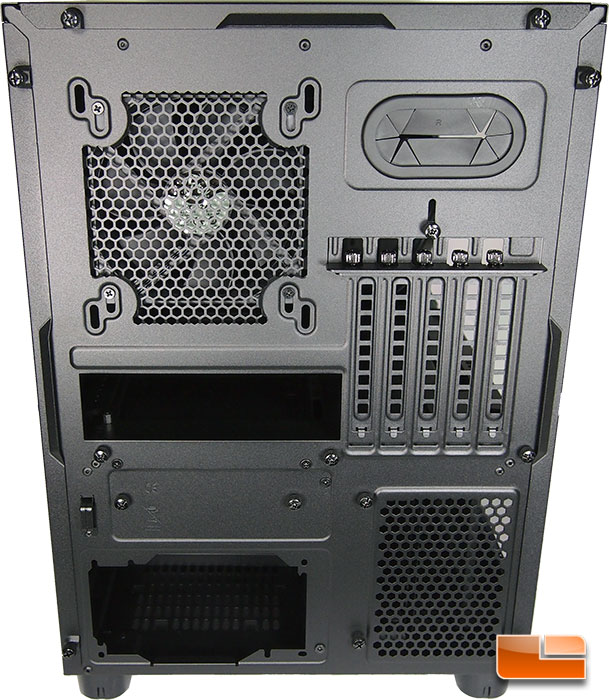
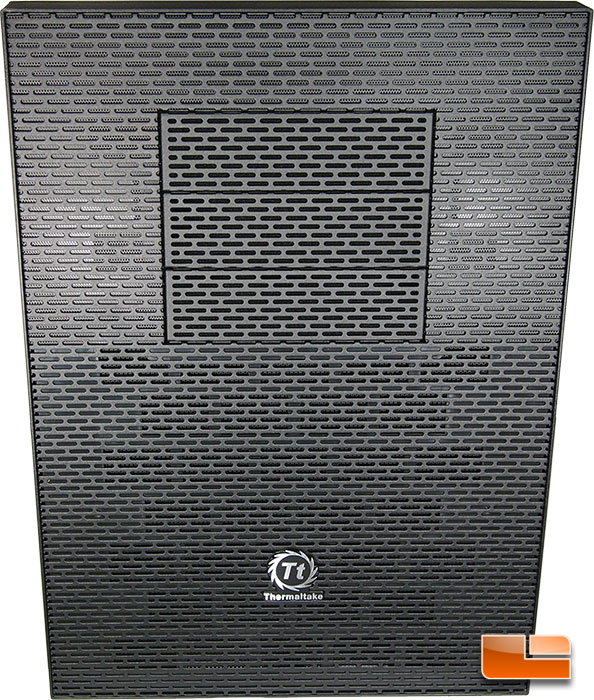
The back of the Thermaltake Core X2 cube chassis has a couple rather important features going on here. Towards the top of the chassis on the left hand side, the exhaust fan port is capable of supporting either a 120mm fan or a 140mm fan. The Core X2 does come with a 120mm fan installed, it’s a 120 x 120 x 25 mm Turbo fan rated for 1000rpm at only 16dBA. To the right of the exhaust fan, there is a water line pass through which is large enough for up to 1/2″ diameter lines. Below the hole for the water lines is the five tooless (though I like to lock the thumb screws down with a screwdriver) expansion slots. To the left of the expansion slots is the I/O panel and below there is the cutout for the power supply. There are a handful of random thumb screws, these are used to remove the internal parts of the Thermaltake Core X2, which will be shown on the next page.
The top of the Thermaltake Core X2 is capable of supporting a variety of fans and/or radiators, this makes it necessary to have plenty of ventilation on the top panel as seen above.
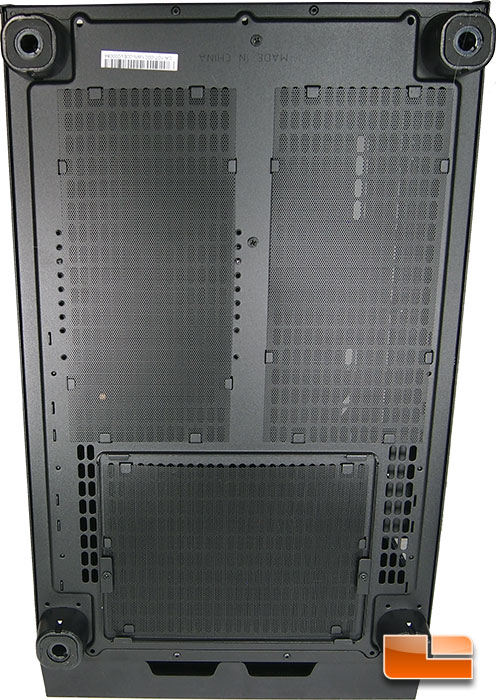
The bottom side of the Thermaltake Core X2 chassis features plenty of ventilation as well. The bulk of the venting down here has dust screens to prevent to much from coming into the Core X2. The TT Core X2 has four rubber feet to prevent the system from moving around or marring up the surface of the desk.
As nice as the outside of the Core X2 Cube Chassis is, lets move on to the inside and see what it has to offer!