Thecus N5200BR NAS Server Review with 5 drives in RAID 6
Setting Up The Server Continued
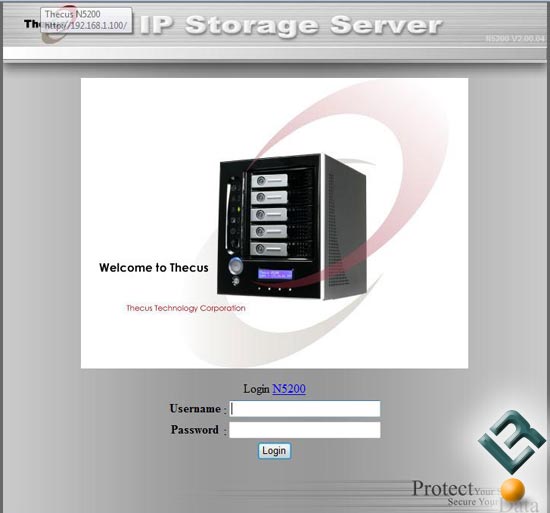
Now that the setup wizard has completed the rest of the setup needs to be done from the Web Administration Interface that is used to configure the network settings of the Thecus N5200 for your network. You can access the Network menu by pointing the browser to the IP address that you setup (default is 192.168.1.100). If you can’t reach the router make sure you have completed the setup wizard correctly. If you see the screen above you did things correctly and you can log in with ‘admin’ and then the password you already setup.
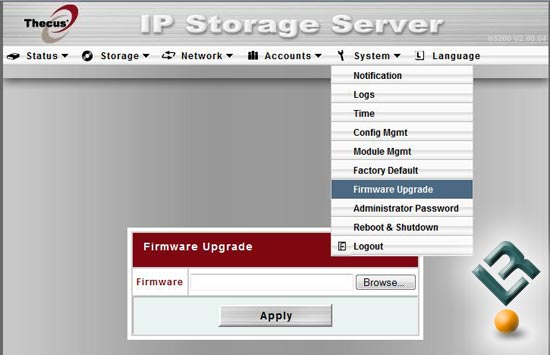
After entering the control panel for the first time head directly to the system menu and select to upgrade the system firmware before doing anything else. The latest firmware can be downloaded directly from Thecus and more than likely an upgrade will be needed. In this situation I upgraded from version 2.00.04 to version 2.00.12, which offered a number of improvements.

During the firmware upgrade the system will beep and need to be rebooted, but the process is simple. The process does take a few minutes as the firmware file itself is 32MB in size.
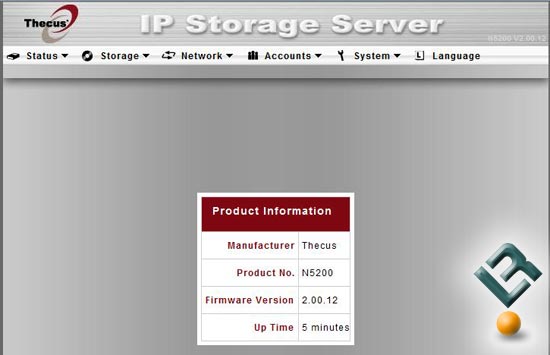
With the Thecus N5200 restarted I checked to make sure the firmware version was updated and sure enough it’s running version 2.00.12 just fine.
Comments are closed.