Thecus N4100PRO NAS Server Review
Setting up the N4100PRO
I headed to the Thecus website to download the latest setup wizard as the driver disc that came with the storage server was version v1.1.9.8 and the latest posted on the Thecus website was v1.2.0 dated 12-26-2008. After downloading and installing the setup wizard we fired up the program and got ready to get the server going.
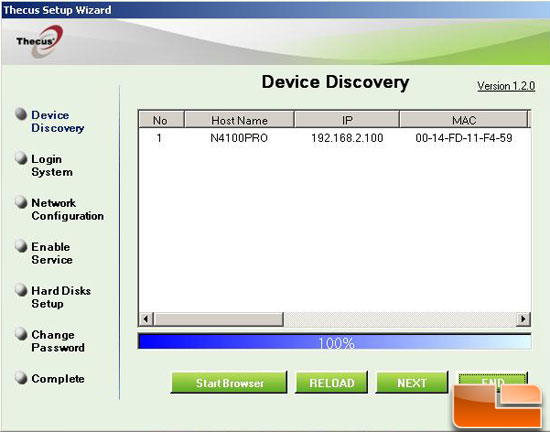
With the new setup wizard installed and running, it scanned for all Thecus devices on the network. Now, the N4100PRO comes set with a default fixed IP of 192.128.1.100. This could be an issue if this IP is not in the range that your network will see. Knowing this ahead of time, I took a few seconds to change the IP address of my PC to be in the same IP range as the N4100PRO just to save a headache. In the coming steps you can change the IP to whatever you like to work with your network.
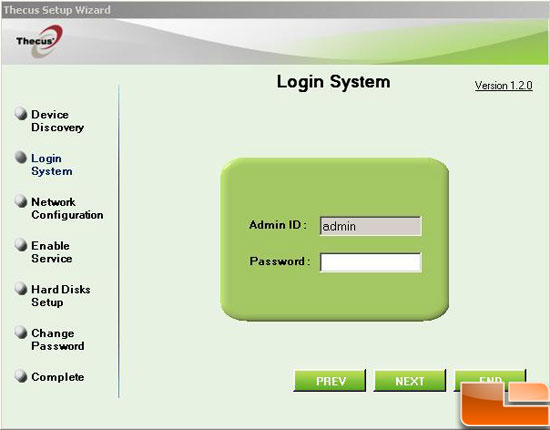
Once you have selected the device you want to configure you will be asked to log into the system with the default password.
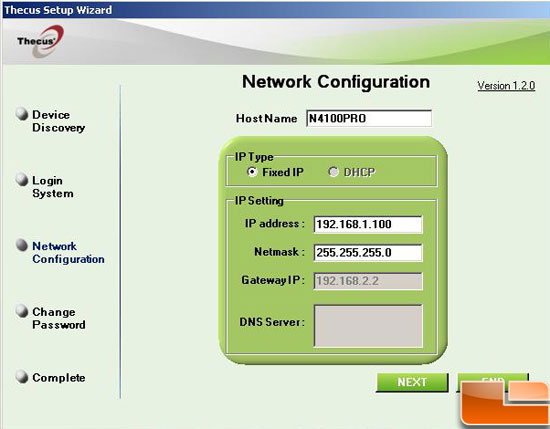
Then, you are given the opportunity to change the basic network settings.
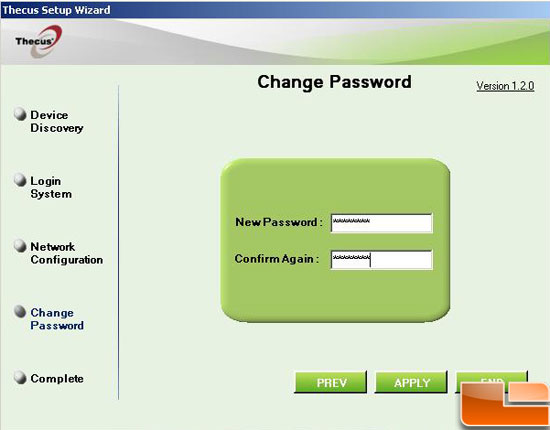
Then, you have to change the default password. Once you click finish you are asked if you would like to start your browser.
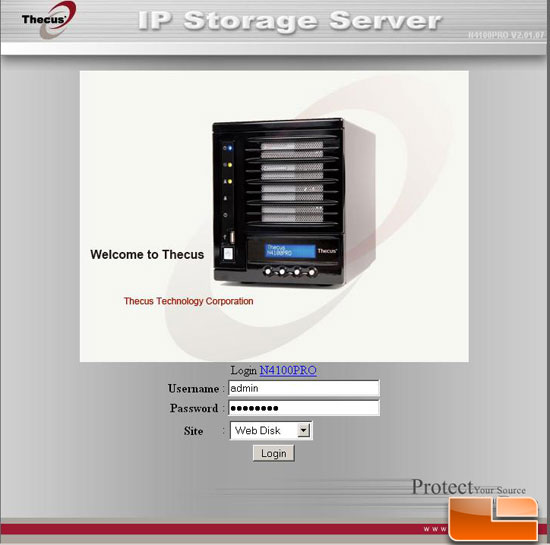
Now, for those that are not running a Windows platform, or just dont want to use the wizard, you can access the box without it by pointing your web browser to the default IP address and log into the system that way.
Comments are closed.