The Xigmatek HDT-S1283 CPU Cooler Review
Installing the HDT-S1283

I will be testing the HDT-S1283 on our Intel Core2 Quad system. Setting up the cooler for the Intel Socket was easy and very straight forward. Coolers using an HDT base will require you to unlearn some ingrained steps of applying thermal paste. With HDT coolers you have to put small lines of TIM on each of the pipes, if you just apply it to the center (cooler or CPU) the TIM will not spread; it will get sucked into the groves between the pipe and aluminum base. So treat it like 3 separate bases and put small amounts on each pipe.
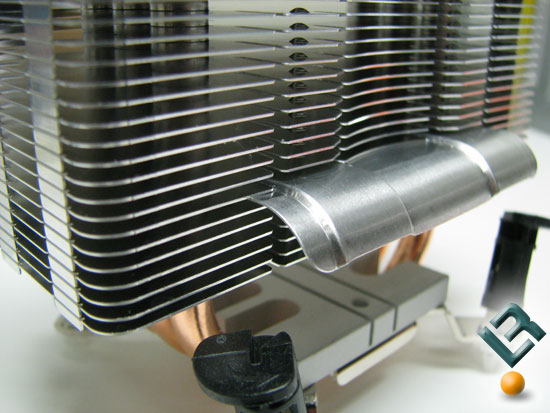
Now for the spoiler (this is a first for me): the instruction sheet illustration shows the fin being installed around the 5th or 6th fin from the bottom. All you have to do is insert the spoiler so the grooves and fingers all interlock. If you install this and decide you dont like it or want to move it, the spoiler is easily removed with some light pressure.
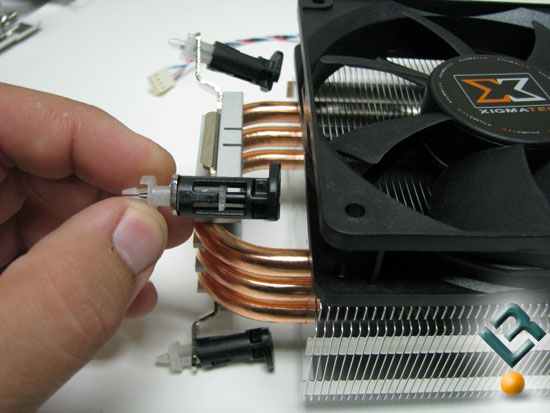
Installing the cooler assembly in the Intel configuration could be annoying for those with small cases. With the cooler using the stock push pin configuration the fan blocks two of the pins when installed. So you have to install the cooler, then install the fan, and reverse when removing it. This wasnt a major issue with me as I have a removable tray, and on a tight case Id recommend removing the motherboard from the case and save yourself from a headache.
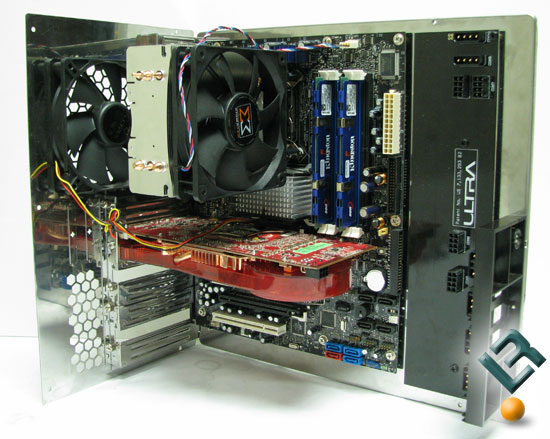
Here we have the cooler installed on our test system. Overall the fit looks good, except in one small area.
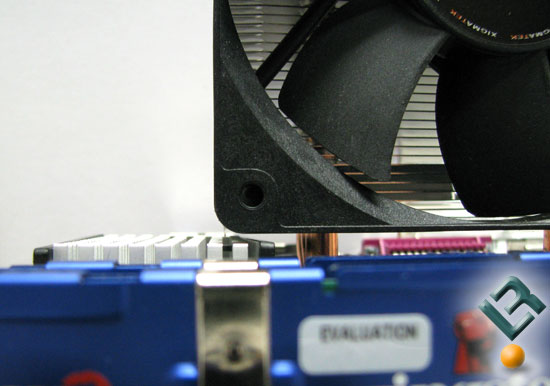
On our Intel 975XBX2 motherboard the cooler just barely cleared the chipset cooler. So if you have a large chipset cooler youre going to want to do a little measuring. If you have anything higher then 1.18 (30mm) tall or roughly the height of a standard stick of ram, youre going to want to check the distance from the socket.

The HDT-S1283 cleared all the other board components. Here is an image showing the backside of the cooler with the spoiler installed. We can see how the spoiler will direct air flow down to the motherboard. Now as how to tell if it’s doing any good? I’m not sure, but it looks cool… well, different.
Comments are closed.