The Antec Nine Hundred – Ultimate Gamer Case
Getting intimate with the Nine Hundred
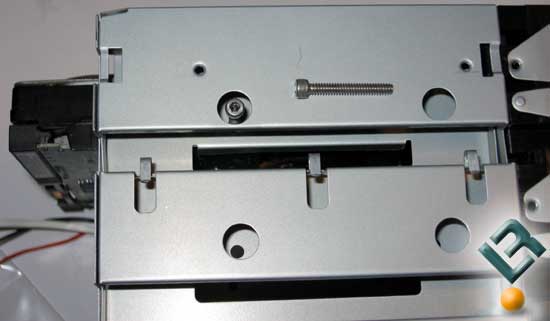
Installation can be a bit tricky in this case, so you will probably want to start with optical drives and hard disks and this is where we find our first flaw, and the biggest, with the case. Once we have the cages removed the hard drives slide easily into the cages, but then all hell breaks loose. To set the drives in place requires a lot of patience and a magnetic screwdriver because the cage holes for the drives have a small radius and there is no other way to get the screws into the hole. Not having a magnetic screwdriver on hand and knowing I would be swapping drives in and out of this case on a regular basis, I ventured out to the local hardware store and picked up some long, 6/32 allen head screws. These worked out perfectly because they were short enough to allow the cages to slide correctly, and they have a textured head which could be used like thumb screws to get them in place, and tightened down with an allen wrench. After youve got the drives in place youll want to install the optical drives. No drama here, just use included screws and youre all set.
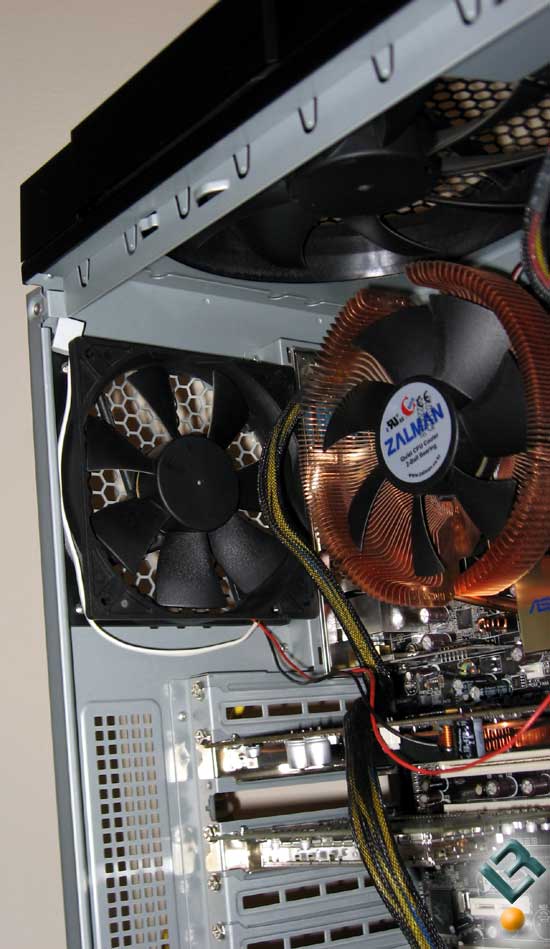
We then installed the PSU and motherboard. Hopefully the power supply you bought has a long enough 12v cable to reach all the way up the rear corner of the motherboard (for those using LGA 775 boards). The Antec True Power and NEO PSUs I test fitted had cables with ample length, as did the PC Power and Cooling 510 SLI.
From here on out it it was a matter of getting cables plugged in, but therein lies the other gripe we have about this case. There is nowhere to hide your cabling at all! Again for some people this is an absolute deal breaker and others dont really care, yet a select few go so far as to cut holes in the motherboard tray and do it up real nice to hide their cabling.
Comments are closed.