Sentey Extreme Division GS-6050 II Halcon Black Case Review
Installing Hardware into the GS-6050 II
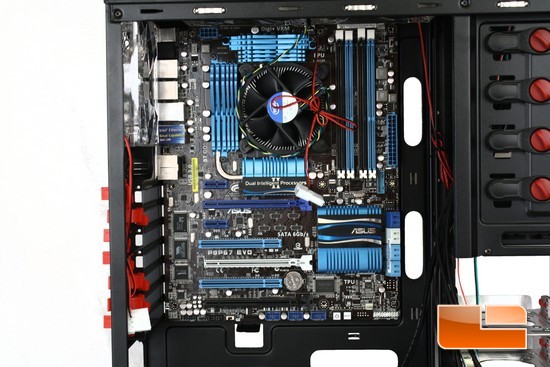
Originally I was hoping to install the larger Asus Rampage 2 Extreme motherboard into this chassis, but I quickly found out that this motherboard could not fit into the GS-6050 II chassis (Installing the ASUS Rampage II Extreme motherboard was not a absolute need, but more of an want). I even tried installing one of my extra standard sized ATX motherboards Gigabyte P45 775 Socket motherboards that I had lying around and I still had some form of fitting issues, when I tried to install this motherboard into the GS-6050 II chassis (one of the upper CPU power mosfet heatsinks kept hitting one of the upper 120mm exhaust fans). Leaving me no other options but to use the ASUS P8P67 EVO motherboard from my personal computer.
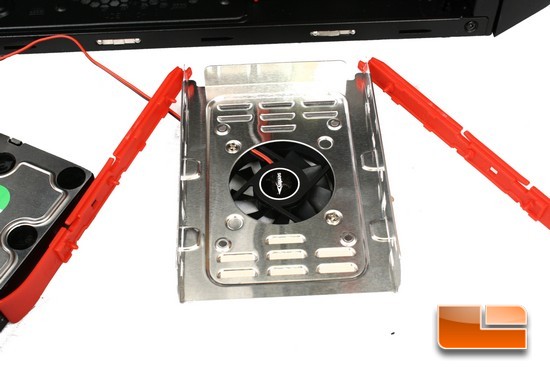
Since the motherboard is secured into this chassis, time for me to install my HDDs. I do like how Sentey has us mount the 3.5 HDDs into this chassis. All we need to do is swing out the red locking levers, place the 3.5 HDD in the carrier, and lock the HDDs into place with the red locking levers.
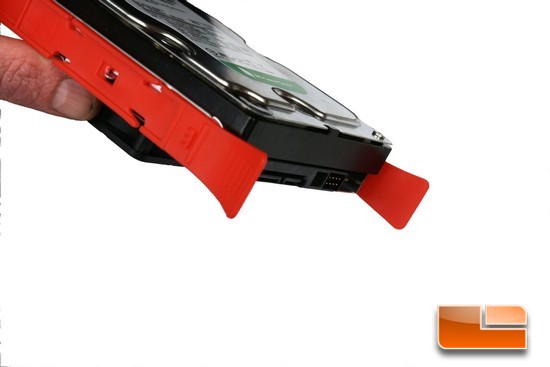
What the 3.5 HDD looks like once installed into one of the GS-6050 II chassis HDD carriers.
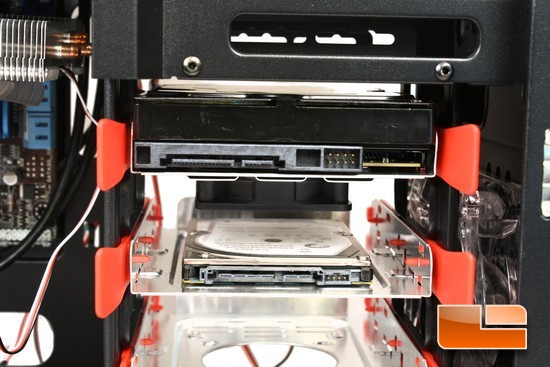
This is an area I did not like to see with the GS-6050 II chassis, and that is having the connectors on the HDDs facing the left side of the chassis. I would have again preferred to see the HDDs connectors face the opposite side to hide any of the wires that will be needed to be hooked up to the HDD/SSDs.
If you happen to install a 2.5 HDD/SSD into these HDD carriers, it will sit back from the edge making hooking up the SATA power cable troublesome; because, there is very little room between the HDD/SSD and the drive carrier.
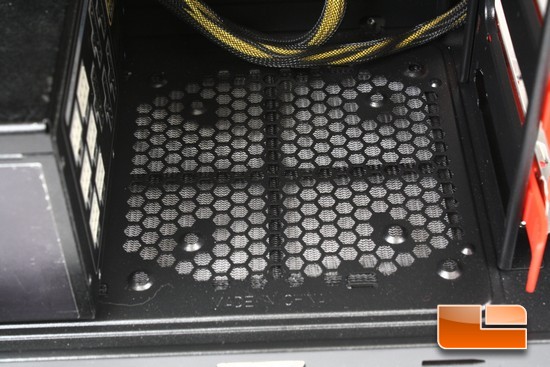
Looking at the optional bottom 120mm fan mount. If you are using a large PSU, you will be unable to mount a fan here.
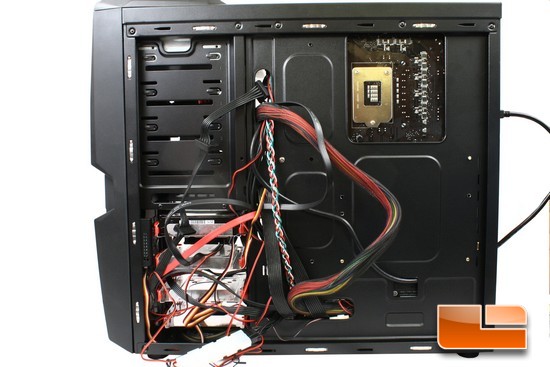
This was my first attempt on hiding the PSU main 24 pin power cable behind the motherboard. Trying to route this large PSU cable behind the motherboard tray did not quite work out too well for me, because the 24 pin main PSU power cable was sticking out far enough out to not allow me to fully close the right side panel properly without bending the side panel.
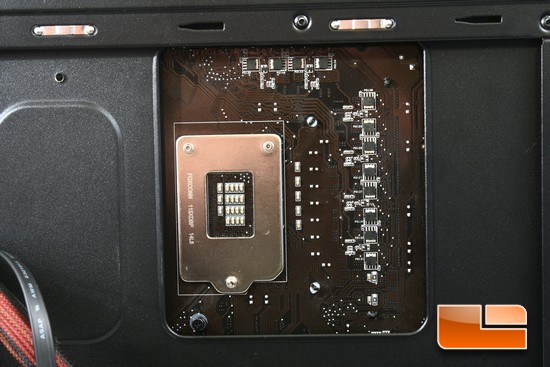
Just as I feared about the CPU cutout it is way too small to be of any good use. AS you can see from the image above two of the CPU HSF mounting holes are inaccessible.
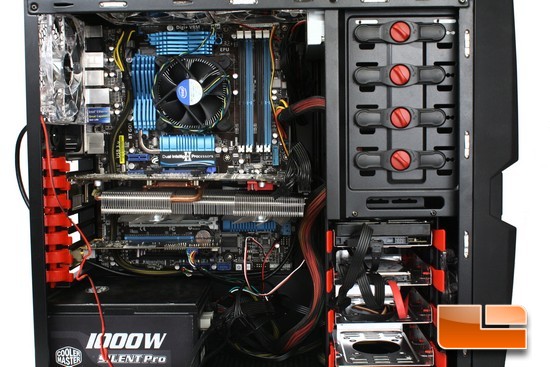
The final install of all of my computer components into the Sentey GS-6050 II chassis. From the looks of this picture it appears that things are a bit crowded inside. And, having that main 24 pin PSU power cable in the way doesnt help matters on the interior of this chassis. If I were to have used a PSU that was not modular I would be in some serious trouble with cable management, as the wires would be everywhere on the inside of the chassis with no place for me to hide them.
If you look at the USB 3 extension cable, to hook it up we just put through one of the available PCI expansion ports that is on the chassis (the black cable going through the bottom PCI expansion port) unfortunately there is no cover plate that the USB 3 extension cable can mount to, or utilize to keep it from just moving around inside of that PCI expansion port. the only cover plate we get, is a standard solid type of PCI cover that has no holes or anything for a cable to secure itself to.
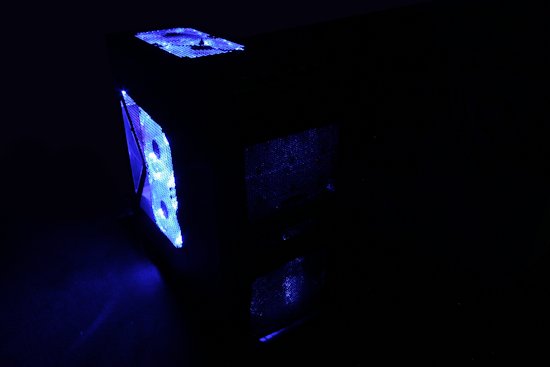
The image above shows what the Sentey GS-6050 II case looks like at night with all the LED fans that come with it lit up and running.

Comments are closed.