Rosewill B2 Spirit Full Tower Case Review
Rosewill B2 Spirit Hardware Installation
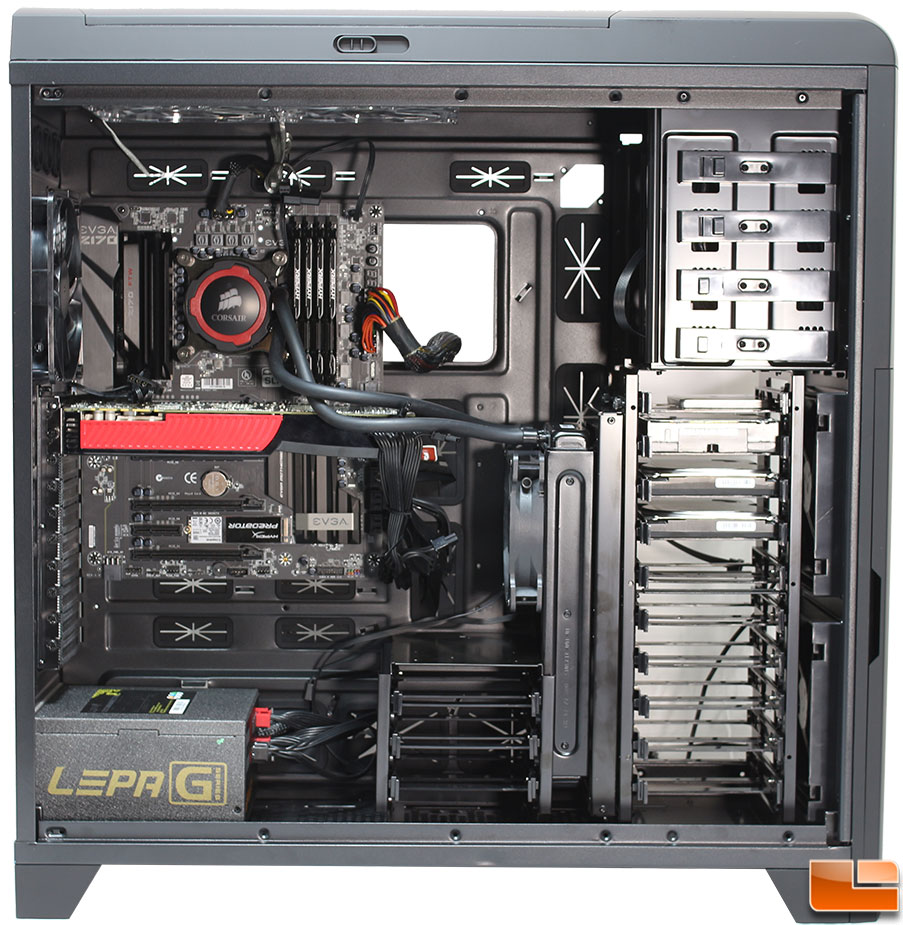
We decided to install the most recent test system into the B2 Spirit, which included the EVGA Z170X FTW motherboard, which is a standard ATX based motherboard. One of the larger E-ATX or HPTX motherboards was not available to install into the B2 Spirit. Due to the large size of the case, installing hardware is rather easy; there is plenty of room to work inside the case and everything installs like you would expect.
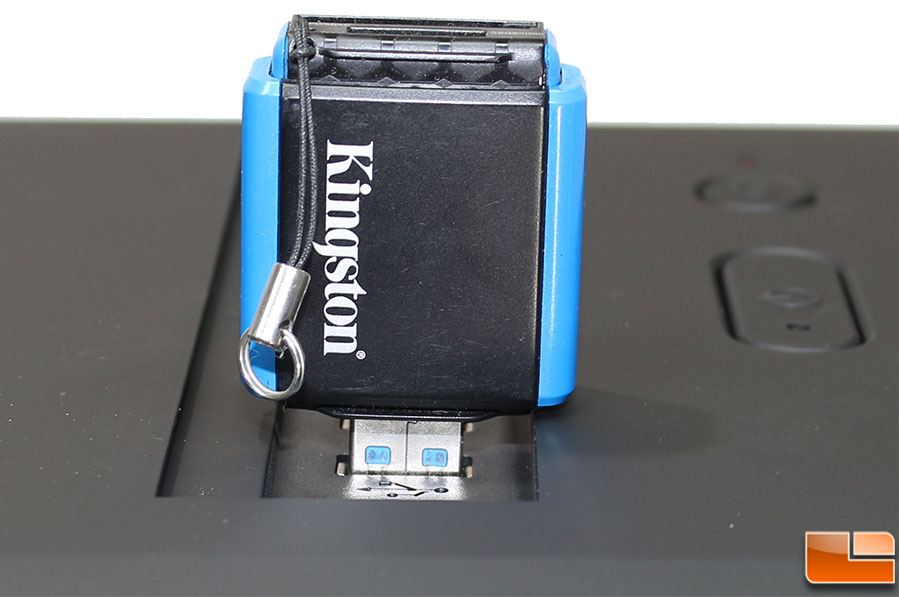
With the front USB ports being recessed into the top panel, they can be hidden by the door. However, this does pose a small issue. The USB port area is not big enough for some devices; such as the Kingston MobileLite G3 media reader. I tried a couple different large flash drives, and the largest of them, the Corsair Voyager GS barely fits.
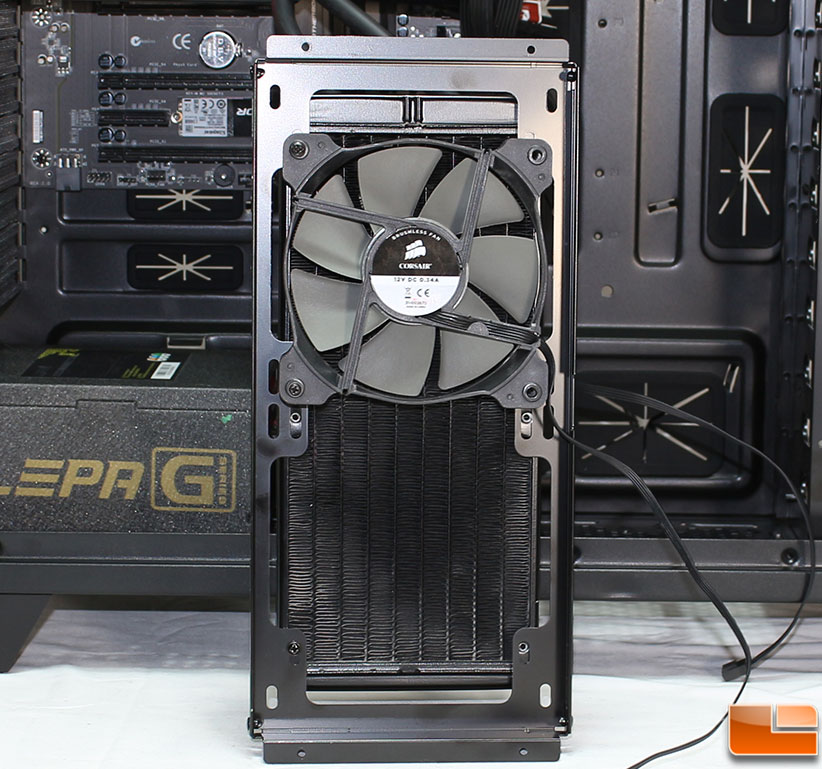
To start the AIO cooler install the waterblock was attached to the CPU, and when we went to install the fans for the Corsair H105, we installed one in side the fan cage, and one on the other side. This isn’t how we would do an official build, but rather just to show the option of installing the fans on either side of the cage.
Many AIO liquid coolers have fairly short tubes as they are generally geared towards being installed in standard ATX tower cases, not necessarily full towers. In the B2 Spirit, you have a couple of options, install an AIO cooler at the top or inside the case next to the 3.5″ drives. As we wanted to show top LED fans turned on, we installed it against the 3.5″ drive cages. The Corsair H105 installed without any issues. You have the option to install the fans either inside the fan cage or outside the cage directly to the radiator. This is why we installed one on in the inside and outside; just to show you. The Corsair H105 is 38mm thick and is the thickest radiator that will fit with the extra drive cage installed. Without the extra drive cage and you won’t have any issues with the thickness of any radiator or fan placement.
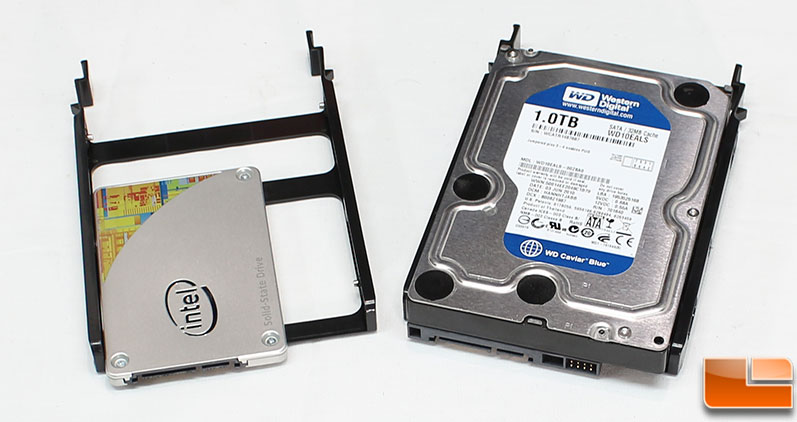
On each of the 13 drive trays, either a 2.5″ or 3.5″ drive can be installed. To install a 2.5″ drive, you will need to remove one of the tool-less pins and use four screws through the tray to properly install the drive. For 3.5″ drives, you can bend the tray a little and slide the drive into place. This is a very common type of tray and it works rather well. It’s nice that once installed, all the SATA power and data connections will line up in the back of the case, allowing for the cables to be routed nicely.
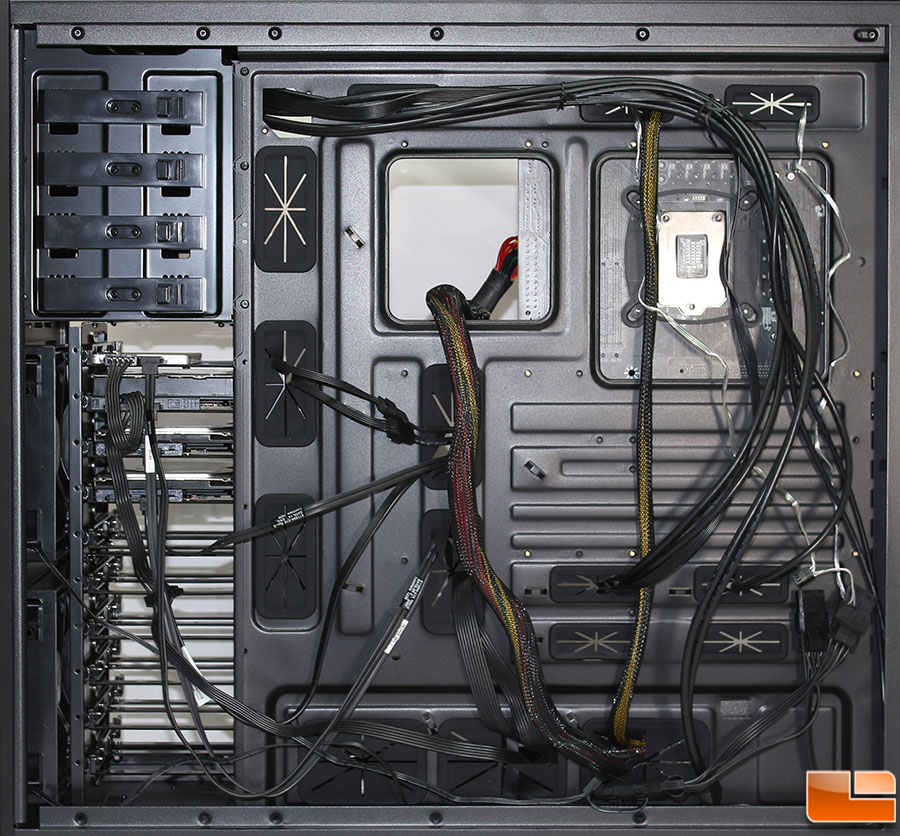
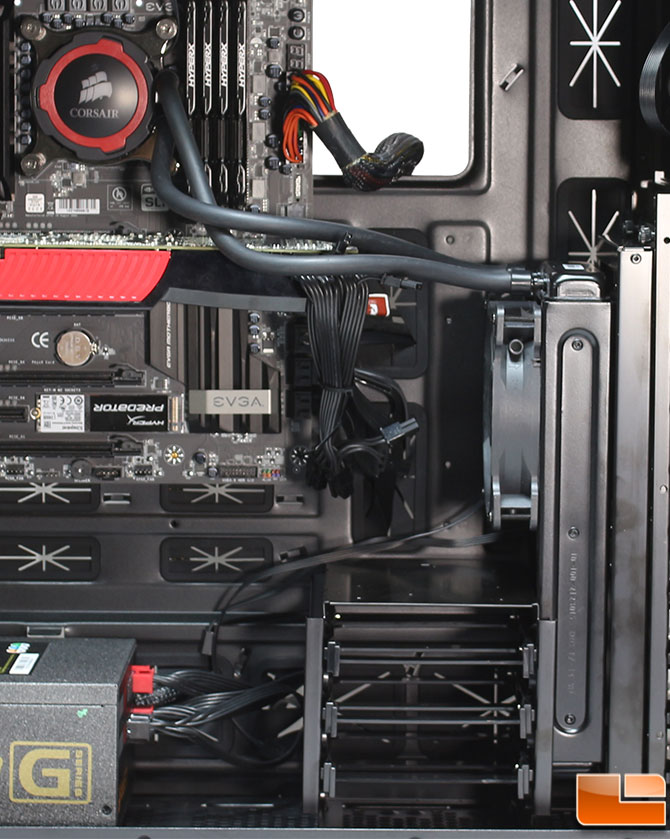
Firstly, cable management is pretty simple to do in the B2 Spirit, if you have the right cables. As with most full tower cases, you need to have the right cables, which I have already mentioned needing certain extensions. What you can see here is the front panel cables that Rosewill provides (but did not tie down on our sample), are long enough to be properly routed out of the way. The included fan cables, while not really long enough to reach all the right places for the motherboard fan headers, are long enough to use the Molex connector for power. The two holes in the motherboard tray are in the right location to allow access to the back of the motherboard for installing CPU cooler brackets. Even without doing any major cable management, the back panel slide back into place without any issues.
Now for the previously mentioned cable length issues. If you take a closer look at the 8-pin motherboard power cable, it is going straight up the back of the tray from the power supply to the connector on the motherboard. There is no give in it, connecting it to the motherboard was rather difficult. Next I ran into issues routing the included front fan connections to the motherboard. Those cables are pretty short, and if your motherboard happens to not have any available fan headers that are not along the edge of the motherboard, you are out of luck. You’ll need extensions, which are not included; of course you have the option to use a 4-pin Molex connector for power.
Something to consider is whether the power cables on the power supply being too short is an issue for Rosewill or the power supply? I can see both sides of the debate. Rosewill can’t account for every possible short cable issue, however it would be nice for Rosewill to at least include the 8-pin motherboard power cable extension and longer fan power cables for the fans they include in the B2 Spirit. Personally, I would have rather have 6 inch longer cables than the 4-pin Molex connector being attached.
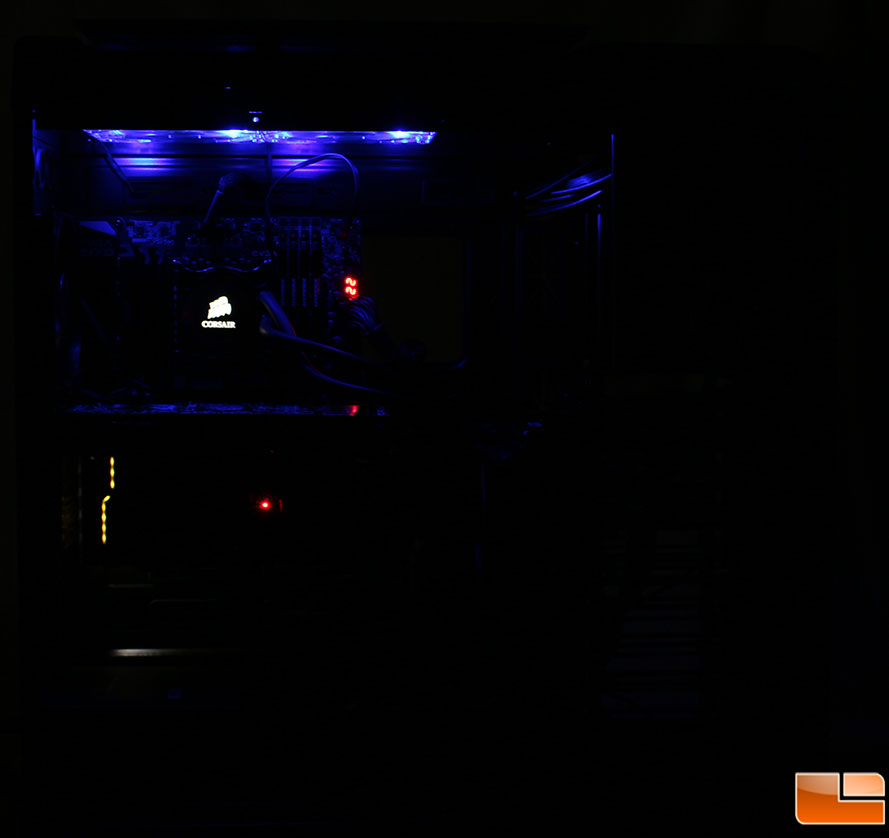
With everything installed, we can turn on the system and see the Blue LED fans light up the top portion of the case. The picture doesn’t really do the lighting justice as it is a bit brighter than the picture alludes to. One thing that is hard to see in the picture is that a little light does escape from the top panel when it is raised up; not a lot but enough to give it a nice lighting effect.