Riotoro CR1080 Tiny ATX Case Review
Riotoro CR1080 Interior
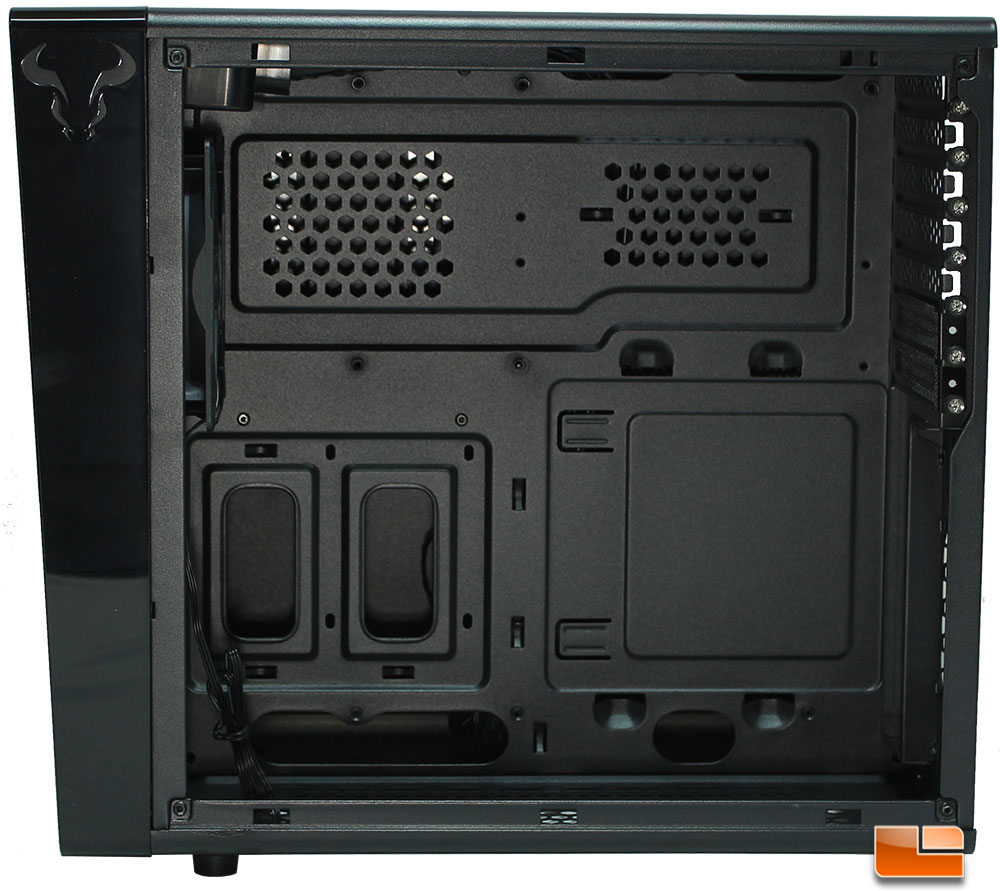
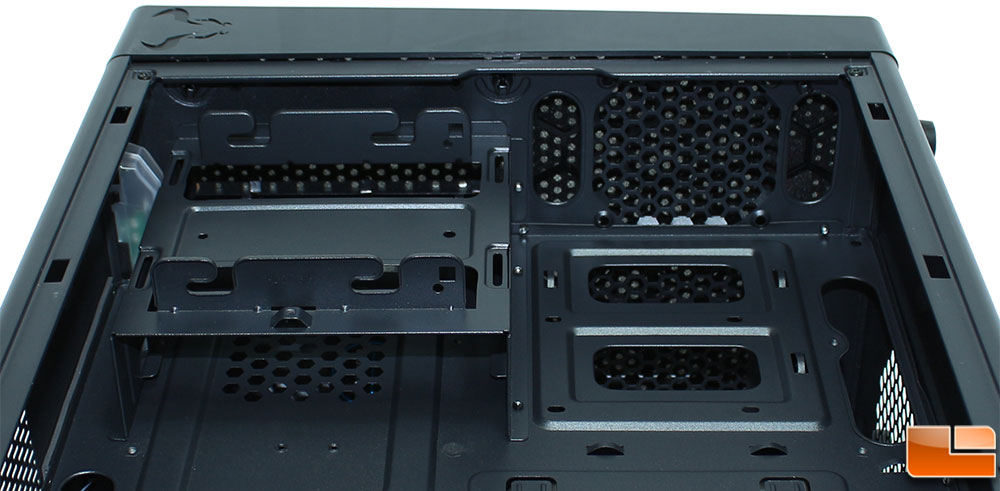
As we remove the side window panel, we can take a closer look at the internal compartments. For the motherboard side, we can see several cable management holes in key locations across the top, bottom and at the front. Looking closely at the front two holes, one appears that it’ll be covered if we install an ATX motherboard, which isn’t entirely unusual. There is one key item missing here that many of us have become accustomed to having, that is a hole in the motherboard tray to install a CPU cooler after the motherboard has been installed.
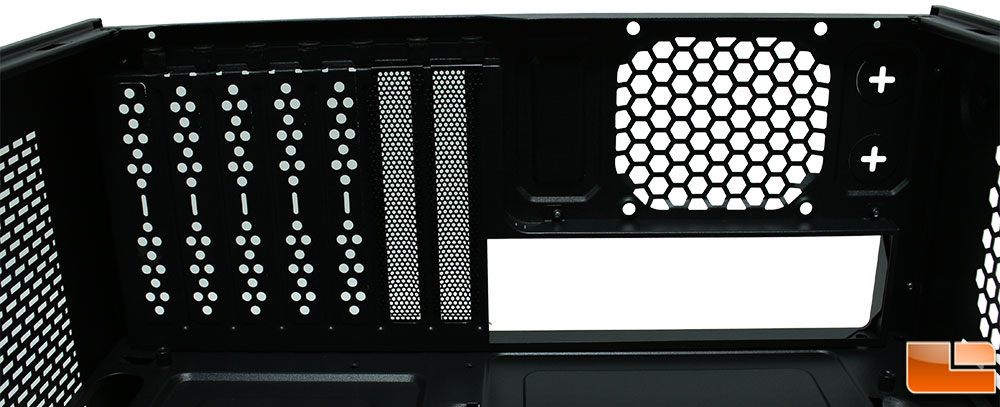
The back of the case doesn’t surprise us as it shows everything we saw when we looked at it previously. The seven expansion slot covers are held in place with thumbscrews, which comes in handy for tool-less installation of expansion cards.
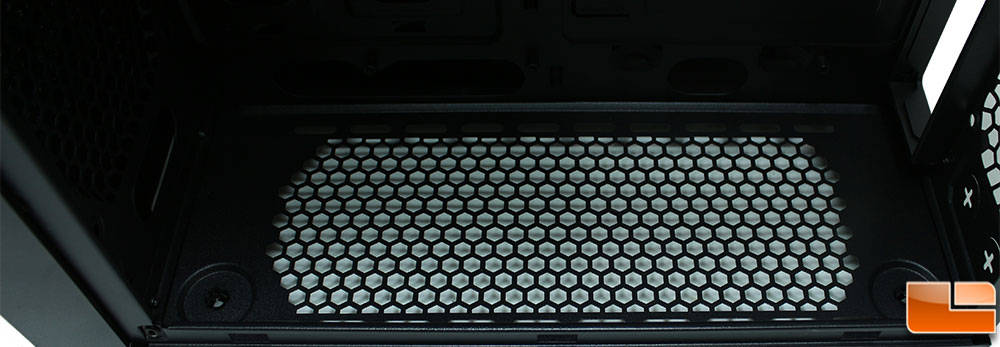
Nothing exciting on the bottom panel either, it is ventilated to allow up to two 120mm fans to be installed here. There is no filter on these vents so if they are to be intakes expect more dust than normal. Make them exhaust fans and you shouldn’t have any issues.
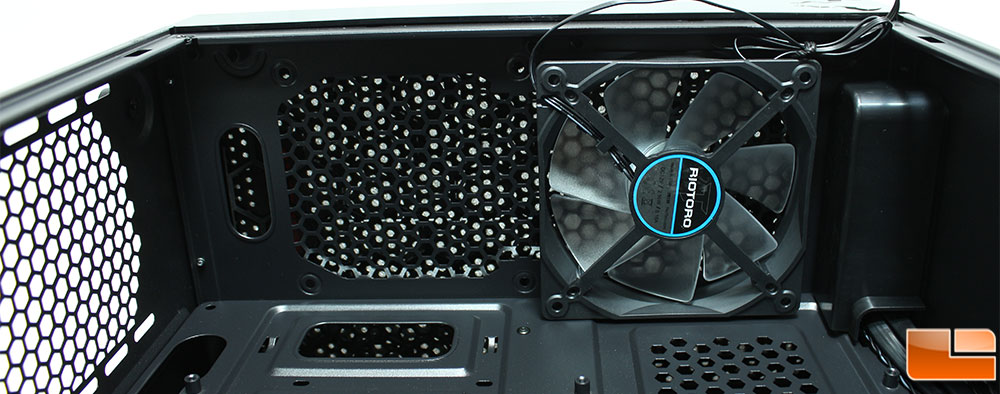
Now we can start to see something interesting. The front panel includes space for two 120mm fans, or a liquid cooler. The Riotoro FB120 Blue LED fan is included, is rated for 1,500RPM at 26.5dBA, and pushes 47cfm; this is not a PWM fan. Overall, the specifications on this fan doesn’t impress me, I have many fans that push more air while being quieter (at least according to specifications). Riotoro states that a 120mm radiator will fit here, but I suspect a 240mm radiator would fit as well, but it could be tight due to the cable box at the top.
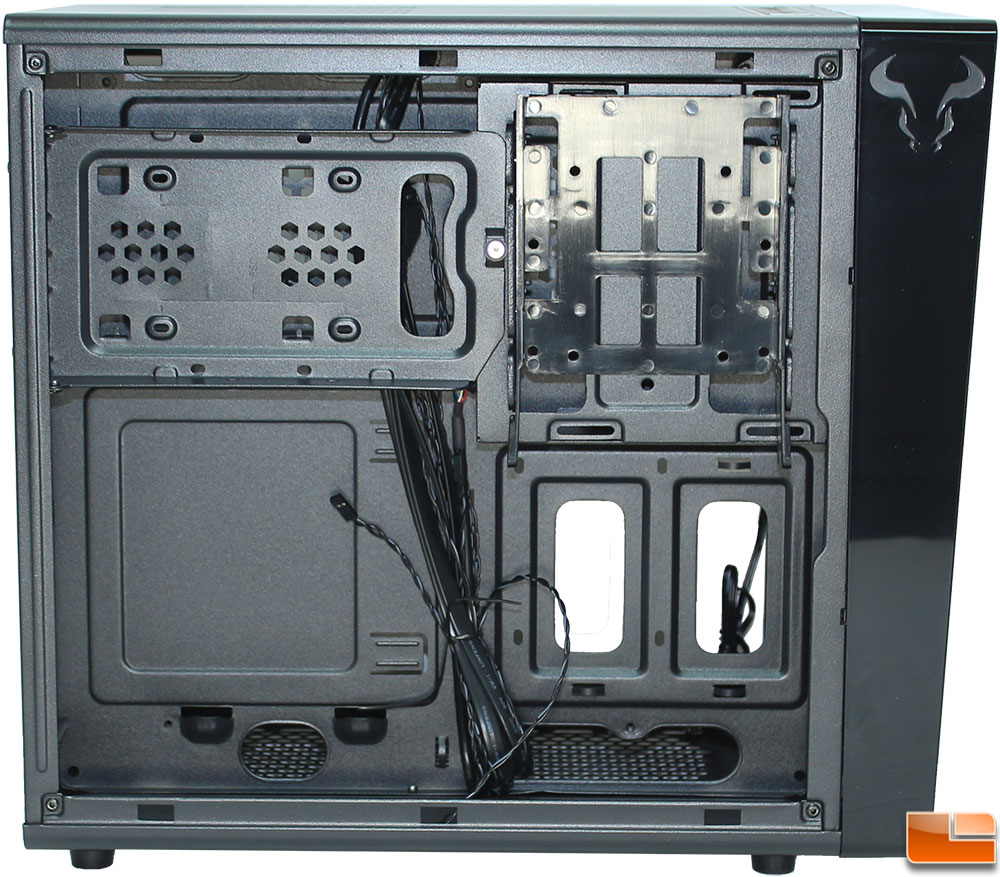
Removing the solid side panel reveals the layout for the power supply and storage devices. As we previously mentioned, the power supply sits with the fan facing out, rather than the fan facing down. There are two trays for 3.5″ drives, and two hidden locations for a 2.5″ drive and one for the optical drive.
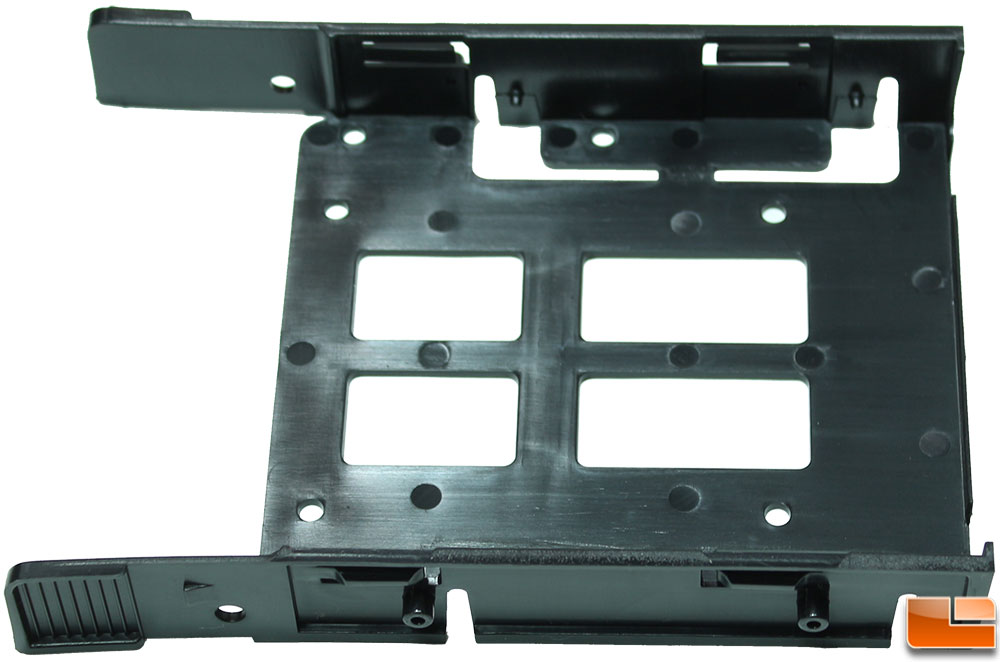
The 3.5″ drive tray is held in place with a thumbscrew and swing out to reveal a 2.5″ SSD tray. The 2.5″ drive can be secured with screws through the bottom of the tray or along the top edge of the drive. Beneath the tray, there is a little room for some cables to be hidden.
Taking a look at the front of the case, we can get a view of the 5.25″ drive bay, and the 3.5″ tray slot. The 3.5″ tray slot slides in and locks into place with common squeeze clips. At the bottom of the front panel (the right side of the front panel here), is a place for an 80mm fan to be placed, this wouldn’t be a bad place to put a small intake fan to provide some cooling for the hard drives.
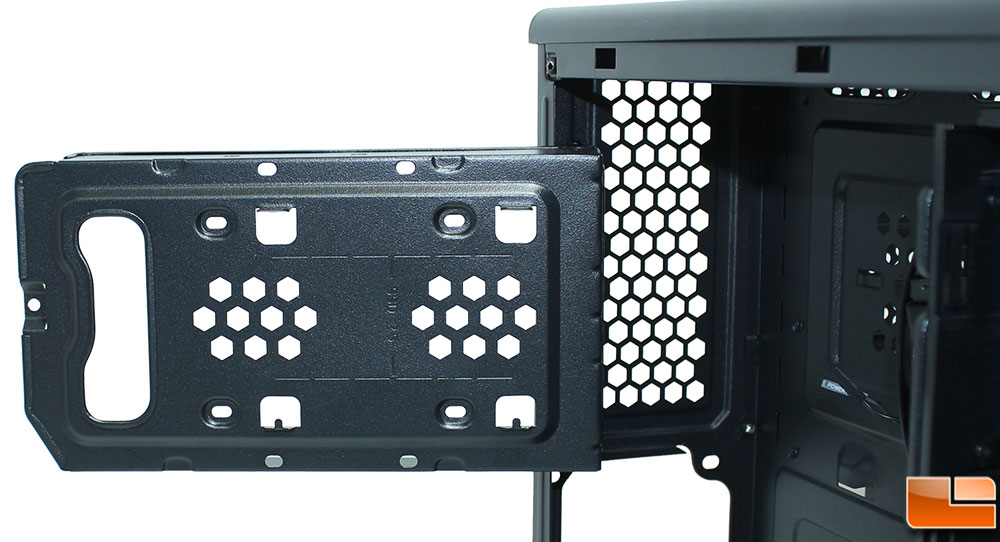
The 3.5″ hard drive tray is a common design, which works rather well. The hard drive is placed on the bottom of the tray and gets secured with four nubs that pop into the side screw holes on the drive. If you want to use this tray for a 2.5″ drive you can do that as well, there are holes in the bottom of the tray to accommodate 2.5″ drives.
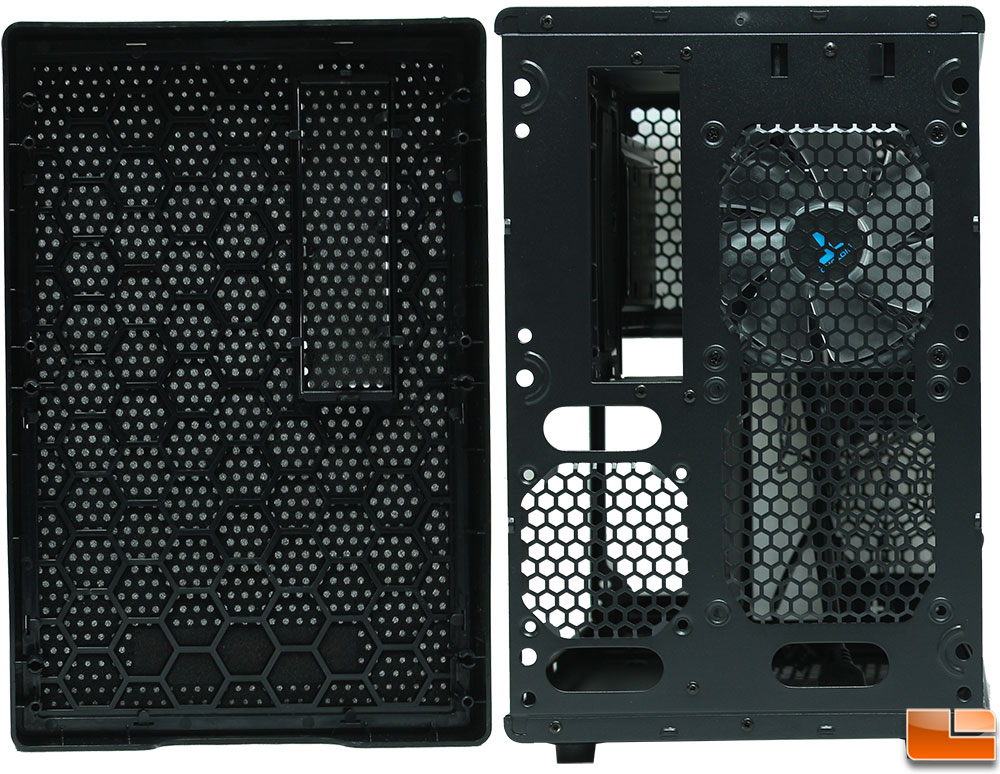
The front panel is removed by pulling from the bottom, the review sample I found the front panel to be a little more difficult to remove than originally expected, it is held on tightly. The front panel being fully vented has a foam mesh filter between the outside panel and an interior honeycomb panel. The 5.25″ optical bay cover is held in place with two clip. Taking a look at the front of the case itself, we find there are places to install up to three fans, two 120mm fans on the motherboard side, and an 80mm fan.