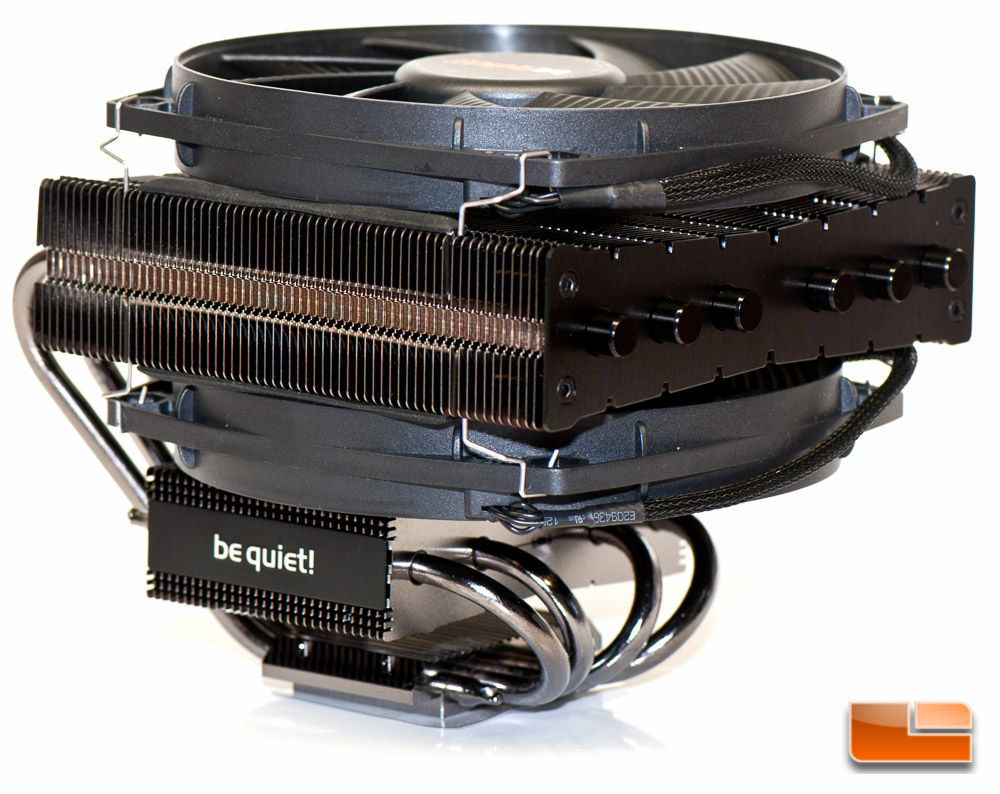
be quiet! Dark Rock TF CPU Cooler Review
Installing the Dark Rock TF CPU Cooler
Prior to performing your install, I recommend doing a little prep work beforehand. The first item on our list is mounting the fans. They utilize a spring clip that is best installed by hooking the bracket to the top stack first, then stretching it to the mounting holes.
Next up I attached the mounting bracket to the cooler using a total of four small screws. I also placed the hex hex mounting nuts fitted with a nut on the other end.
That’s basically all of the prep work that you need to do before you can begin the mounting process. From here on out, you either need your motherboard completely out of the system to work with this, patience, or an extra set of hands if it’s already installed in your system. The mounting system for the Dark Rock TF is very tricky and annoying.
Prior to doing any mounting, you will absolutely want to dry fit this cooler in your system. My Corsair Vengeance Pro 2 RAM is quite tall, and I find that the heat pipes on the cooler would end up flexing the RAM in its socket. I would ideally would have liked to install the cooler that way…
…so instead I rotated it 180 degrees to make it work.
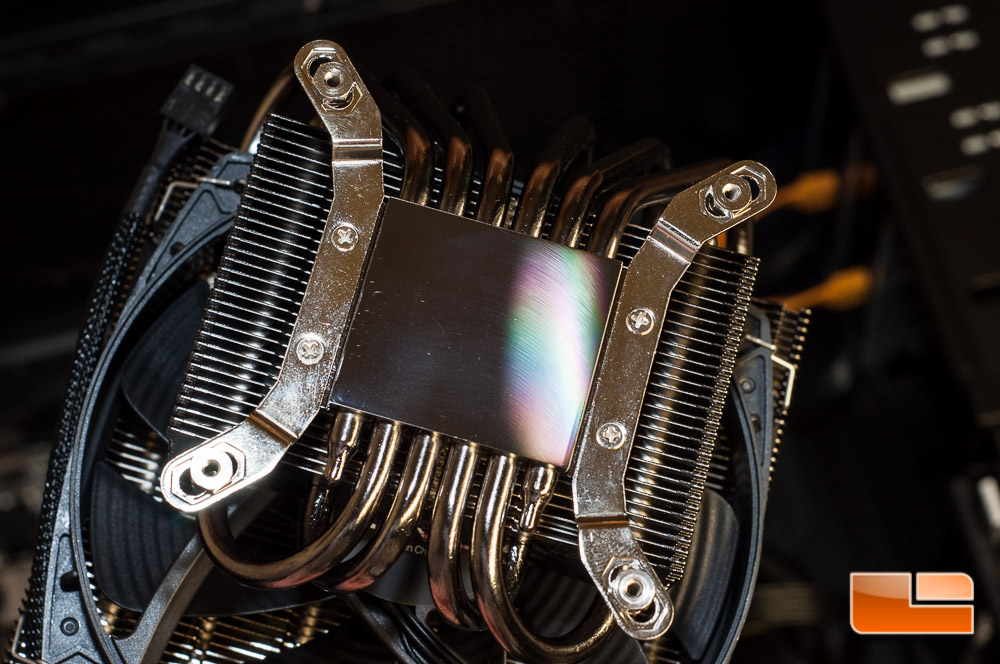
The backplate has holes to fit many Intel or AMD sockets, so referring to the guide you can quickly figure out what you need for your build. I placed the M3x15 screws in their respective holes for my Socket 1150 processor, but they don’t attach just yet – they stay loose for a moment. Take note of the Phillips head here
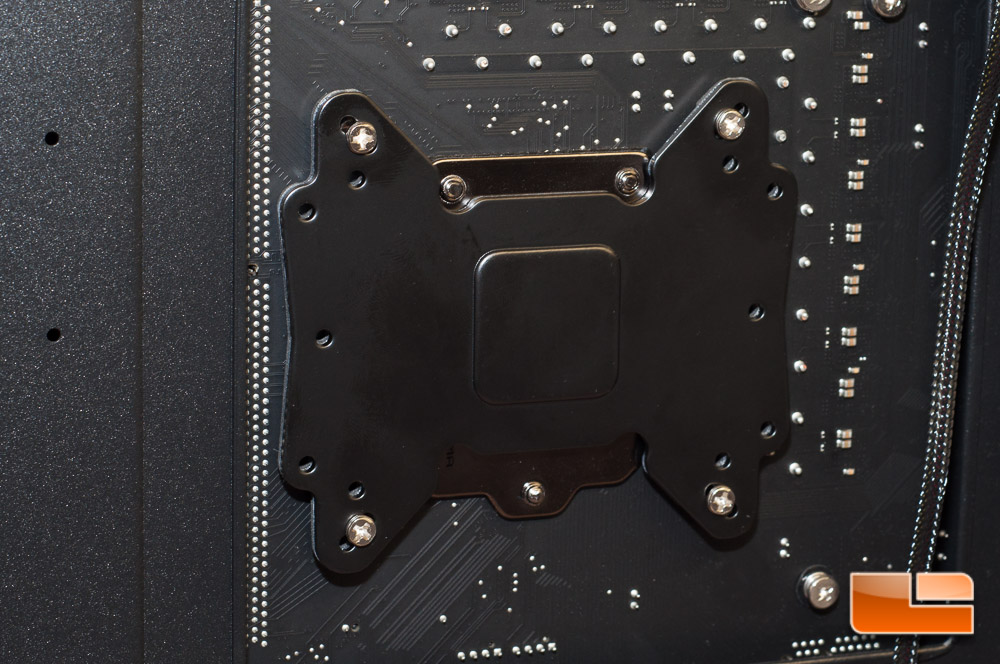
Slipping the backplate through the mounting holes on the motherboard, I will then use a C-spacer to hold the backplate in place, though it isn’t totally firm. Again, this can prove to be a little tricky, making sure you don’t lose one of the mounting screws, but this isn’t the most difficult part of the install.
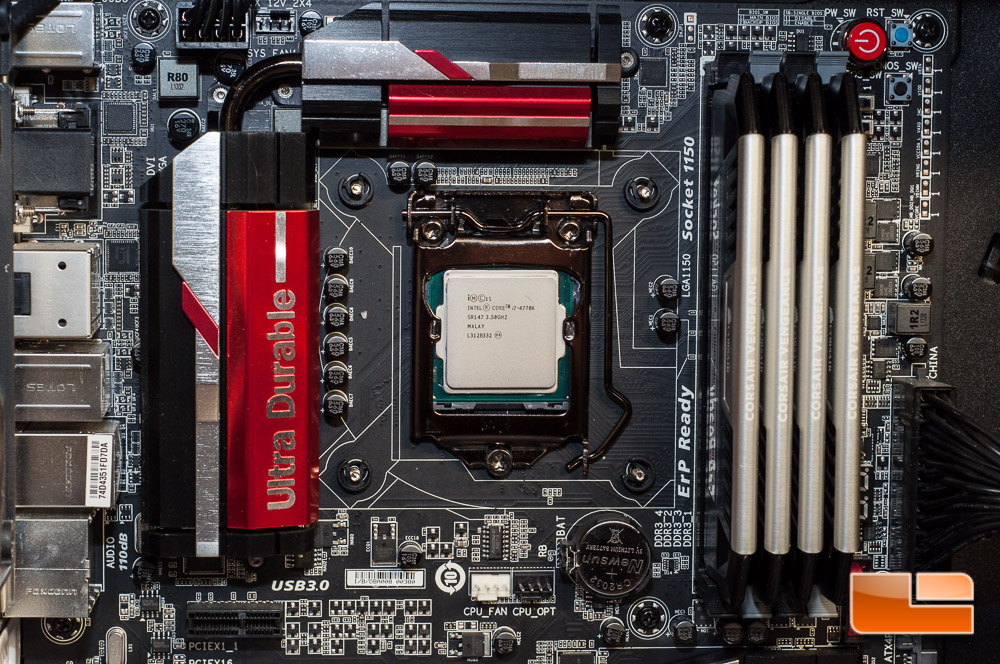
Now that we have the backplate in place, it’s time to put the thermal paste in place. I use a pea-sized amount and let the cooler compress the paste evenly across the processor’s IHS.
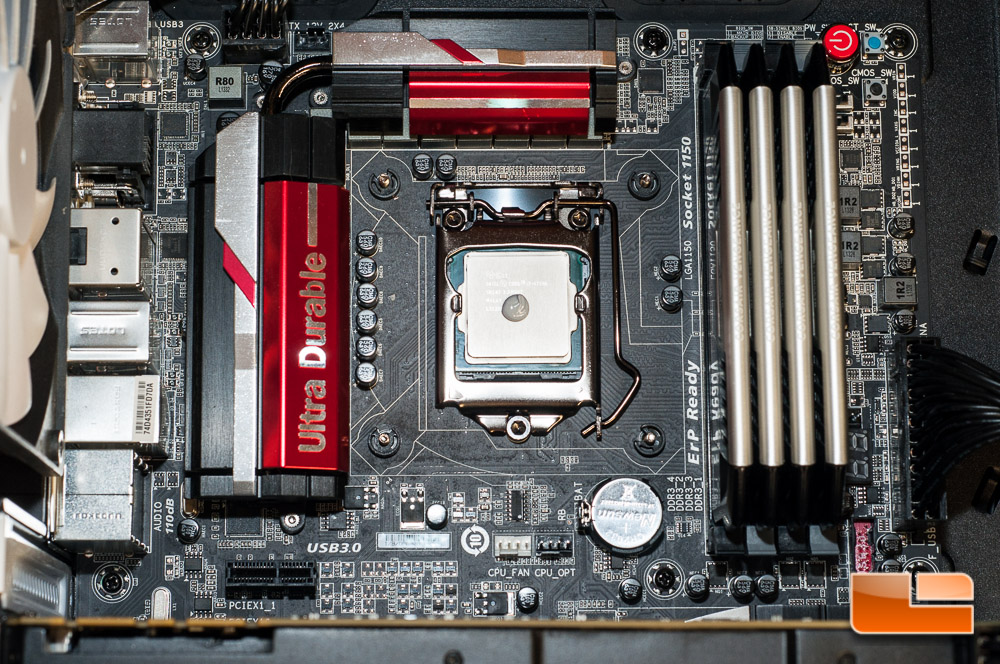
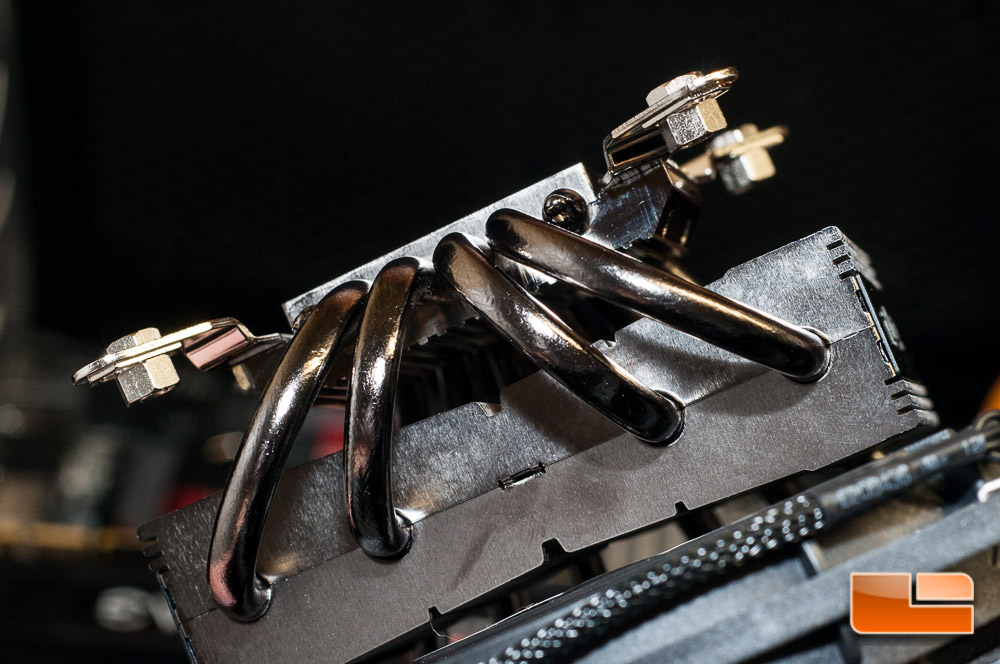
The next step is the most difficult part of the install – mounting the cooler. Do you remember those Phillips-head screws you saw on the backplate? You’re required to fasten the cooler from behind the motherboard instead above it. This is extremely tricky to accomplish with your hardware inside your case, but I think it would be a lot easier if you were just starting off building your system and nothing was inside. What should have taken me 1-2 minutes to complete, took me 4-5 extremely frustrating minutes due to trying to line the screws up to the mounting nuts on the cooler bracket. I didn’t want the cooler to squish the TIM prematurely and the M3x15 screws wiggled around a little bit.
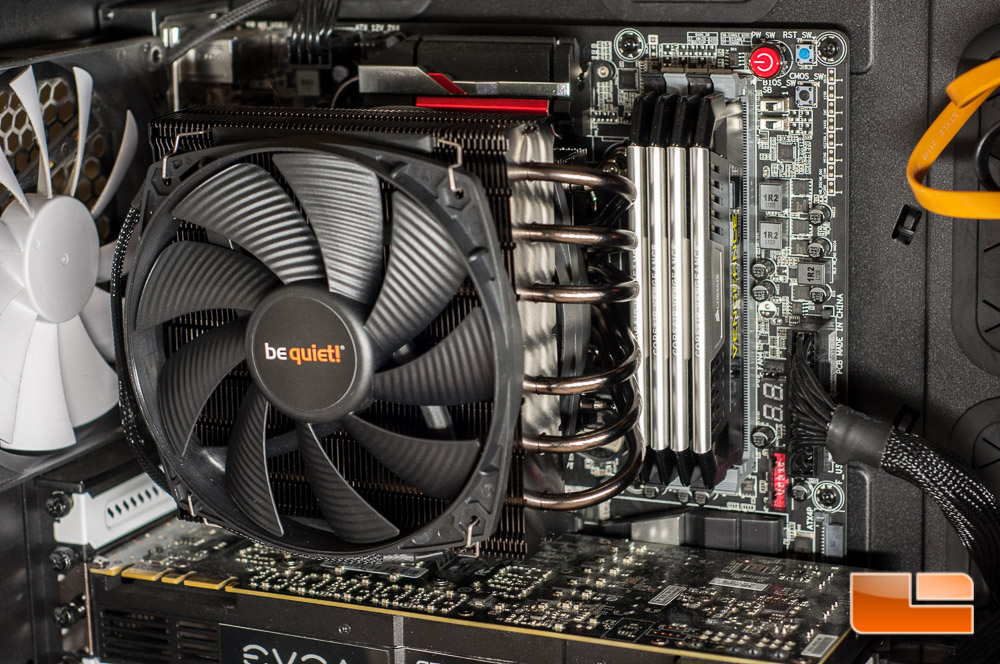
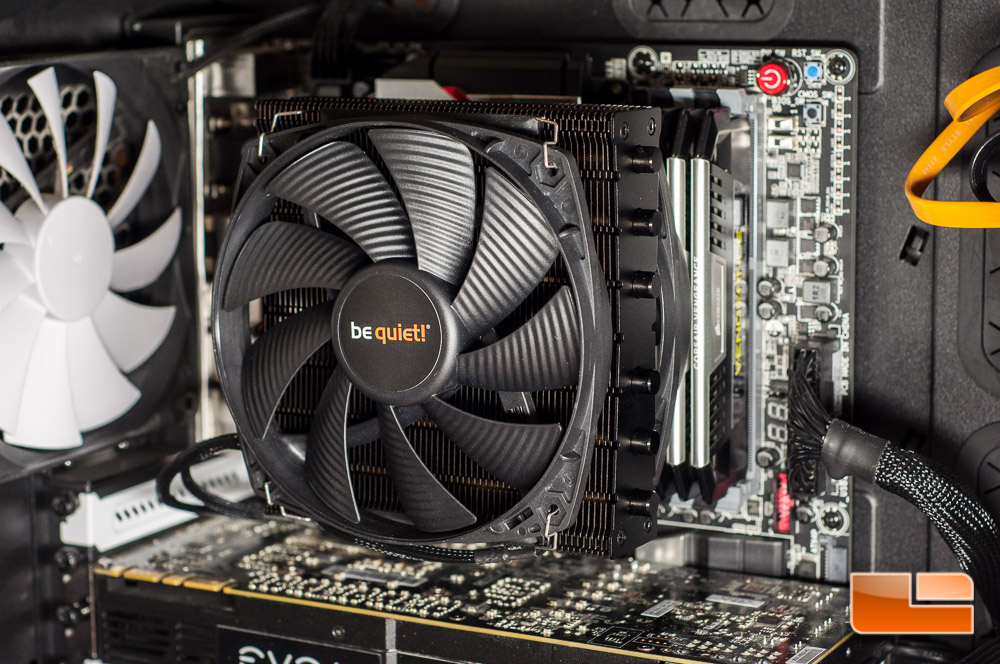
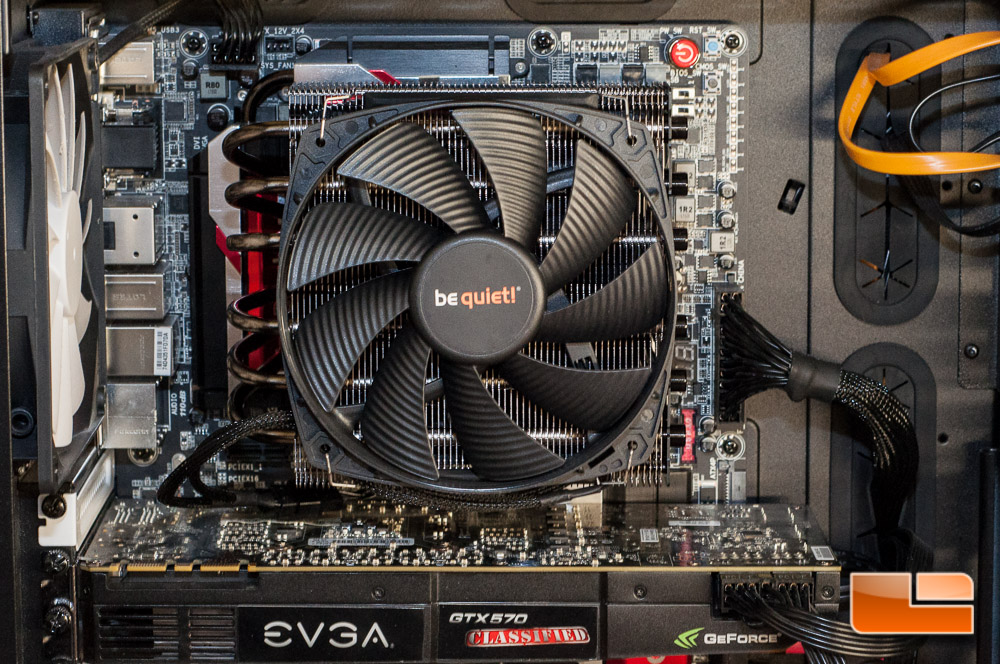
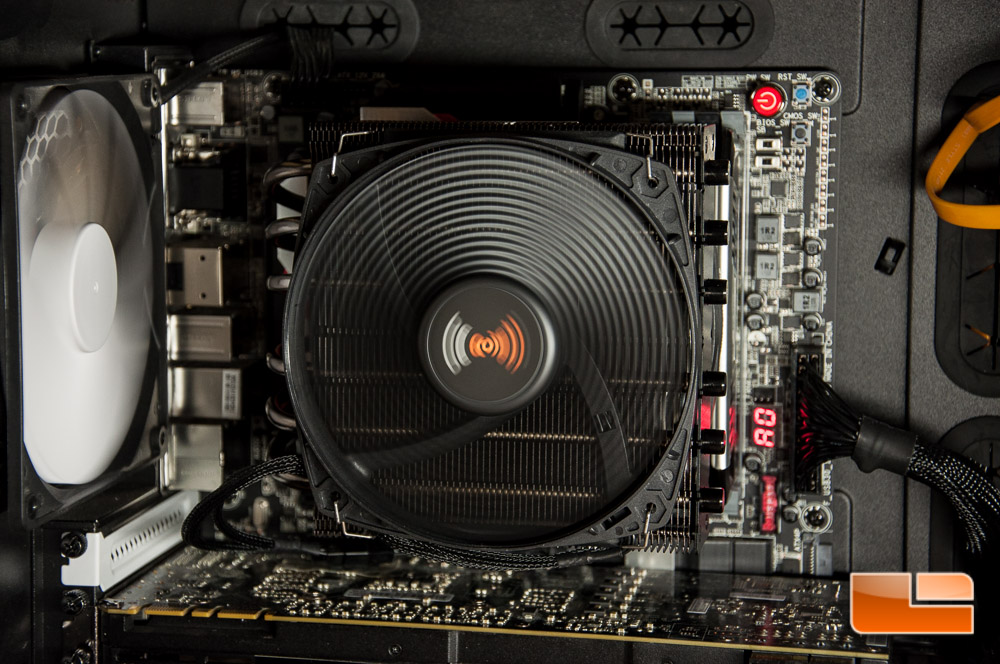
The last thing to do is connect the Y-cable to the fans and your fan header. All mounted, this is what the cooler looks like:
Firing up the system for the first time, the cooler absolutely lives up to be quiet!’s name and is very quiet! We’ll have to see in the coming pages how this cooler actually performs.
Since we know that everyone is curious with how the Dark Rock TF performs, let’s move onto the testing. Well compare it to the various air and liquid CPU coolers that weve tested in the past, see how well it works with an overclock to 4.3GHz on a i7-4770k. Before we get into the tests, click the next page to see what weve got in our system.