OCZ Tempest Heat Sink Fan Cooler
Installing The Tempest on an LGA775 system
The first thing to do was find the parts that we needed to install the Tempest on our LGA775 test system. One thing that OCZ did a great job of was making sure everything needed to install the Tempest on AMD and Intel systems are included with the original purchase. While many parts will be leftover it gives one the piece of mind that if they want to change over to an AMD or Intel system they won’t have to buy a new heat sink.
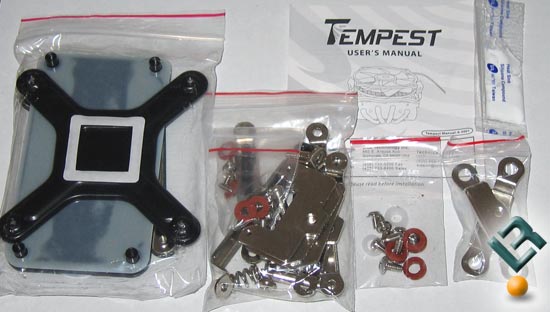
After using the instructions and common sense we sat aside the extra pieces and started to assemble the heat sink. Due to the use of backplates no matter what system you are running the motherboad will have to be removed for the heat sink to be installed.
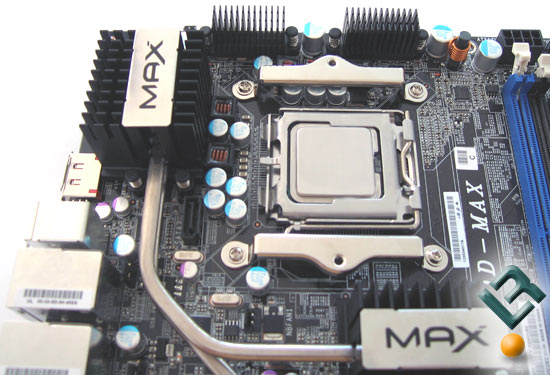
On our abit A9WD-MAX motherboard we aligned the mounting hardware so that the air from the heatsink would also cool the north bridge. After testing fitting the cooler making sure that it would fit this direction we secured the mounting brackets to the backplate. Notice that the mounting brackets sit over the locking arm of the CPU socket, so make sure the processor is installed first if doing it like this.
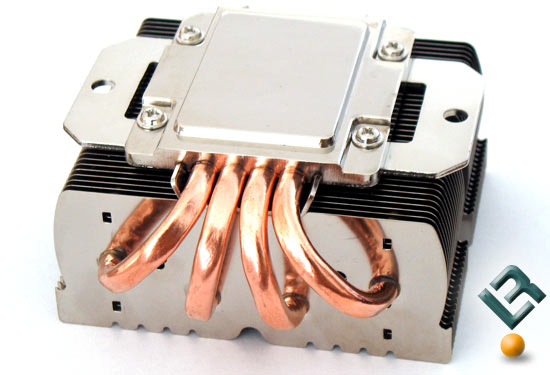
With the motherboard ready for the heat sink we moved our attention to the heat sink itself and attached the two tabbed mounting clips to the base of the heat sink. Now that the base of the heat sink and the motherboard are ready for installation we applied Arctic Silver Lumiere to the processor that was already installed.

With the thermal comound applied to the CPU we used the two springs and the short mounting screws to attach the base to the motherboard.
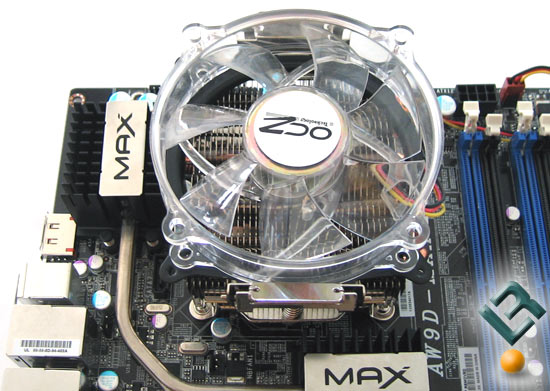
With the heat sink mounted to the board we clipped on the fan ring and popped in the 92mm cooling fan. If you travel or move your computer around a bunch the fan needs to be screwed to the fan ring. Since our test system was used on a flat test bench this was not needed.
Comments are closed.