OCZ Neutrino 10″ DIY Atom Netbook Review
Building The Neutrino
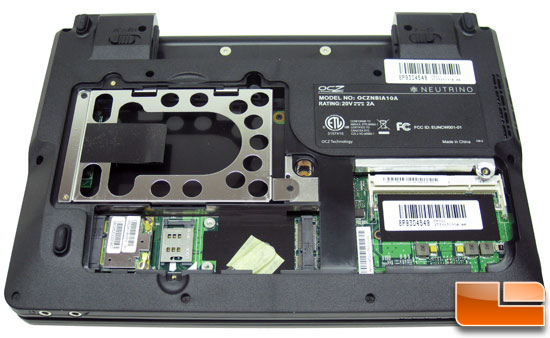
The first step to getting the memory and hard drive installed into the Neutrino is to remove the six Phillips-head screws that hold on the back panel. Once the panel is removed you’ll see the layout is very simple and the DDR2 SO-DIMM memory kit and SATA 2.5″ notebook hard drive will be quick and easy to install.
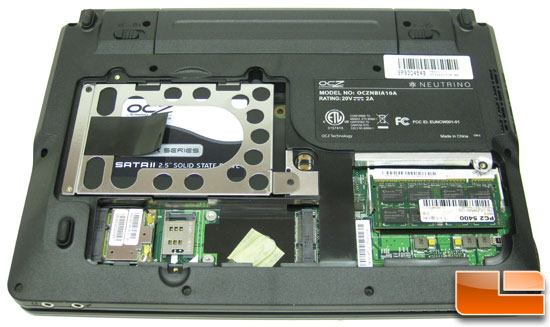
When it comes to storage space, the Neutrino uses a 2.5″ SATA notebook drive form factor and supports all SSDs and HDDs up to 250GB. Newegg has 63 notebook hard drives listed for sale with an 80GB SATA 5400RPM drive starting at just $39.99 shipped, so expect to spend around this all the way up to a few hundred dollars for a top of the line Solid State Drive (SSD). Laptop hard drives tend to start at around $50 and go up from there.

To power the Neutrino we went with the OCZ Vertex 120GB SSD, which costs more than this netbook does. The reasoning for this was to have one of the fastest SSDs money could buy in this netbook to improve performance, but that plan didn’t work out too well as you will see in the benchmarking section. It turns out the Neutrino chipsets actually bottleneck the drive’s performance, so if we had to do it all over again we’d use a slower and less expensive SSD.
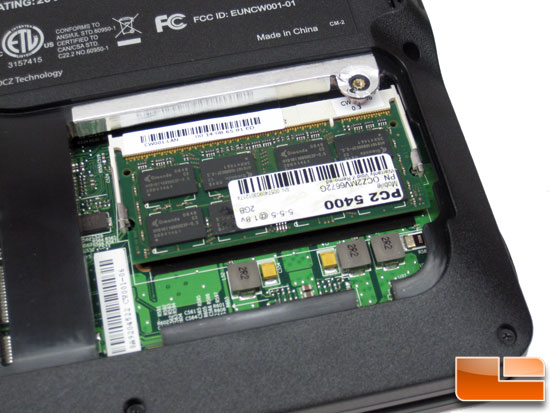
The Neutrino supports up to 2GB DDR2-667 via the single SO-DIMM socket. Wanting the most memory possible we installed an OCZ 2GB PC2-5400 (667MHz) DDR2 SO-DIMM memory module. At $24.99 it is hard to go wrong with this selection. The module says it is rated with 5-5-5 timings at 1.8V, but once we fired the system up it was running 4-4-4-12 timings! No complaints here as that means we are getting better performance.

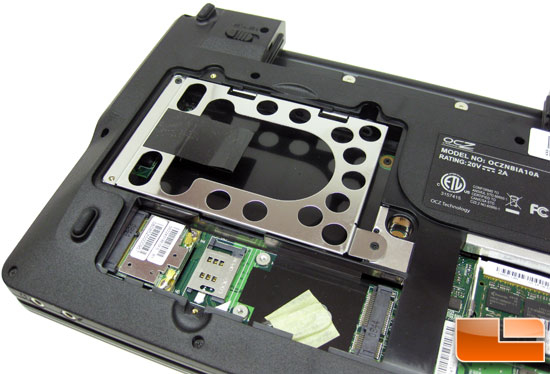
The OCZ Neutrino also has an internal Mini PCI Express slot designed for an HSDPA or WiMAX broadband adapter. The Neutrino even has a pre-installed spare antenna, as you can see the leads taped down right next to the Mini PCIe slot. This is not a bad touch as this provides an upgrade path down the road.
Now that the memory and storage drive are installed the Neutrino netbook is ready to be fired up, so the battery can now be safely placed into the system and the back panel re-attached.
Let’s install Microsoft Windows 7 RC1 now that the system has been built!
Comments are closed.