Lamptron FC-8 Fan Controller Review
Unboxing The Lamptron FC-8 Fan Controller

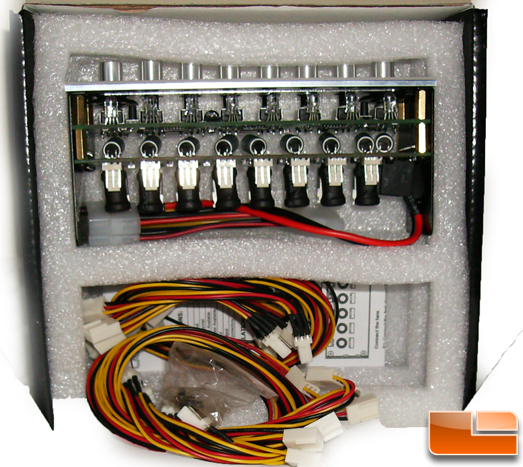
The box the Lamptron FC-8 and accessories come in is a well constructed cardboard box with thick foam inserts. They’re almost a half an inch thick. Inside the box we get a bag of screws, instruction manual and 16 unsleeved fan extension wires that are 6″ long each.

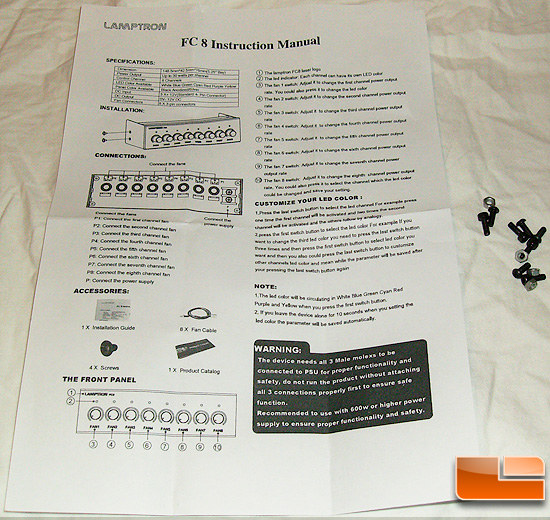
Here’s the manual for the FC-8 along with a set of screws. The manual details how to program the custom LED controls along with a few telling you what should be in the box. Though there is a note I would like to make about the “warning” section; this warning is detailing the “600w PSU Requirement” and “3 Molex Connection Requirement” that I talked about before. So head back to the bottom of page 1 if you skimmed over that section.
I would also like to note that the manual and box both say the accessory pack should include 4 screws and 8 fan cables that are 20″ long. My accessory pack came with 16 fan cables & 4 screws, along with 4 bolts. I contacted a Lamptron rep about this and they opened another sample to see if this was similar on all of the products. They found the same amount and size of cable, though only 4 screws. If you put two of these cables together, it did add up to 20 Inches, so it may have been a last second design change.
At this time, it is Chinese New Year; I will have to wait for official word about this discrepancy later.
(Edit) Official word from Lamptron is future controllers will come with 4 Screws and the original set of 8 Cables that are 20″ Long. In order to get samples sent to reviewers this substitute was put in place. The models that are currently for sale from vendors feature the noted 8 x 20″ cables.

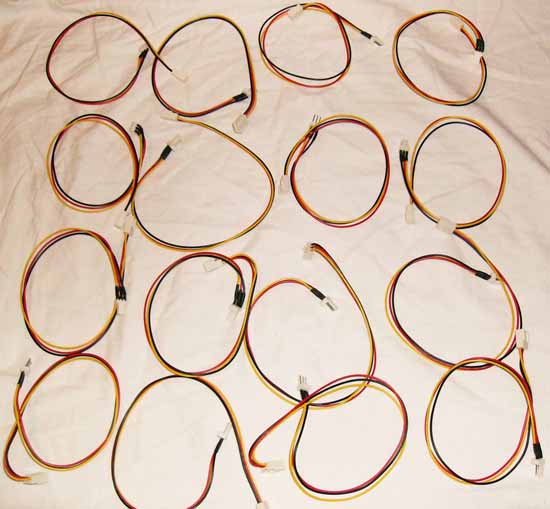
Here are our cables. All 16 of them, in 6″ segments. Personally I like this, as previous Lamptron controllers came with 12″ Cables and that was usually too much cable for the distance I needed to travel.
I would like to say, for a controller with this price premium on it, I wish they would offer sleeved cables.

Here is the front of the FC-8. You can see the brushed aluminum finish they gave it that looks even more stunning in person. Each “dot” above the control knobs is where your LED shines through. The labeling for each channel, along with the groove cut around the knob is all carved into the aluminum. So there is no chance of it wearing off unless you give this controller an acid bath.

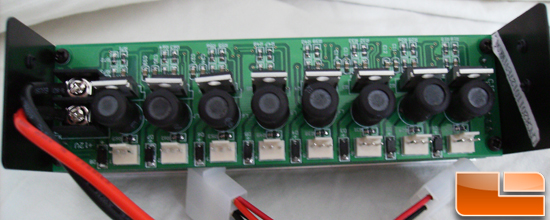
The back PCB of this controller is very clean and soldering work is all very nice and tidy. Those black cylinders you see are solid capacitors from Panasonic rated at 125*C. A very nice showing indeed. I would like to mention that those pieces of aluminum with the holes in them are the MOSFETs. The aluminum backings are built onto them and not actual heatsinks. When Lamptron’s “endurance” marketing spoke of no heatsinks used, this is what they mean. These MOSFETs run cool enough that running 2.5A through each of them will not cause them to overheat. I will test this later on to see how hot they get.

Now I’ve actually run into something I don’t like to see; the MOSFET’s on the bottom of this controller actually had the product numbers sanded off, so I can’t tell what the specifications of these MOSFETs are. You can also see more solid capacitors soldered in-between the PCB’s. They are United Chemi Con 85*C capacitors.
You can also see controller IC’s connected in-between each PCB. These store your active profile for LED color selection.

Here we have the front panel of the FC-8 with its LED’s on, on every channel. It’s hard to tell as the colors blend together in the photograph. The set order on my controller is actually white, yellow, blue, green, cyan, purple, white & red. In person these color are actually quite vivid. The LED’s behind the panel are bright, while not overbearing, even while looking at them head on, maintaining the classy demeanor of the product. This is because the front panel’s LED “holes” actually have very thin bits of aluminum left inside to diffuse the light before it is shown through. That way you do not get an ultra bright LED in your eye when the room is dark, leaving a humble glow instead.
The LED’s used on this controller are Tri-Color; red-green-blue LED’s that use color mixing to produce other colors like purple, white, or green.
Let’s move on and test this controller now.

Comments are closed.