Intel RTS2011LC CPU Water Cooler Review
Installing the Intel RTS2011LC
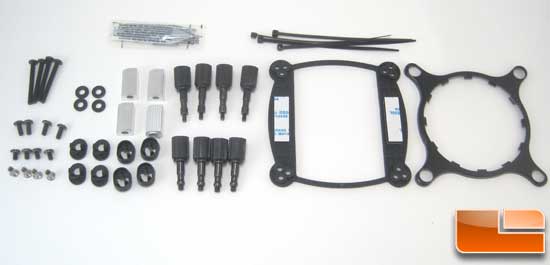
The mounting parts for the Intel RTS2011LC are not just for the LGA2011 socket, but will mount up to any of the LGA sockets. So users that have LGA1155/1156/1366 sockets will be able to use this cooler, as well.

The Intel RTS2011LC instructions are the thickest I have seen for a self-contained kit.
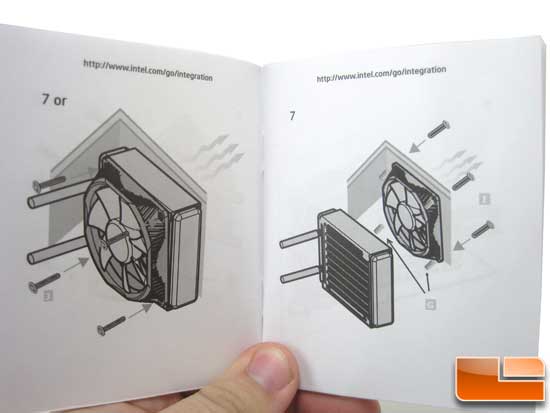
As I looked through them, the instructions are pictures only, and only 14 pages of the book. The rest is the warranty information in multiple languages.
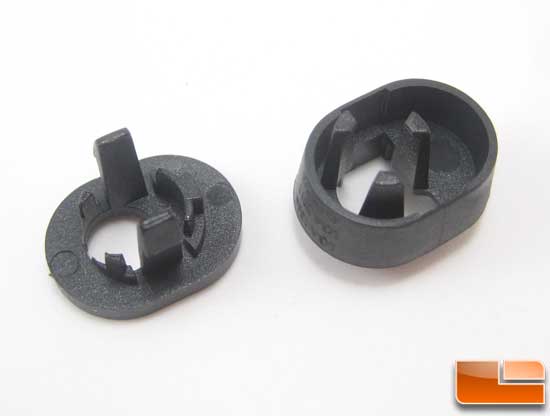
The first step is to install the hold down screw retainers. They are a two part system, and depending on the socket they have to be installed a certain way.
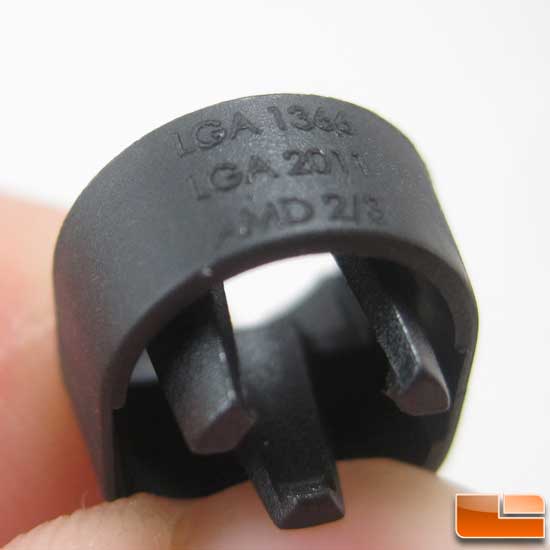
To aid in this the socket key is on the ends of the lower part of the retainer. The end with your socket on it is the end that needs to be to the outside of the upper mounting bracket.
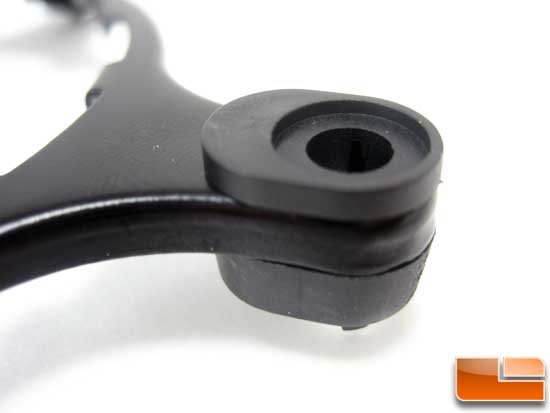
With the retainers installed now you install the proper hold down screw.
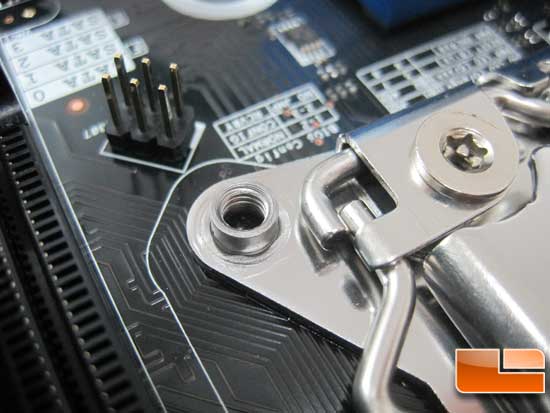
In the past, the mounting holes were through holes; now they are threaded. So we can say good-bye to the push pin style mounts, at least for LGA2011. Also, the new mounting style backing plate is part of the socket like on AMD motherboards.
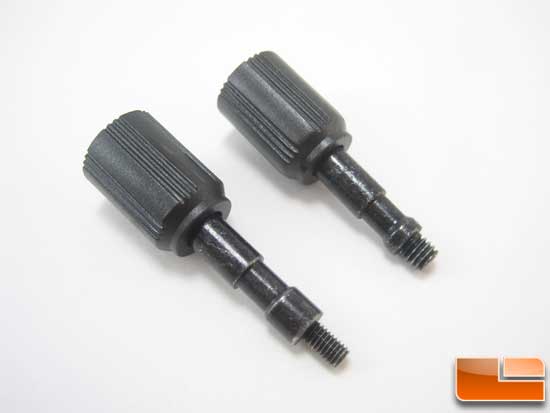
The Intel RTS2011LC comes with two sets of retention screws. The longer screw is for the LGA1155/1156/1366 sockets. The shorter is for LGA2011.
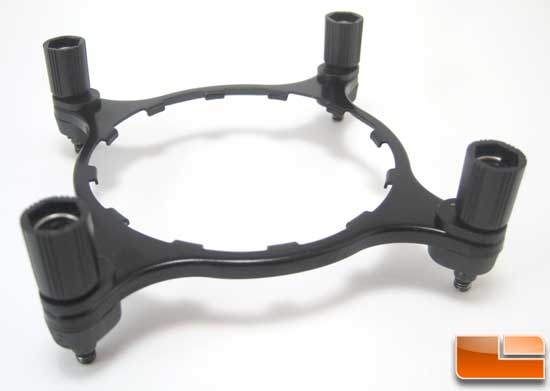
With the proper retention screws for your socket you can now install it on the motherboard.
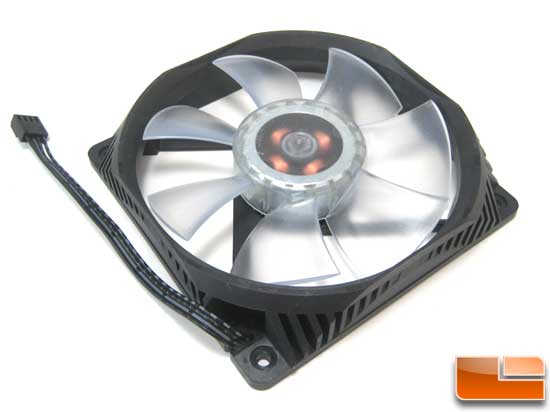
Now is when you decide how you want the fan mounted to the radiator, in push or pull configuration.
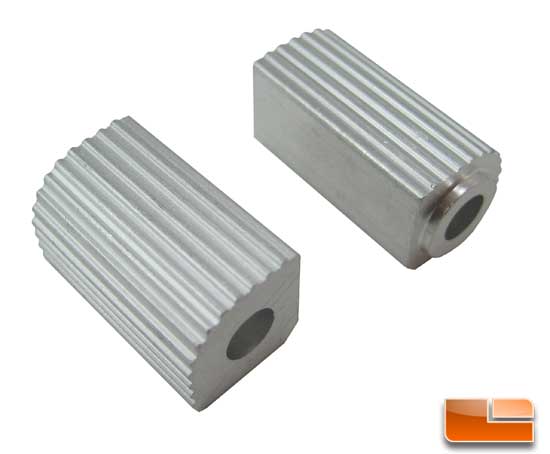
With the odd fan body to mount the fan in a pull configuration Intel provides spacers. On one end of the spacer is a boss that fits a recess on the fan.
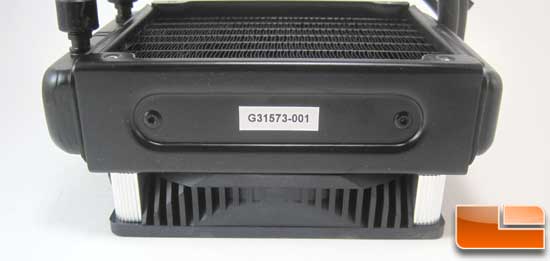
Then it is just a matter of mounting in the case. Mounting this way could be hard (if not downright annoying) to hold all the pieces together, put the mounting screws in, and not drop something.
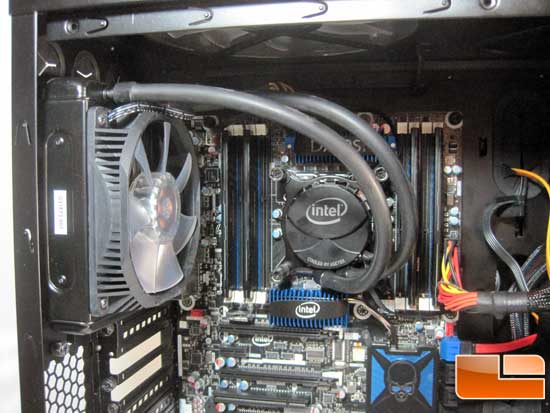
I chose the easy-to-install push method. I did, however, find one thing during the install that could be an issue.
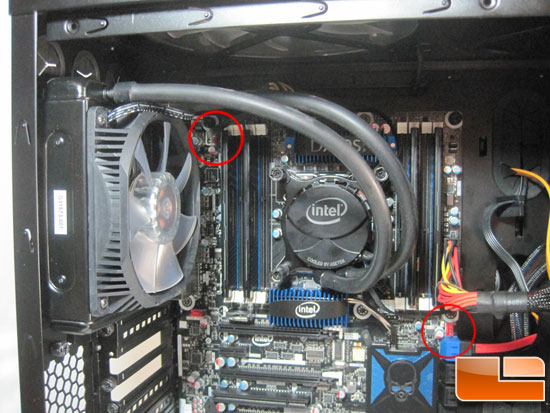
With the pump mounted such that the Intel logo is horizontal so it looks nice, the power wire is too short to reach the CPU fan header (top left) on the DX79SI motherboard. Now, you would think that someone would have noticed this. The power wire can reach the chassis fan header (lower right) but may not operate correctly. If you turn the pump 90 degrees counterclockwise it will reach the CPU fan header, but that looks weird. Just take note. If the logo orientation is important to you and the CPU fan header on your board is some distance from the socket, pick up a 4pin fan extension cable to be safe.
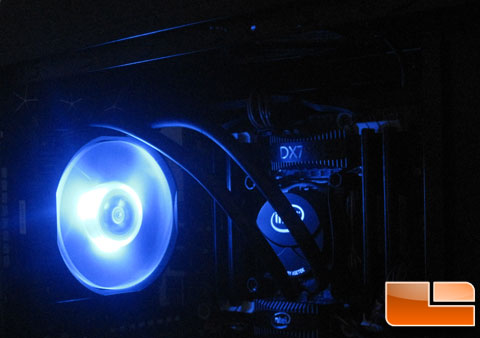
With the system powered up the logo on the pump does glow, but it is overpowered by the LED fan. The LED fan is bright enough to light up the inside of the case, and will light the top of the desk if you have a side panel window.

Comments are closed.