Intel NUC Kit NUC5i5RYK Review – Broadwell Comes to NUC!
By
Installing DDR3L Memory and a Storage Drive into the NUC
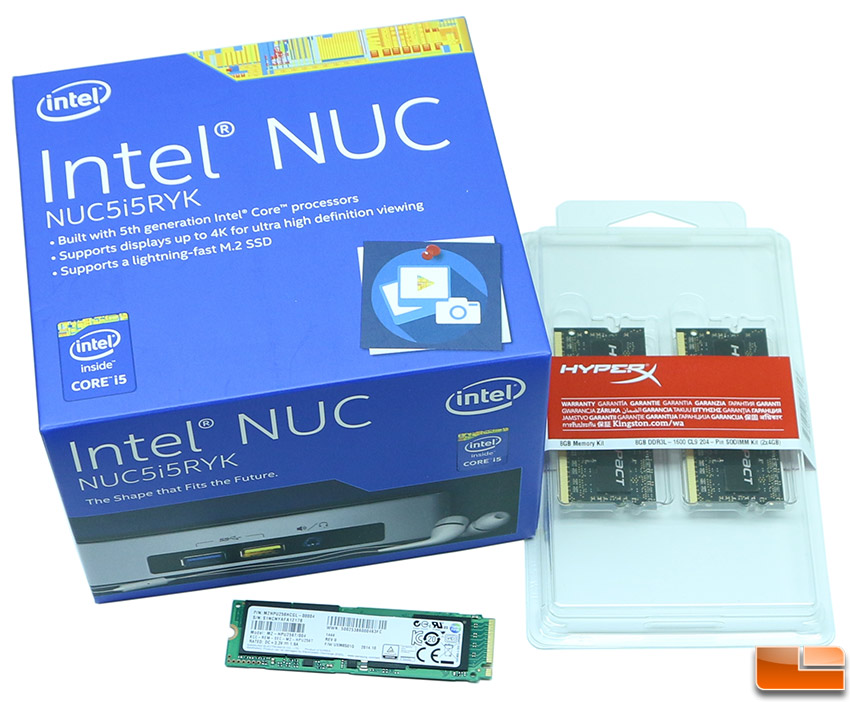
To assemble the Intel NUC NUC5i5RYK you just need to install the DDR3L memory kit of your choice and the M.2 SSD.
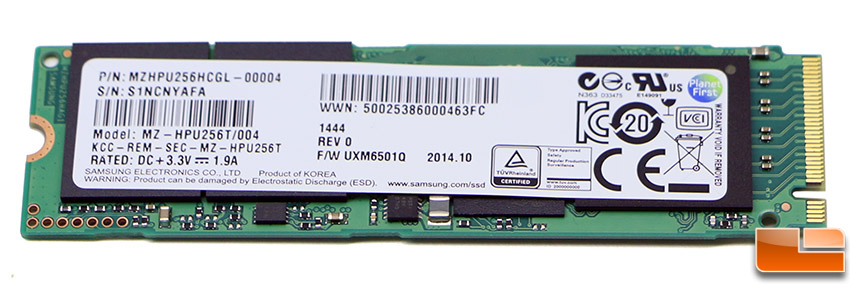
We will be installing the Samsung XP941 256GB PCIe 2.0 x4 M.2 SSD (part number MZHPU256HCGL) that runs $259.99 Shipped. This drive is rated at 1080MB/s sequential read and 800MB/s sequential write with a random read (QD=32) of 120,000 IOPS and a random write (QD=32) of 60,000 IOPS.
This drive is 80mm in length, so we were able to install it into the install it into the M.2 slot and screw it down with the supplied Philips screw.
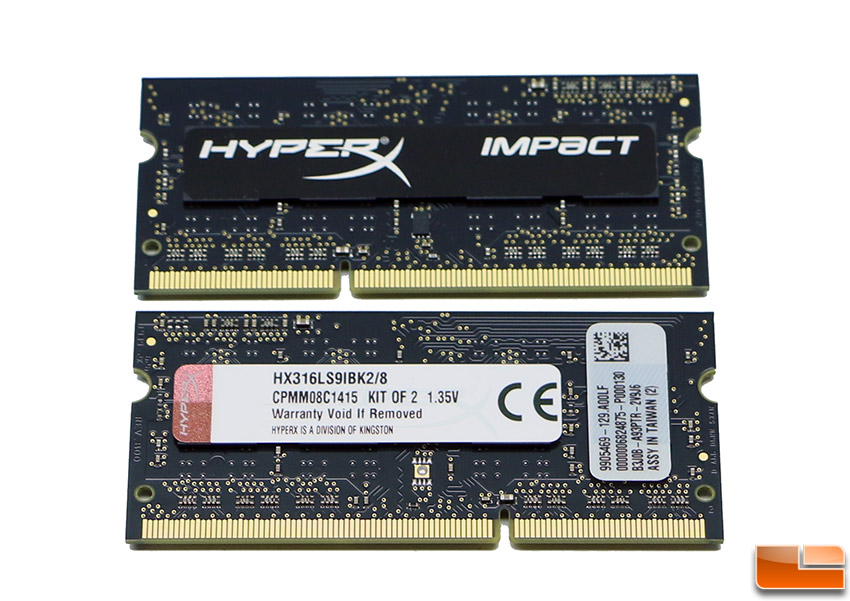
When it came to memory for the Intel NUC we turned to Kingston, which is the number one memory maker in the world. We went with their 8GB DDR3L 1600MHz SO-DIMM that is sold under part number HX316LS9IBK2/8. This is part of Kingston’s HyperX Impact line of memory so it should be perfect for this mainstream system that ready to run at 1600MHz and possibly higher. The highest speed officially supported by Intel is 1600MHz, but faster kits might be supported unofficially. The Kingston HyperX Impact 1600MHz CL9 DDR3L 1.35V SO-DIMM Memory Kit – $71.99 Shipped and is backed by a lifetime warranty. This kit comes programmed with 9-9-9-27 1T timings and is set to run at 1.35V, which is a must for any DDR3L memory kit.
Keep in mind that that 1.5V DDR3 SO-DIMMs are 100% NOT supported. Intel has a list of compatible memory modules for this platform here. This Kingston kit is not on that list, but we have test it and it fully works.
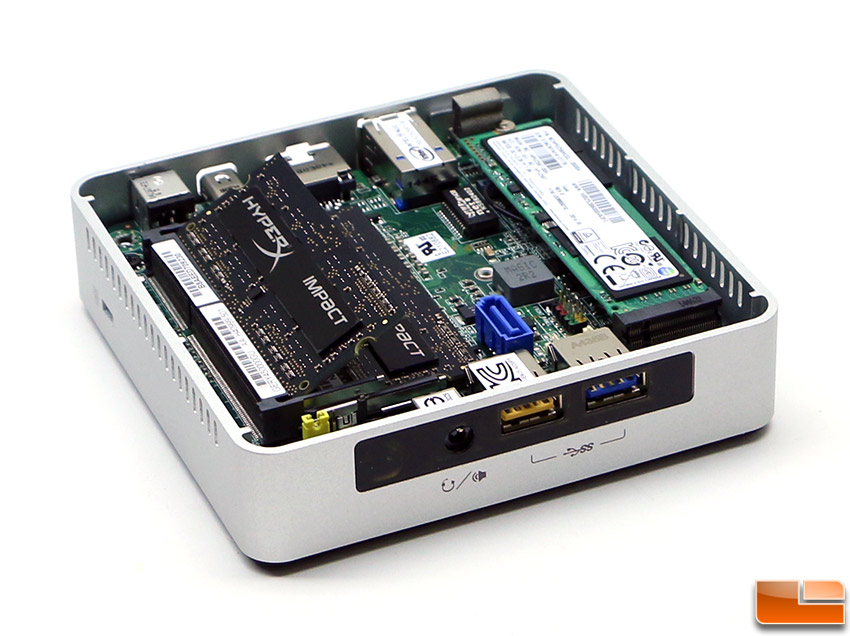
To install the 204-pin DDR3L SO-DIMM memory modules you just need to insert it into the SO-DIMM socket at an angle and then gently push down on it to clip it into the retention mechanism. Installing the memory takes just a few seconds. Once the memory module is installed it should lay flat like the lower Kingston HyperX Impact module in the image above.

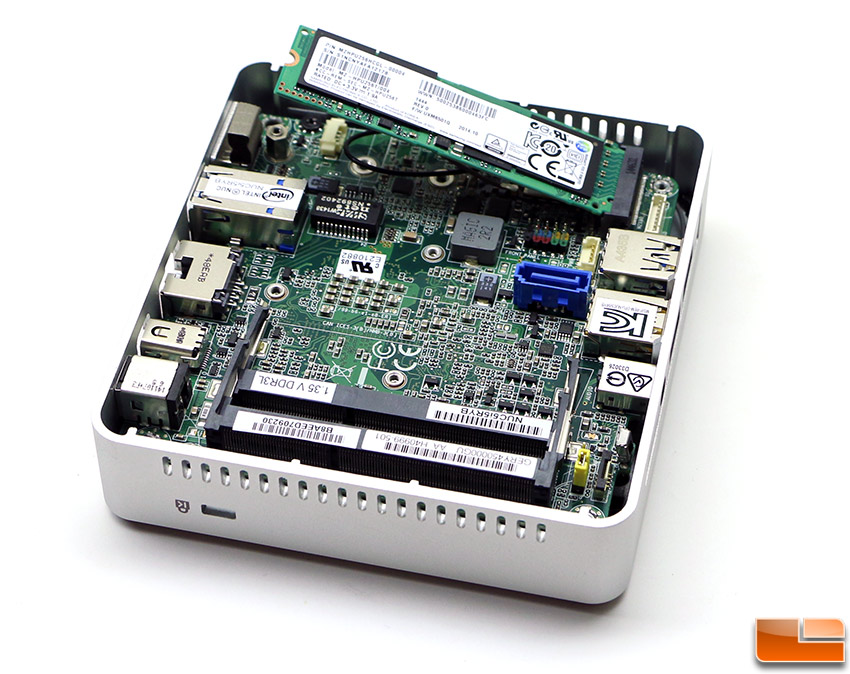
Here is what Intel NUC NUC5i3RYK looks like inside once the DDR3L memory modules and M.2 SSD are installed and clipped or screwed down.
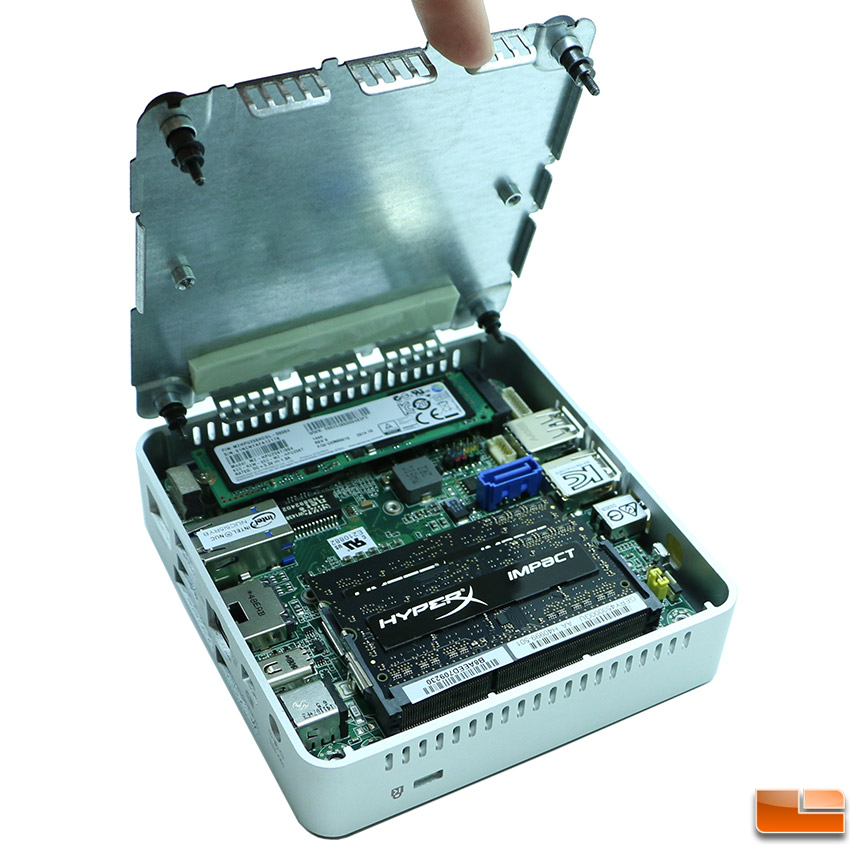
Next you just need to replace the bottom cover and tighten down the four screws on the bottom plate. Notice the thermal pad that helps dissipate heat from the M.2 SSD.
Now that everything is installed we can update the BIOS and setup Windows 8.1!