How To Setup a Home NAS Server – QNAP TS-439 Pro Turbo
Setting up the QNAP TS-439
As soon as the QNAP TS-439 Pro NAS shipped, I ordered 4 identical 1 TiB Hitachi Deskstar drives from Newegg. My plan was to set up the NAS with 4 drives running in RAID-5, which provides about 3 TiB of storage while allowing the NAS to survive a single drive failure.

When everything arrived, I was in a hurry to get started.
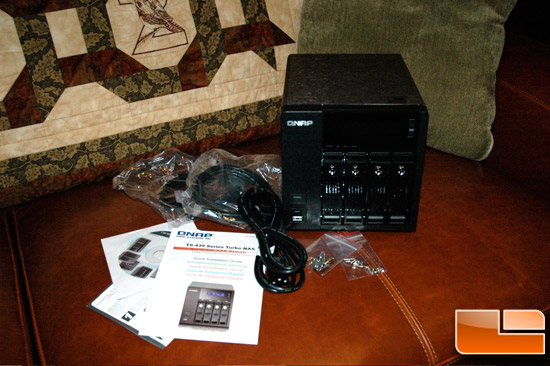
The NAS has 4 easy to access and remove aluminum drive sleds. Four screws fasten each drive into its sled and they slide smoothly into the NAS. Each drive spun up and its light went green, with the exception of one drive. It was DOA and would not be recognized by the NAS. After troubleshooting the drive and convincing myself that it was not an issue with the NAS, itself, I had a new drive cross-shipped immediately. The DOA drive would give me the opportunity to try out the RAID expansion features of the TS-439.
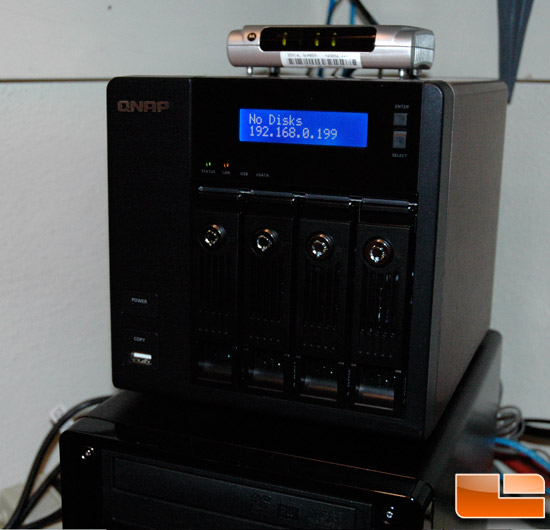
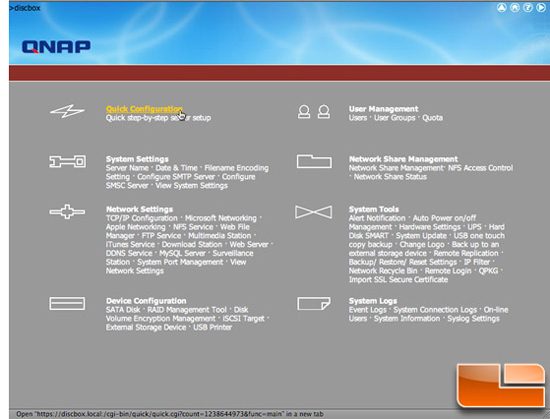
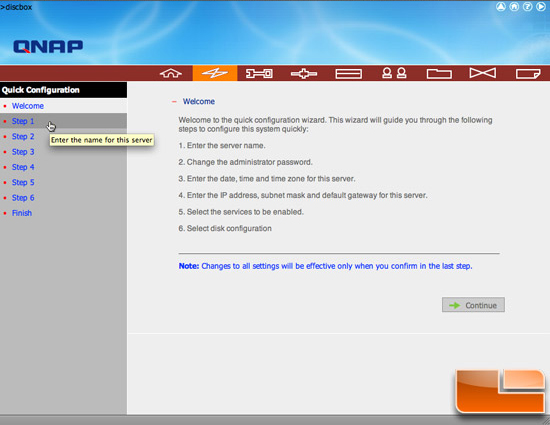
Since Windows is not my primary environment, I configured the NAS via the web interface. By default, the TS-439 gets an address via DHCP from the router and reports this address on the front panel making it easy to find with any web browser on your subnet. I started the out by navigating the friendly Quick Configuration screens and setting up my three working drives as a 1.8 TiB formatted RAID-5; I planned to add the fourth drive later and expand the RAID to the full 2.7 TiB capacity.
It took about 30 minutes to create the 1.8 TiB filesystem and I was up and running. At this point, the NAS was available for reading and writing, but the RAID was still synchronizing so the data was not yet protected. The synchronization process took about 9 hours, but, in the mean time, I started experimenting with the NAS.
The most basic function of the NAS, as the acronym implies, is to provide Network-Attached Storage. The TS-439 provides many ways to access that storage including a web file manager (HTTP), FTP, NFS, SMB, and AFP. The web file manager is a simple way to access files via a web browser and to quickly grab a single file, but it is too rudimentary to really manage your NAS. FTP is similar in that you can fetch or upload files.
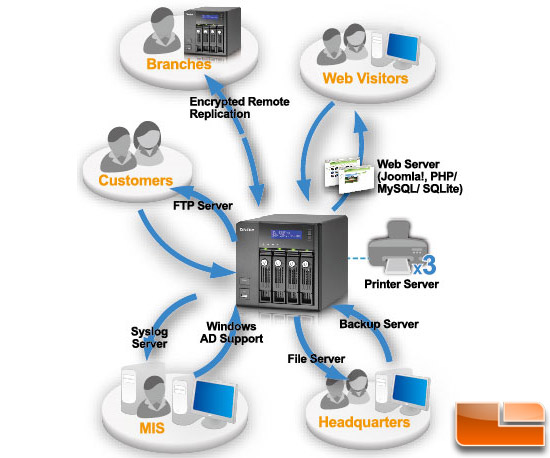
Really using a NAS requires that you mount the drive to your computer using NFS (for Linux and other Unix type OS), AFP (for Macs), or SMB (for Windows machines). It was easy to enable all of the sharing protocols and to then access the shares from Mac OS X, Windows, and Linux. Now that I was sure that I could access the NAS, it was time to start setting it up to be useful!
Comments are closed.