How To Install Windows 7 from a USB Flash Drive
Preparing the USB drive from Vista
Starting with Vista is much easier then with XP mainly due to the Drive Manager in Vista. Login as the Administrator or someone with Administrator rights.
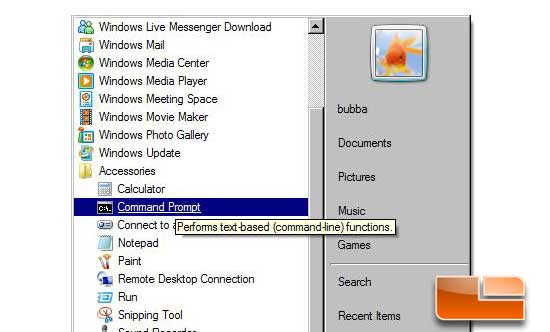
Click on the Orb, under Accessories choose Command Prompt. In this window all the work will be done; dont close it.
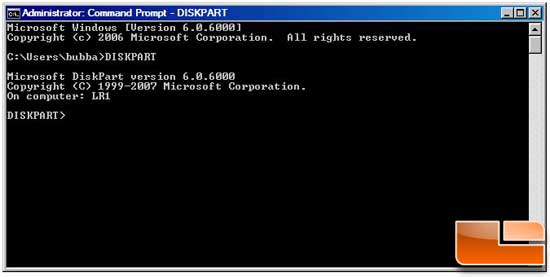
In the command window type DISKPART then hit enter. At the next prompt type LIST DISK and hit enter.

You now see a list of the drives in your system. Find your drive and remember the number. In my case it is disk 1.

Now we need to select the drive so we can format it and get it ready for the Windows 7 files. To do this first type SELECT DISK X (where X is the number for your drive) and hit enter.
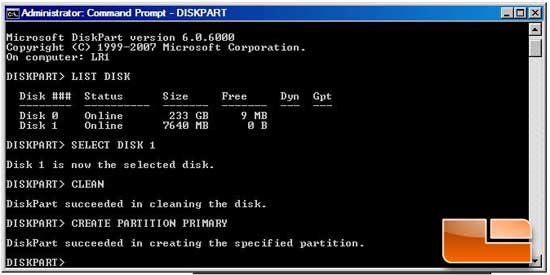
Now to clean the drive and create a new partition. Type CLEAN and enter. This clears the drive. Now type CREATE PARTITION PRIMARY, enter. At this point you may get a pop up that says that Vista has found a new drive and in order to use it you need to format it. Just cancel the pop up, we will do the format in the coming steps.
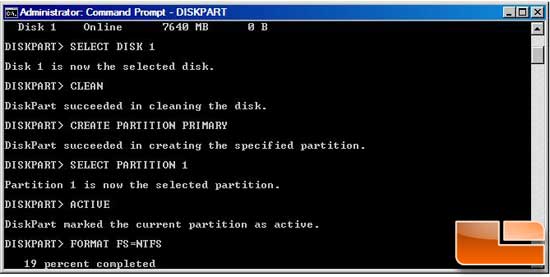
Now we have to select the partition so it can be formatted. Type SELECT PARTION 1, enter, type ACTIVE, hit enter. Now to format the partition FORMAT FS=NTFS, enter. Now the system will format the drive while giving its progress.
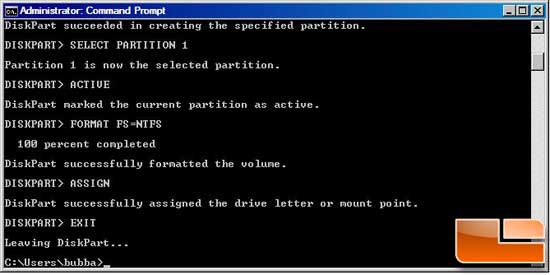
Once the format process is done, we need to have the system assign it a drive letter. Type ASSIGN, enter. The drive is now prepared for the files. So we can exit the Disk Manager, type EXIT, enter; repeat to exit the command window.
Comments are closed.