HighSpeed PC Tech Station Review
Building The Unit
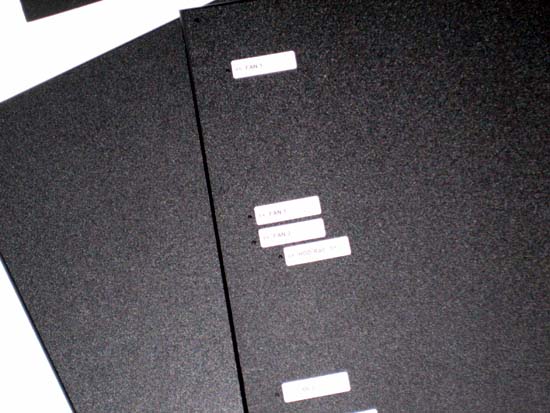
Building the unit, according to the instructions is suppose to take around 20 minutes. It did take me a tad longer, but I am not the best “hands on” guy when it comes to building things, and I was doing it while watching an episode of CSI: Miami, so I may have just been a little distracted! Anyways, the directions were very well laid out and easy to understand. Even I was able to do everything wtihout having to go back and fix something, which is quite the accomplishment for me (Just ask my oldest son, with whom I just put together his basketball goal in a whopping 8 hours!). As mentioned, HSPC puts lables on the underneath side of the top shelf, which made it wasy to find the right holes for what you are working on at the time.
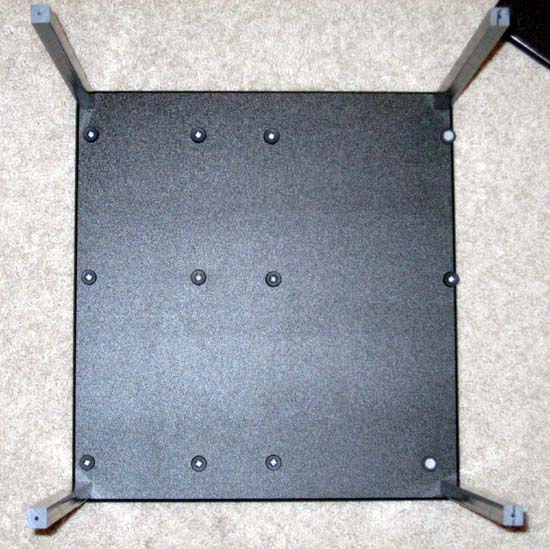
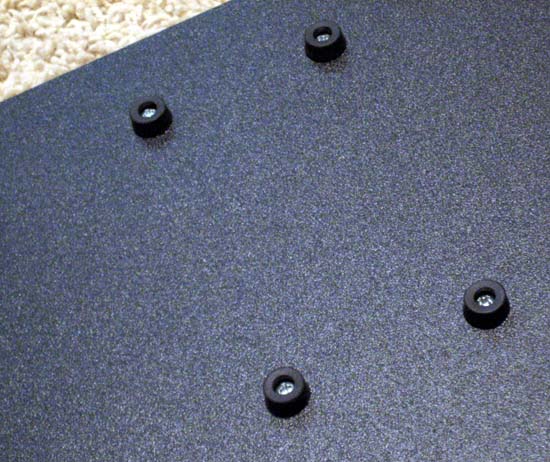
In this picture you can clearly see the rubber motherboard standoffs. As you can see in the picture, the screws for the stand offs are not an issue, as they are well recessed underneath the rubber stands. On this picture, in the top right and bottom right, you can see two white stand offs. These are plastic and threaded so that you can add a plastic nut to them for a little more security in your motherboard placement. While working with the board in my station, I did not really have any issues, though it is easy to have the board pop up on you if you are not using the nuts.
The legs are attatched to screws that come up from the bottom of the shelf, and screw up into the legs. HSPC gives you a warning about the screws that stick out until you get the legs on, but I still managed to put a hole in my hand as I was building the unit. That is not their fault, but I find unless I draw a little blood with a project, it does not seem that I have totally put myself into the project!
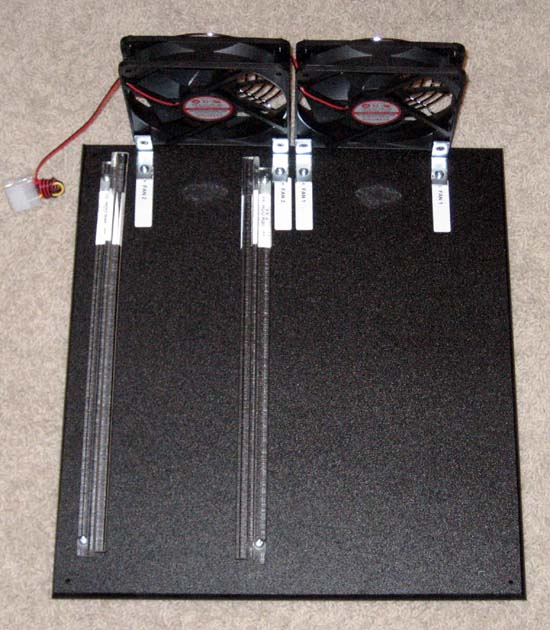
The top shelf has the Evercool fans attatched to it, as well as the drive rails. This rails that come with the station are able to hold two hard drives. As an option, you can add another set of rails so that you can have a total of four drives on your bench.
After the drive rails and the fans are attatched, you are ready to place the top shelf on top of the legs that are attatched to the bottom shelf and secure it. The non-slip noeprene mat sits on the top shelf, and the screws that go down into the legs go through the mat to hold it in place. This works ok, but you must be careful not to tighten the screws to tight, as the mat will twist out of position, and possibly could rip. I would have been more comfortable with a mat that had either pre-cut holes for the mat ot some type of grommets in place. This obviously would be nice, but I am sure would add to the expense of the unit.
The last thing to add is the card brace on the front of the unit. This is a nice added touch to the staion. It has threaded holes and plastic thumb screws that you use to secure your video cards and whatever else that you attatch to your rig. These helps to secure these items and avoid any accident that may occur that would snap the cards right at the motherboard. Not that I have EVER done that before.
Overall, the building of this unit was a breeze. If I can do it and have no issues, than ANYONE can do it… Just ask my son!
Anyways, let’s look at the completed build and add our gear!
Comments are closed.