Gigabyte BRIX S BXi5H-5200 PC Kit Review
Inside of the Gigabyte BRIX BXi5H-5200
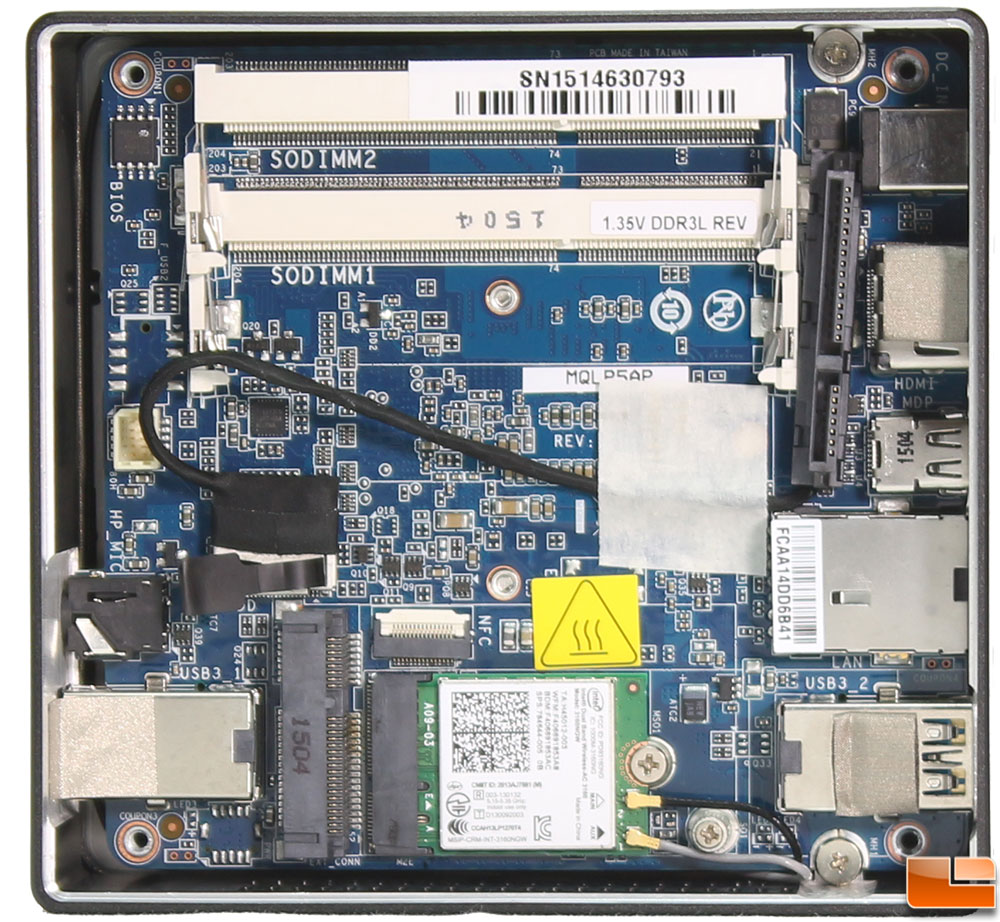
Removing the four Philips screws from the bottom of the BRIX, we are able to remove the base and see the internal components. For many, this is all they will need to access as you have easy access to install the memory, and storage.
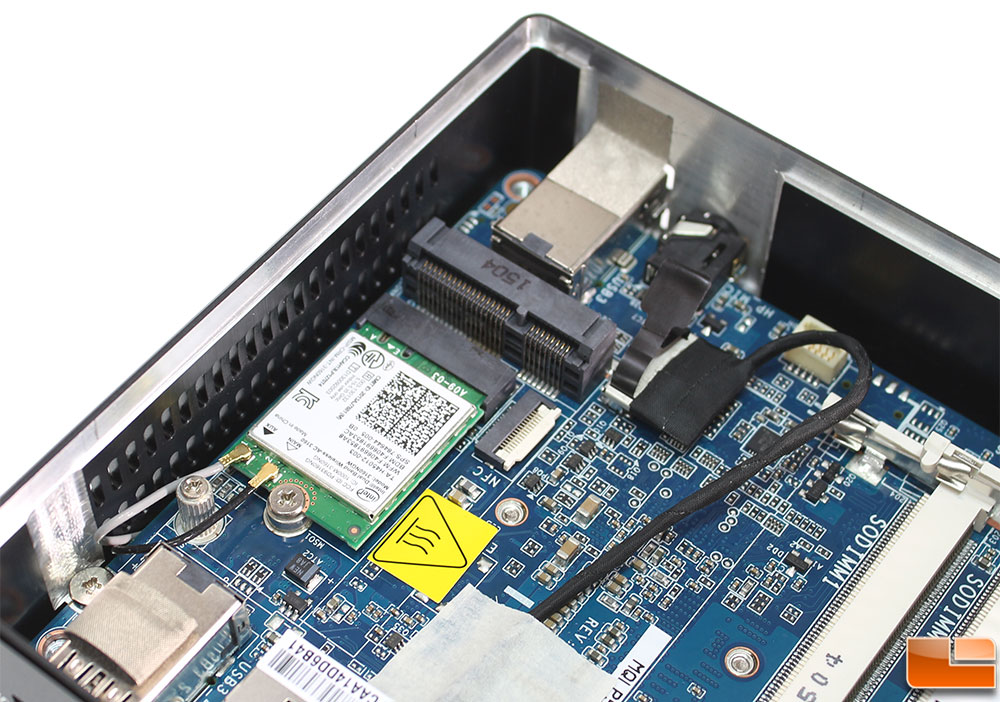
This model of the Gigabyte BRIX includes a 802.11ac, Dual Band & BT 4.0 wireless radio card already installed and connected ready to go. Above the wireless card is the mSATA slot, which if you choose to install a mSATA drive, it is secured to by a single screw. Where other small systems like the BRIX uses a full SATA header on the motherboard, Gigabyte has gone to a different connected and provided a single cable for power and data transmission. This is helpful, but if there is a problem with the cable, you might have issues replacing it; so take care when removing and reinstalling this cable. Right next to the WiFi card is a little socket that contains the NFC (Near Field Communications) device.
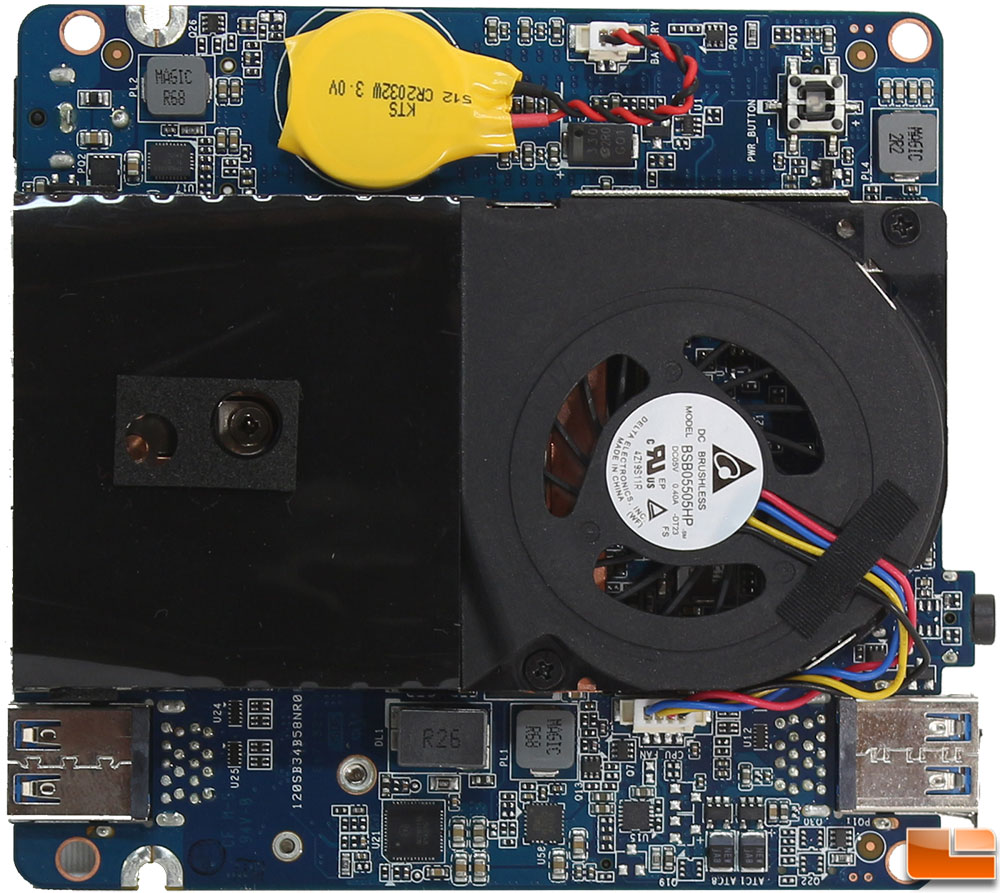
On the bottom side of the motherboard we find the CPU cooler, which is a Delta Electronics BSB05505HP blower fan, blowing across a small heatsink designed to keep the Intel Core i5-5200U cool. The system battery can be seen above the heatsink. The power switch is in the top right corner.
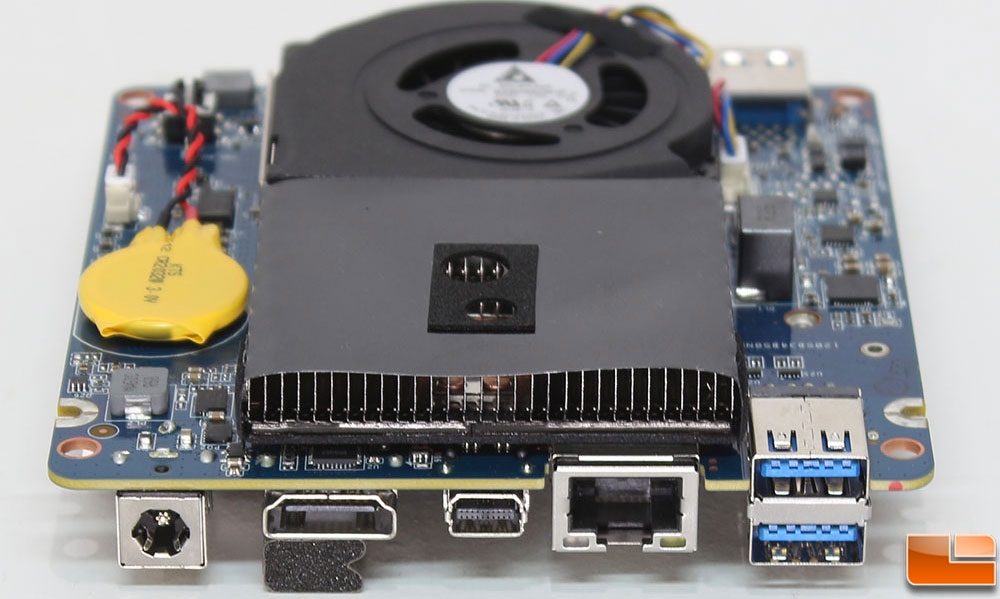
Here we can see the fins for the heatsink used to help dissipate the heat.
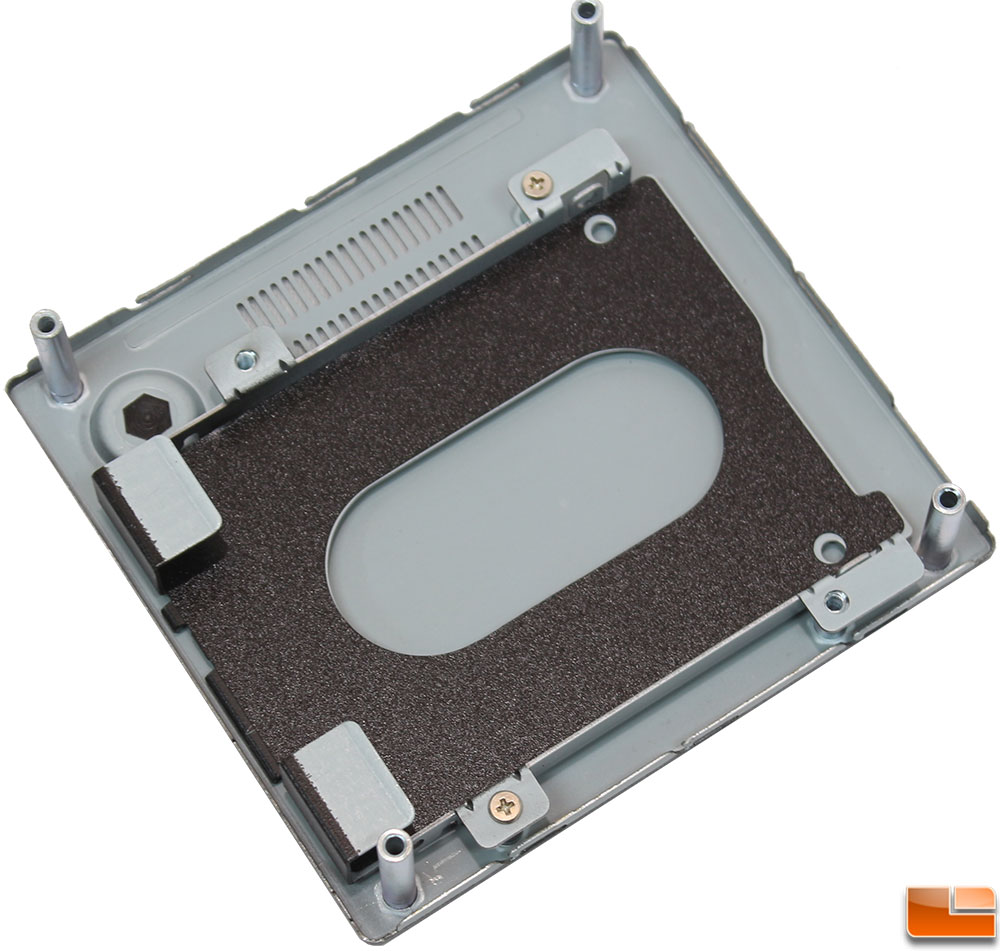
Under the top cover is a place to install up to a 9.5mm 2.5″ drive. The hard drive can be secured to the tray either through the base or the sides. To secure it through the base you’ll have to remove the base from the top cover that is secured together by two screws. If you secure your drive to the base tray through the side screw holes, you don’t have to mess with removing the base tray.