Gigabyte BRIX S BSi7H-6500 Ultra Compact PC Kit Review
Inside The Gigabyte GB-BSi7H-6500 & The BIOS
Since the Gigabyte GB-BSi7H-6500 comes without a storage drive and the memory kit, you must open it up and install the necessary hardware. Removing the base plates four Philips screws is simple enough and once the cover is removed you’ll be greeted with this:
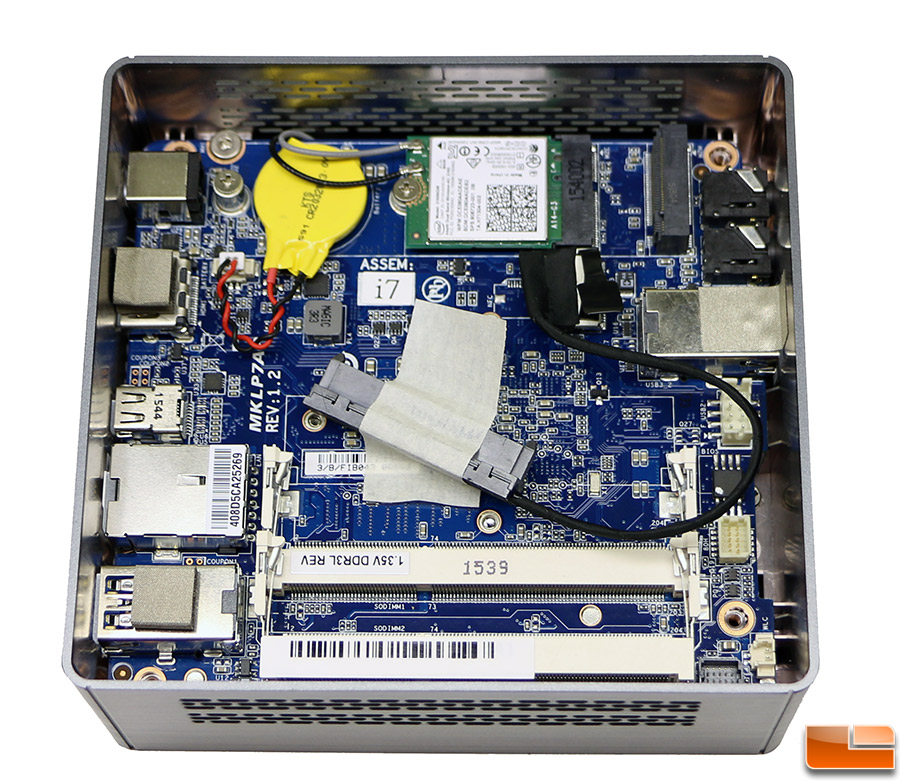
The two slots for your DDR3L 1.35V memory kit are easy enough to find and then above that there is the 2.5-inch SATA III drive power/data cable taped down to the motherboard. If you don’t plan on installing a 2.5″ drive right away you can just remove this cable. Where do you put the 2.5″ drive? There is a tray located in the bottom cover that you can secure a 7mm or 9.5mm thick 2.5″ drive to. Finally, there is a M.2 slot that is located just to the right of the Intel Dual Band Wireless-AC 3165 wireless card for your PCIe SSD.
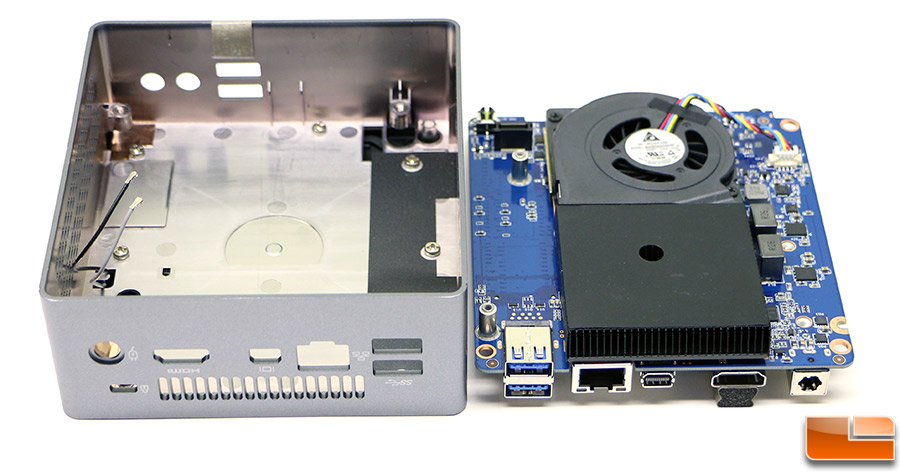
We removed the entire MKLP7AP REv1.2 motherboard from our system and found just the a CPU cooler to be of interest on the bottom.
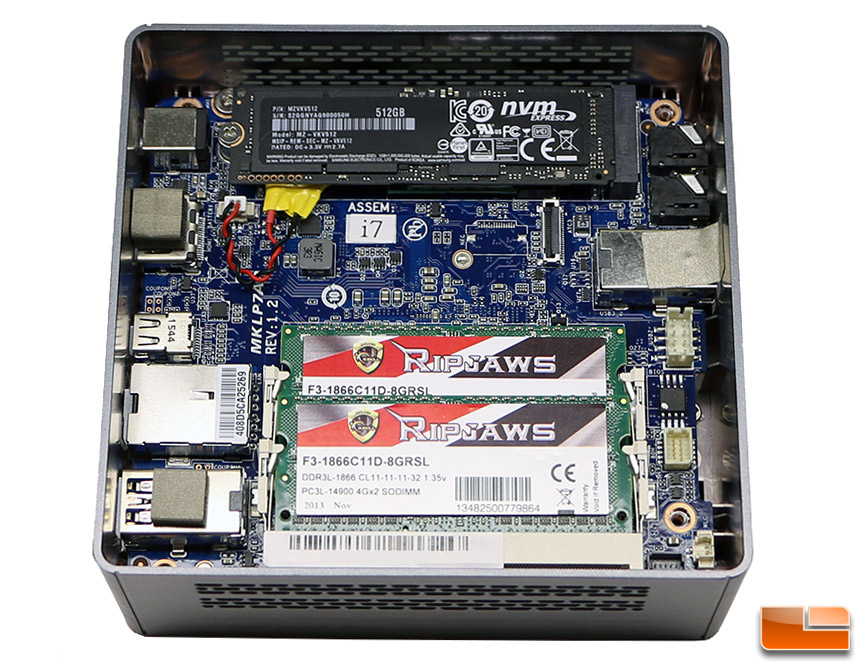
Here is a shot of the GB-BSi7H-6500 with the Samsung SSD 950 Pro 512GB M.2 PCIe SSD ($322.57) and G.Skill Ripjaws 8GB (2x4GB) 1866MHz DDR3L SO-DIMM kit ($39.22) installed!

Our GB-BSi7H-6500 model came with pre-production BIOS/UEFI F3 installed, so we updated the American Megatrends BIOS from F3 to the latest version right now and that just happens to be version F5. There is no desktop update utility included with the BRIX models since it’s basically a notebook interface, which is really disappointing as that means there isn’t too much you can adjust.
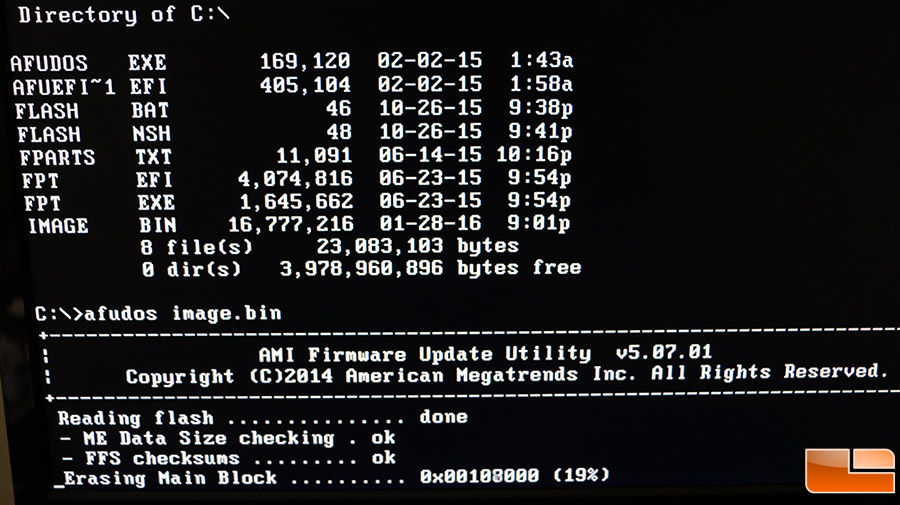
To update the BRIX you’ll need to make a bootable USB drive and run AFUDOS with the appropriate .bin file from Gigabyte’s support page.
UPDATE 04/10/2016: Gigabyte informed Legit Reviews over the weekend that some of the issues that we later encounter with this model was due to the way we flashed the UEFI. Gigabyte said that you must use the Intel Flash Programming Tool (FPT) (FPT.EXE) and not AFUDOS. The best way to do this is to run ‘FLASH.BAT’ that will execute the command ‘fpt.exe -SAVEMAC -f image.bin’ and ‘fpt.exe -GRESET’. The Gigabyte BRIX team is looking into including flashing instructions and are talking internally if they can remove AFUDOS from the directory since it doesn’t work.
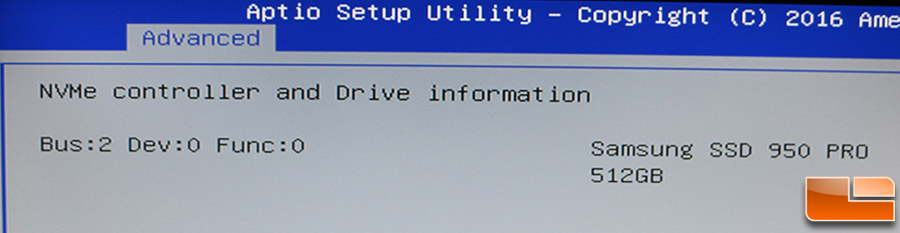
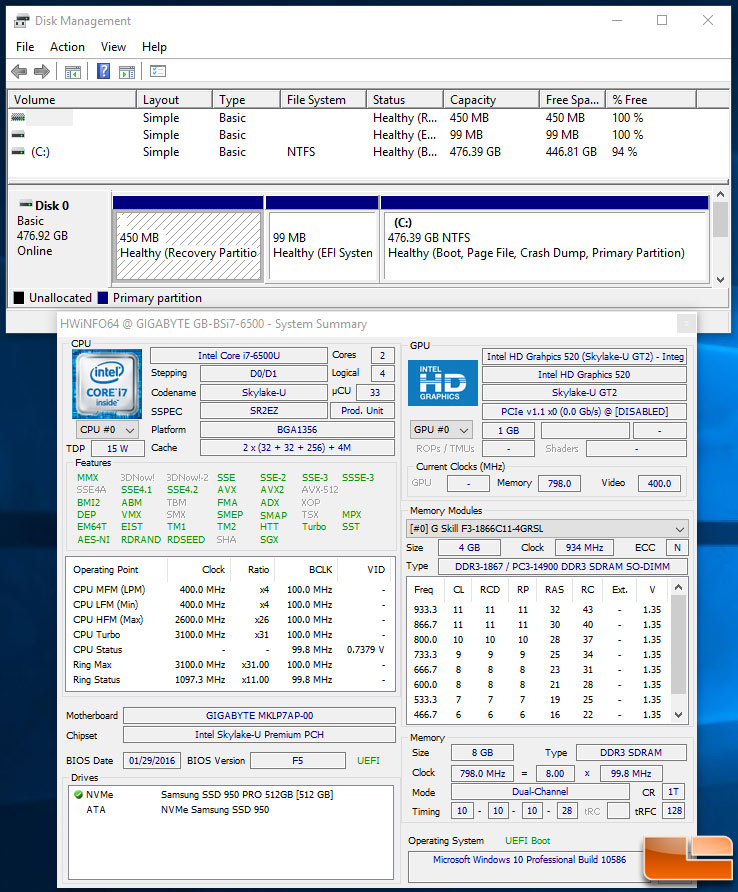
We found some minor flaws in both the F3 and F5 versions of the BIOS. The Samsung SSD 950 PRO NVMe M.2 PCIe SSD wasn’t properly supported in the F3 BIOS version, but luckily was in version F5. The F5 version had some minor issues that F3 did not though. An example of this was our memory was showing up as 0MB in version F5, while it showed up as 8MB in F3. It also only ran our 1866MHz memory kit at 1600MHz and we couldn’t adjust the multiplier manually, so that was upsetting. We ran across several little quirky things like that with the BIOS.
At the end of the day the BIOS was good enough to get by with.
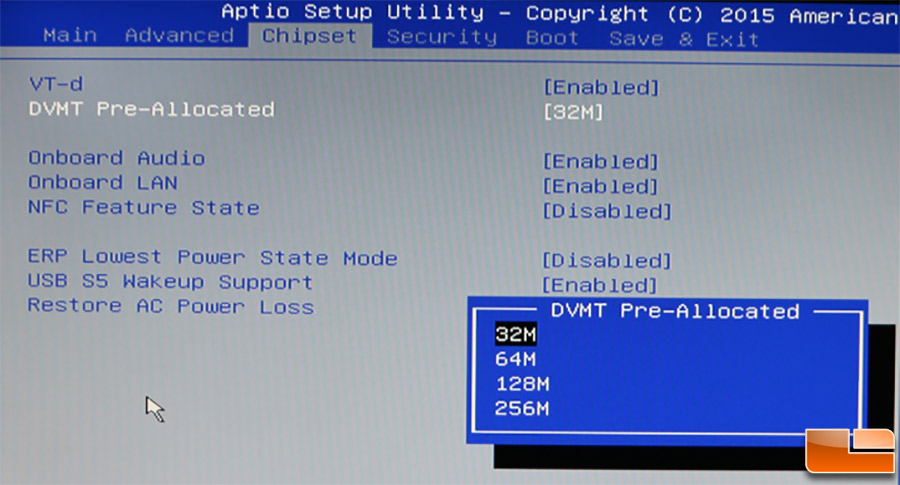
You can’t overclock the processor or set the memory timings, but you can select the OS you want to optimize for (Windows 7 or Windows 8/8.1/10) as well as the Dynamic video memory technology (DVMT) allocation of system memory for use as video memory.
We changed the OS Selection settings under the Advanced menu to Windows 10 and installed Windows 10 Pro version 1511 build 10586 without any issues at all with UEFI boot enabled. The Intel Dual Band Wireless-AC 3165 wireless card driver installed during the installation process and we were able to jump online straight away.