GELID Solutions Darkforce PC Case Review
Installing PC Hardware
Installing PC Hardware
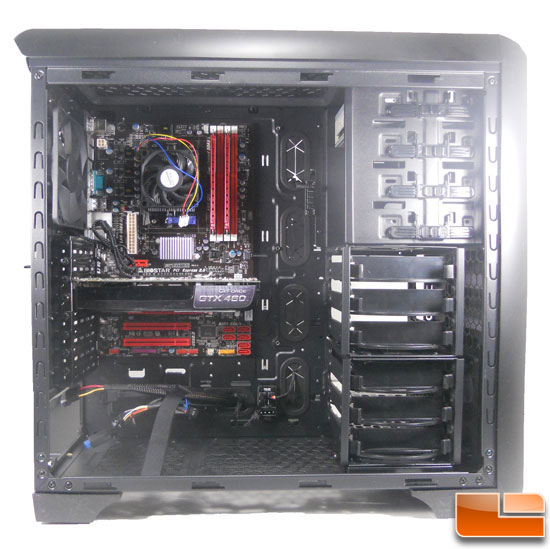
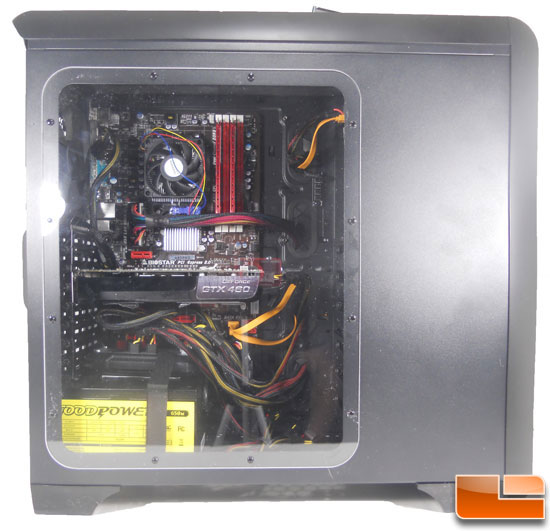
And now the PC parts come together! Most things in this case were installed without a hitch. The DARKFORCE looks make a great host for what makes it alive from the inside.
The Motherboard fit great and the pre-installed settings worked perfectly with this AM3+ board. As noted in the interior section there is plenty of room for larger cooling options. The graphics card looks small in the interior. Of course, if you have two long cards that take up the bottom half of the interior there is still a place for a hard drive. The fourth drive bay converts to 3.5″ if needed, hence 6 + 1 3.5″ drive bays.
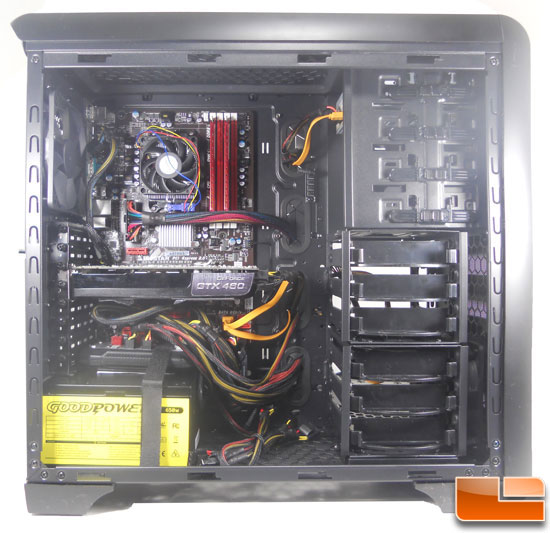
After the power supply was installed, cable management was completed. All cabling flowed easily to where it needed to go. The case cables that were managed out of the box are perfectly placed. The Velcro strap even held in place the modular for the power supply. The hard drive cannot be seen due to the drive caddy guard in the front which is a nice touch. The profile of the 120mm front case fan can also be seen. Two 120mm fans are pre-installed with eight mounting locations.
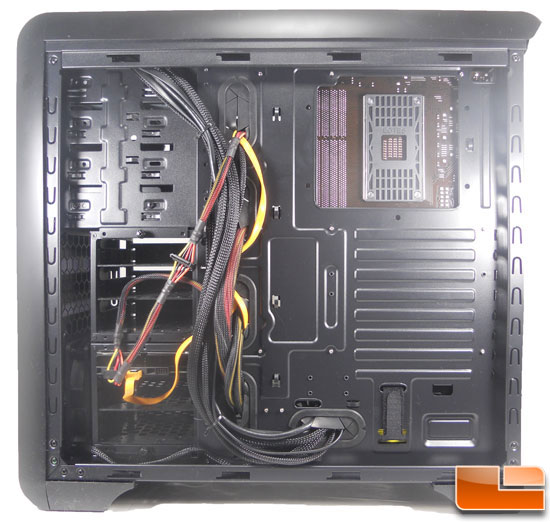
The back view also completes how seamless the cable management is. We also get a look at the back of the CPU and see how important the side fan can be. The power and SATA connection can also be seen on the hard drive.
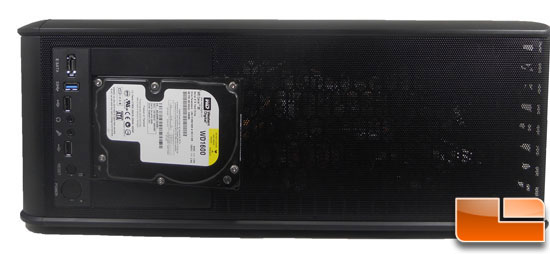
A builder should also see the external drive mounted. It was very easy to connect. The SATA and power connectors have a cover that has to be removed before connecting a drive.
Any PC Enthusiast loves their work when it is completed. No question that this case will satisfy a lot of builders. The acrylic siding doesn’t hurt in showing off your work without compromising cooling options. The DARKFORCE is definitely onto something.

Comments are closed.