EVERCOOL Transformer 3 HDT CPU Cooler Review
Installing the EVERCOOL Transformer 3
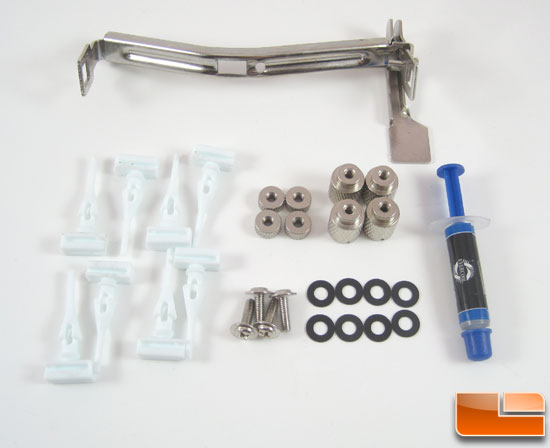
The included parts seem a little sparse, but it’s all that is really needed. The jam nuts, thumb screws, plastic washers and screws round out the Intel mounting parts. All that is needed for the AMD crowd is the locking bar. Shared on both sockets are the rubber isolator fan mounts and a tube of thermal paste.
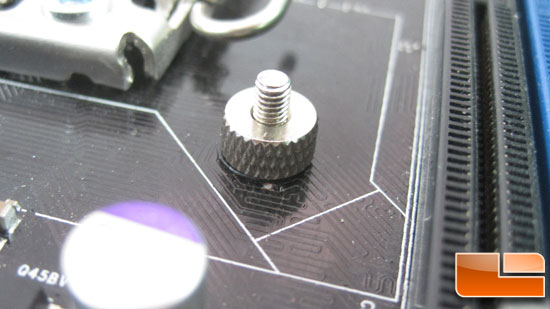
The first step for the Intel socket is installing the screws, plastic washers, and jam nuts. This makes the lower mounting points.
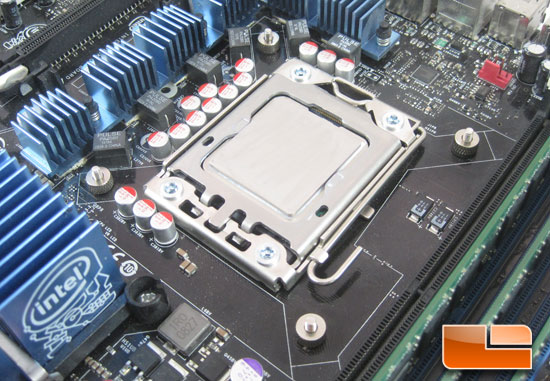
Now would be a good time to test fit the Transformer 3. The holes in the motherboard are bigger than the screws that are going through them. With the sloppy fit the screws could end up where one or two will not match up to the mounting tabs on the cooler.
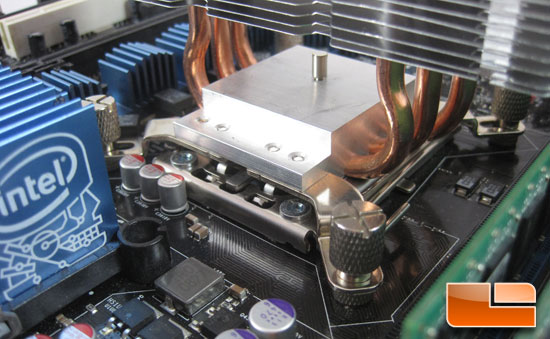
Once everything lines up, apply the thermal paste and mount the cooler.

Next come the fan mounts. They slide in from the top and bottom into the slots in the fins. The mounts are designed such that they will slide in only so far. Once in place they are in the correct position to mate up to the fan.

Then, install the fan; you are done and the system is ready to go back in the case.
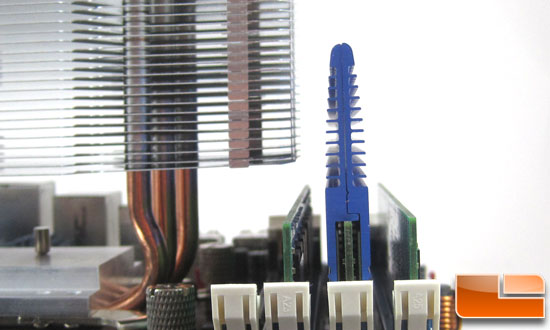
Here is a shot looking at the RAM clearance. Standard RAM is ok, but like most coolers any more tall RAM like the Hyper X T1’s can be an issue if the cooler covers the RAM slots.

Comments are closed.