ECS KN1 Extreme AMD Athlon 64 Motherboard
The Phoenix BIOS
Every ECS board I’ve used in the past has featured extremely basic BIOS options. To this point its never been an issue because ECS boards have basically targeted the extreme budget crowd or first time system builders who don’t focus on overclocking ability.
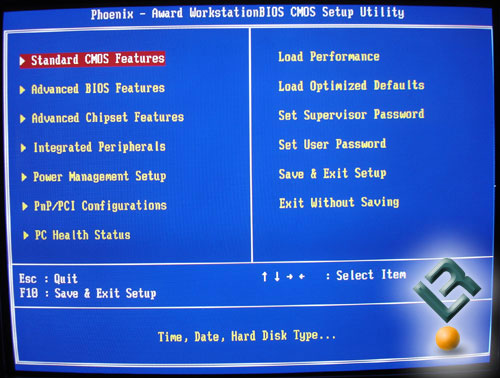
Upon first glance, the Phoenix BIOS used for the KN1 Extreme stays true to ECS’ roots, featuring only the basic options and shying away from complicated settings.
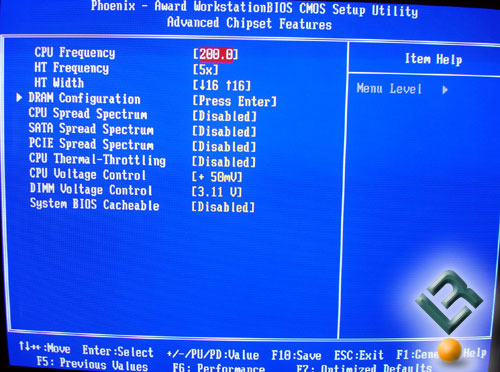
The main screen we’ll focus on is the Advanced Chipset Screen. Here is where we’ll be spending our time tweaking and fine tuning the KN1 Extreme to see how far we can push her. Here we find the usual configurable settings, CPU Frequency, HTT Frequency, and the CPU and DIMM voltage settings. Noticeably absent from that list is the CPU multiplier setting as well as any kind of settings for the PCI/PCI-E Bus. These issues will pop up again later in this review, I promise.
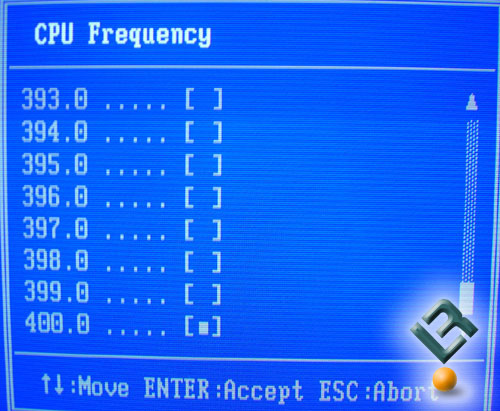
Most motherboards feature an outrageous and almost completely unachievable CPU Frequency. I’m am encouraged to at least see the ability to push the CPU Frequency as far as possible, but there is no way this or most any other board will see 400 FSB.
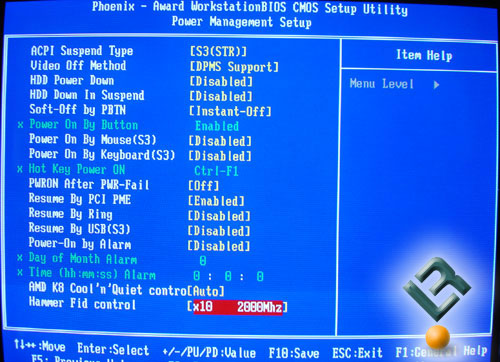
A little earlier we talked about the lack of a CPU Multiplier setting within the Advanced Chipset Features screen. At first, I was a bit shocked and really disappointed, then I started looking for a secret BIOS screen, and when that failed, I started to panic…..until I took a deep breath and finished going through the BIOS screens. At the very bottom of the Power Management Screen, sits the Hammer FID control. Here you can set your CPU’s multiplier anywhere from 4x up to its max, in my case 10x. I am completely baffled by the placement of this. Why in the world would you move one of the most important BIOS settings away from the rest of the overclocking features? Oh well, as long as you are able to find it, it doesn’t matter I guess.
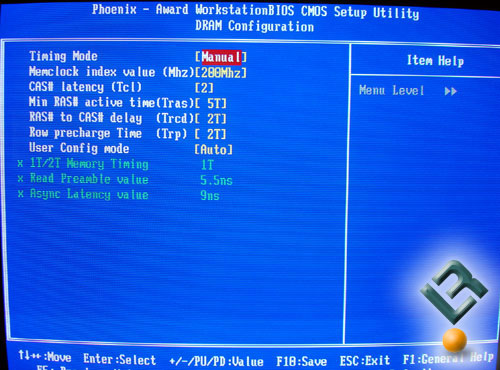
Back within the Advanced Chipset Screen you’ll find the DRAM Configuration Screen, here is where you can adjust the timings and speed of your memory. ECS chose to keep this section fairly simple and straight foward, thankfully.
The usual settings (Tcl, Tras, Trcd, and Trp) are found here, along with the MEMclock (which lets you set the memory from 100 up to 200MHz).
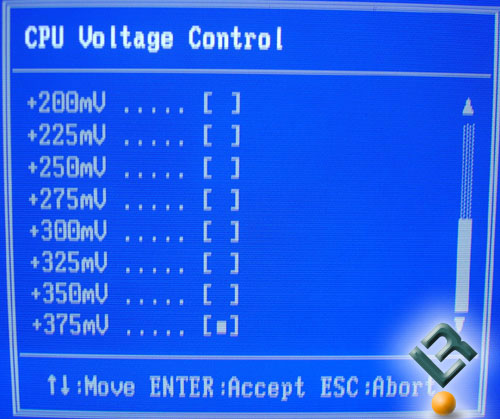
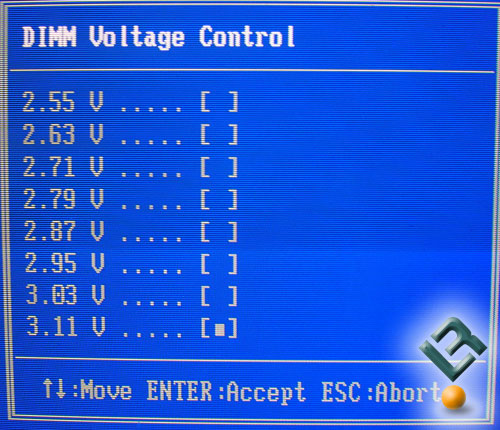
When it came to the DIMM voltages, I was a little disappointed by the options available. The high quality and super fast DDR1 memory found on the market today craves power, and it isn’t uncommon to see enthusiasts pushing 3.5-3.6V through their memory. In fact, most Mushkin and OCZ performance memory doesn’t even hit their stride until they have 3.2V running through them. The 3.1V found here should be more than sufficient for the folks who will end up using this board, so in the end the memory voltage issue is really a non-issue.
Comments are closed.