Corsair One Pro 1080 Ti Compact Gaming PC Review
Corsair One Pro 1080 Ti Closer Look
The One Pro looks nearly identical to the original One from the front and sides, so if you are experiencing dj vu there’s a reason for it. If it ain’t broke, don’t fix it as the saying goes.
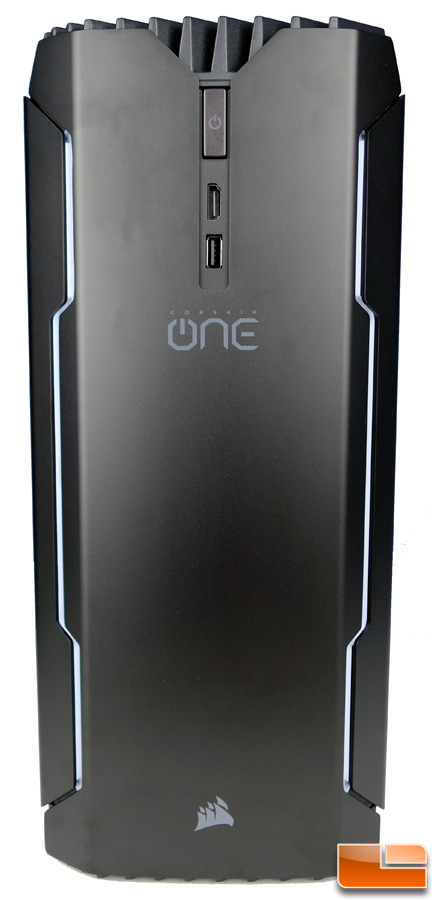
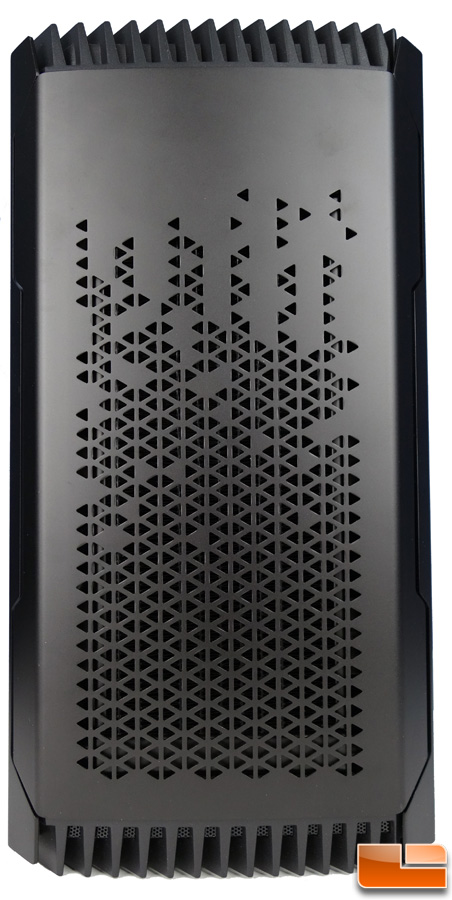
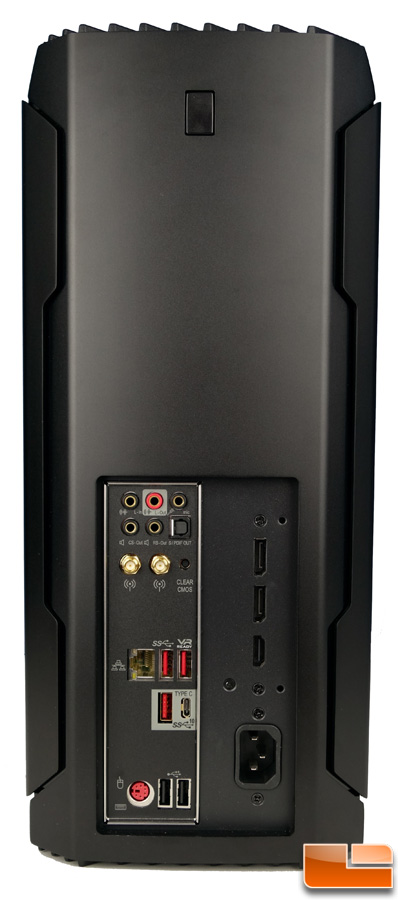
The front sports a long vertical power button near the top with an HDMI and USB 3.1 port below in respective order. This is perfect for plugging in a VR headset as it requires both. The One logo sits below those and way down at the bottom is the Corsair logo. Flanking the edges down the front is the blue LED lighting which can be customized in the software as I’ll touch on later. The sides each have an array of triangular holes for cool air intake for the radiators that are mounted behind on each side. Around back is a button near the top for disassembly, and the motherboard I/O panel below beside a vertical mix of DisplayPort and HDMI ports, plus the power cord receptacle.
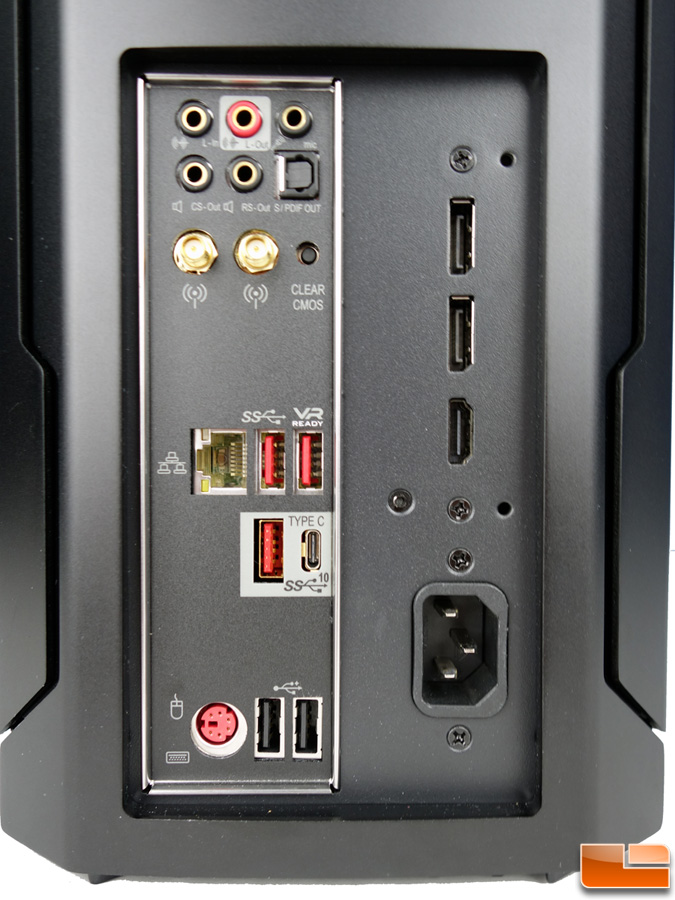
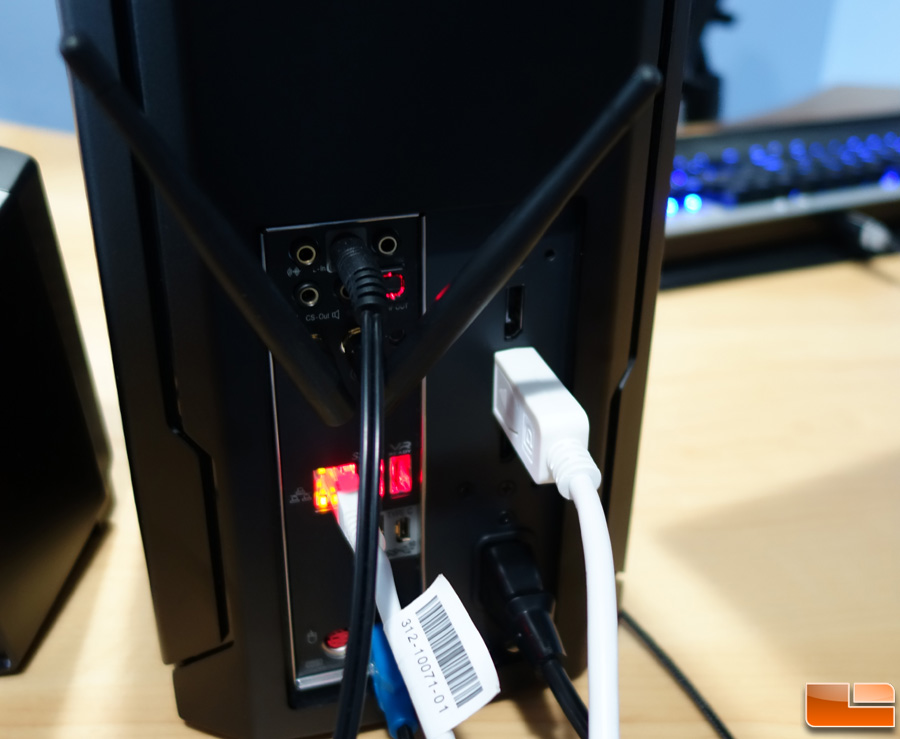
Around the back, the coloring around the audio and lower USB 3.1 ports are now light grey instead of red as are the icons/labels on the panel itself. Otherwise, almost indistinguishable from the One on the exterior. There are still two Wi-Fi antenna mounts for those times when an Ethernet cable is nowhere to be found and they screw right on to the mounts and articulate to be positioned for best reception.
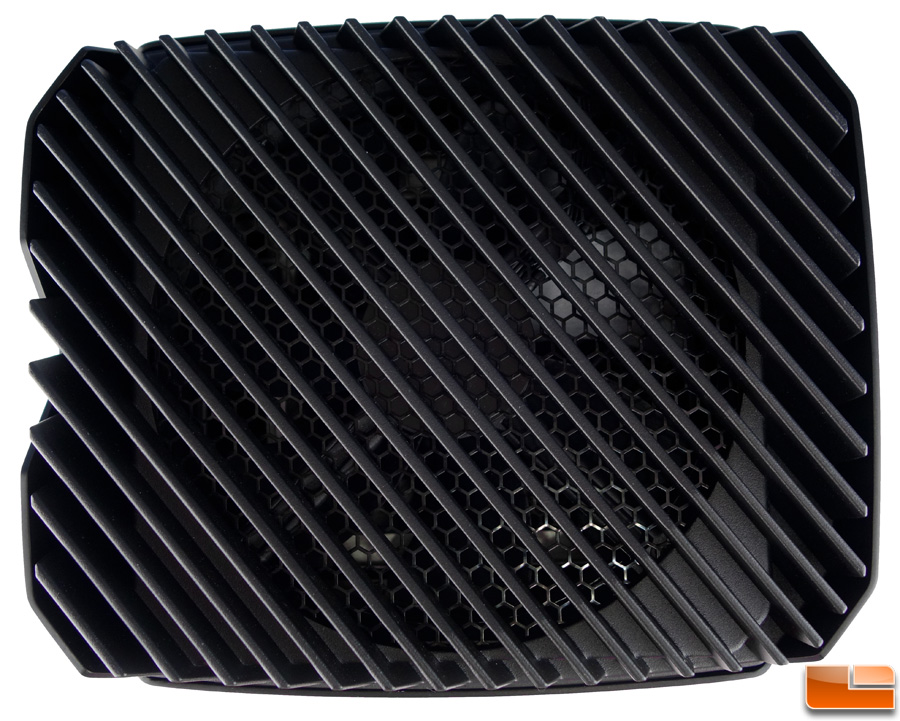
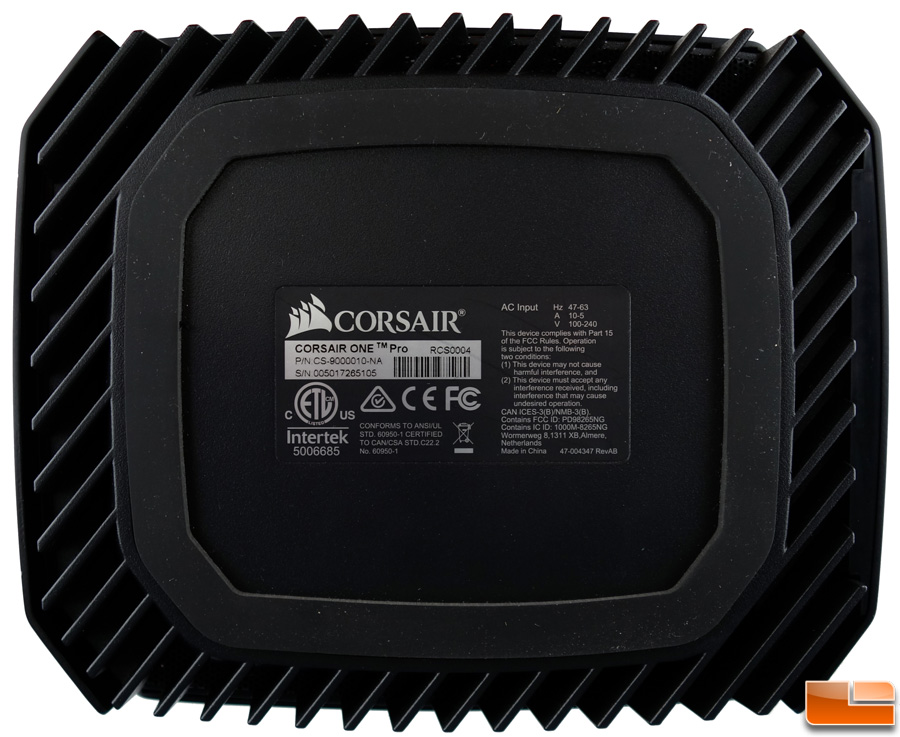
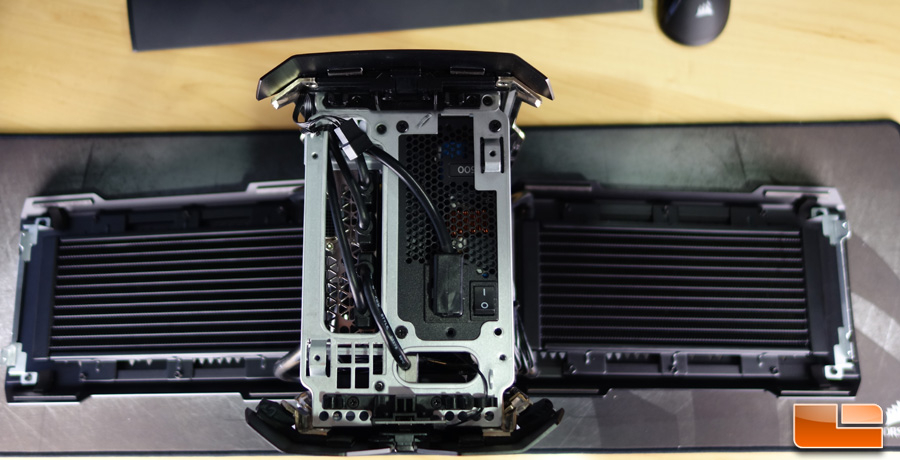
The top is essentially a finned grill and the exhaust outlet for the entire system. The base somewhat mirrors the top with similar fins around the perimeter and a somewhat octagonal rubber foot that surrounds the product label.
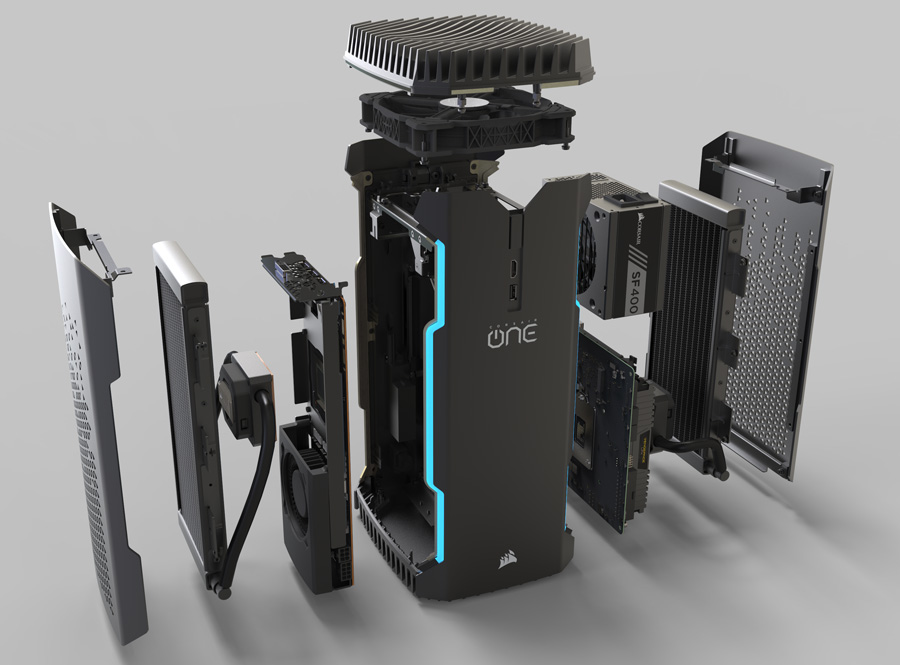
Of course, Corsair’s marketing team put together better visuals than I could manage and the image above does a nice job of showing how everything is assembled like a deranged version of Tetris.
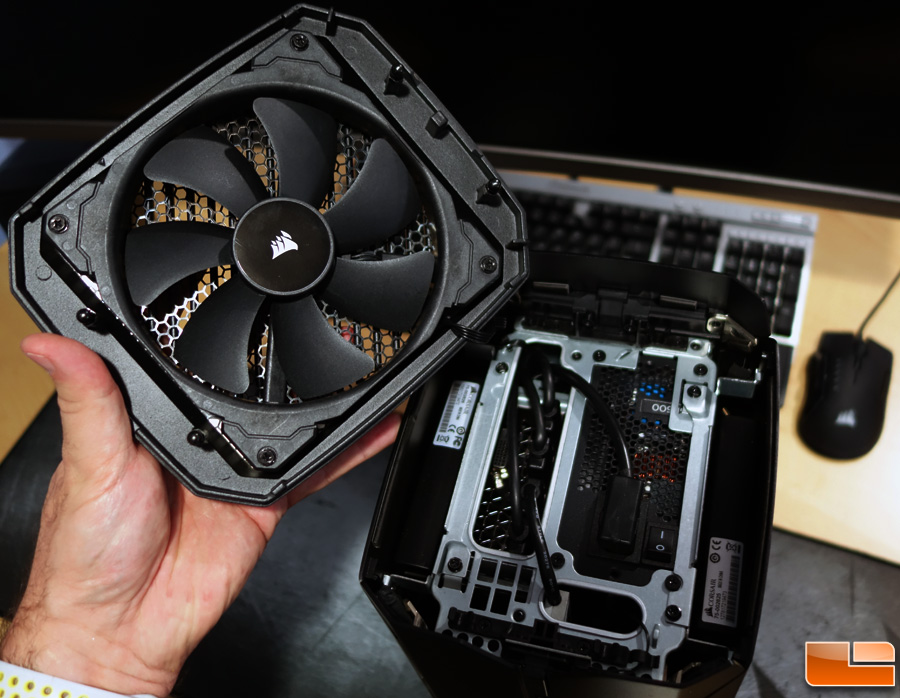

Disassembly was surprisingly simple. Push the button on the rear top I pointed out above and the top comes right off with the fan attached. A simple unplugging of the fan power cable and the entire crown piece is easily removed. Then simply removing four screws (as indicated by the red arrows), two on each side, will allow the sides to hinge away and access to the innards is all yours!
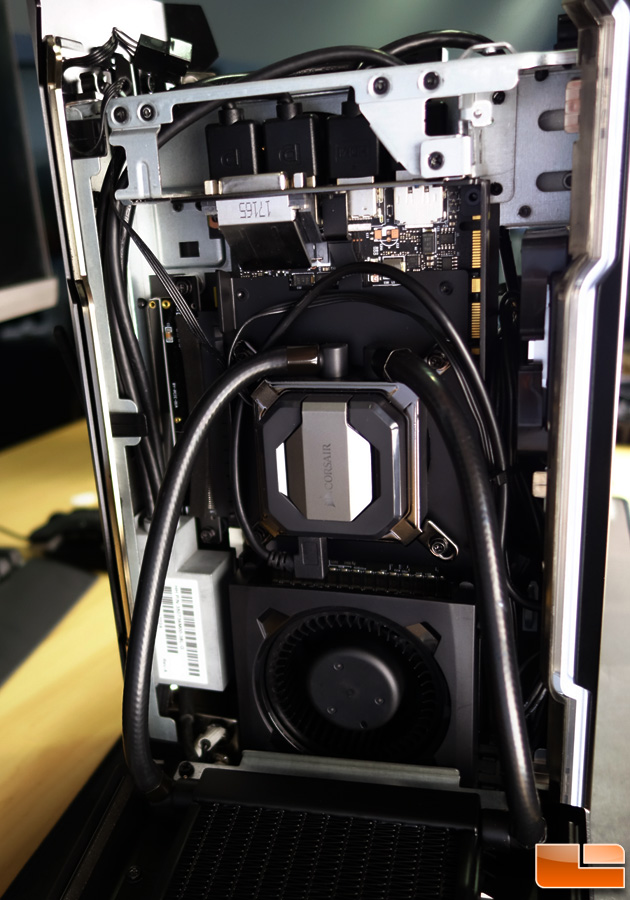
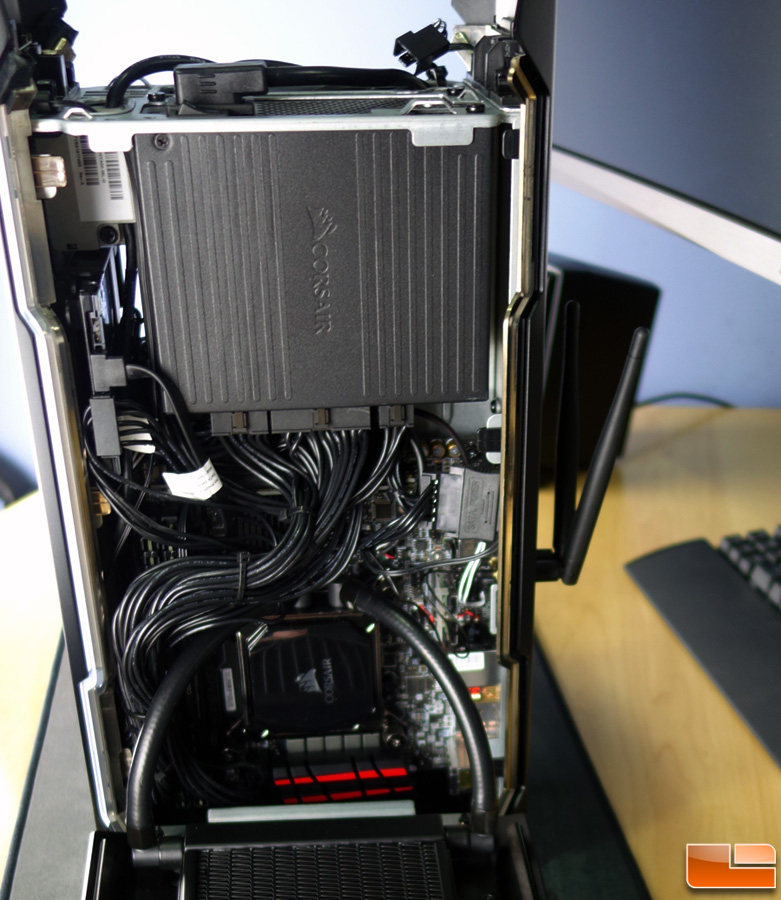
Still, once you get that far, if you aren’t an experienced PC builder, you might wet yourself a little. The mass of cables of various types on the CPU side along with the cramped interior make any further intrusion a bit daunting. Had I a little more time, I would’ve seen just what it took to remove more components but I restrained myself and limited my adventures to just the hard drive. On the GPU side, things are a little cleaner visually and it looks like removing the 1080 Ti would be a relatively simple matter.
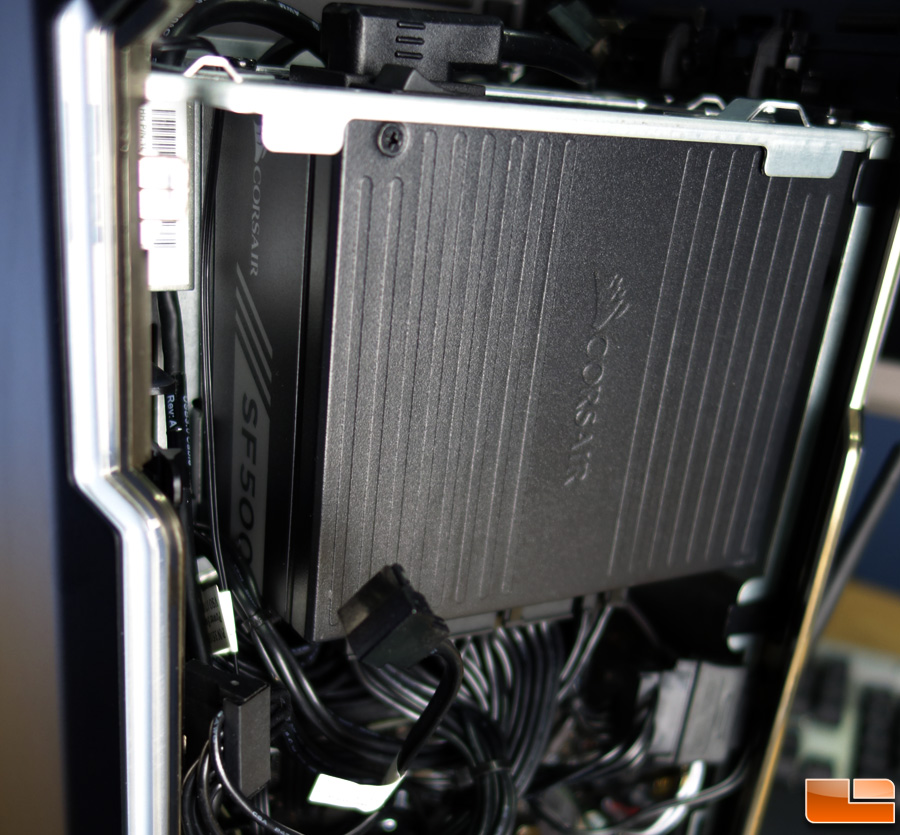
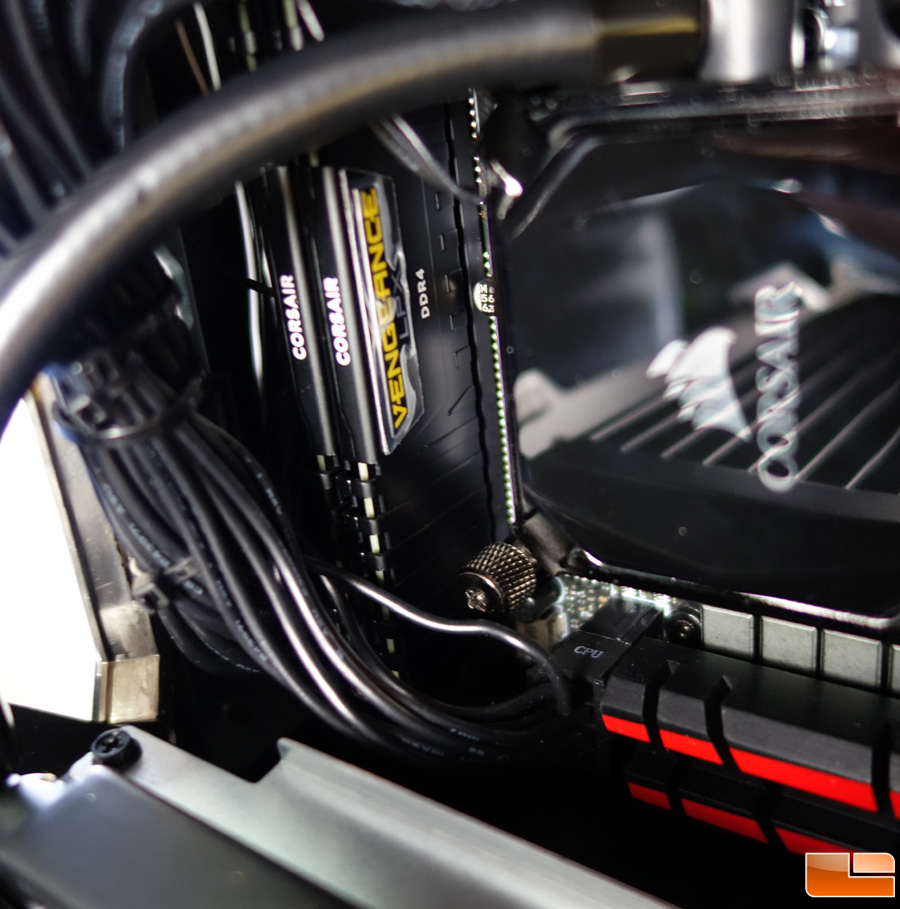
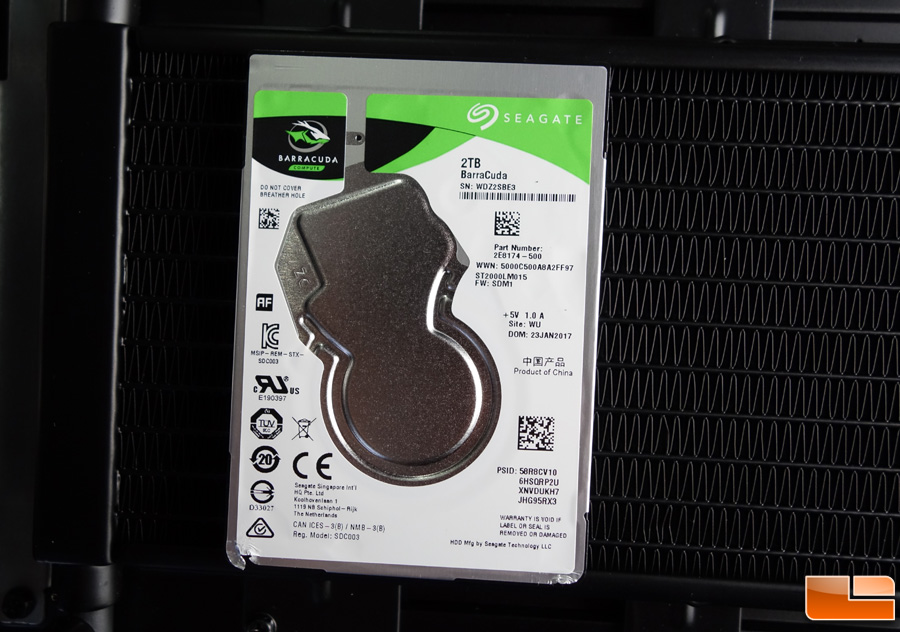
The 500W PSU is petite in size as well and most of the cables on the CPU side emanate from it. You can barely see the two sticks of RAM but they’re there! The HDD is a 2.5″, 2 TB Seagate Barracuda 5400 RPM drive. Not the fastest 2.5″ HDD available but for hurry up data there’s plenty of room on the SSD for that. Now that we’ve gotten intimate, let’s see how she purrs.