Corsair Obsidian 750D Full Tower Case Review
Obsidian 750D Interior Impressions
Full tower cases generally provide the benefit of a ton of room to work with inside, as well as a lot of room for alternative cooling options. As I found out with another marketed full tower chassis that I reviewed, you dont always get a lot of room inside. Lets see what the Obsidian 750D has to offer inside!
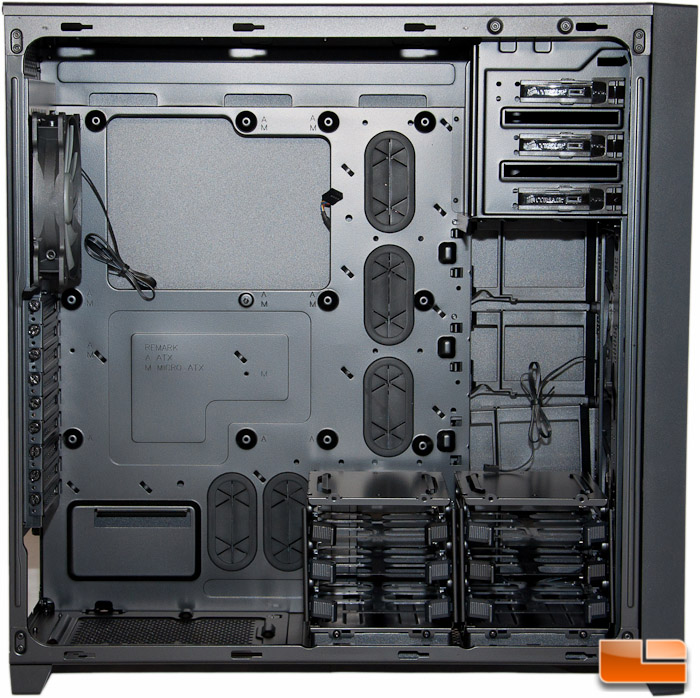
Once I finally popped off the side panel, I got to see how much room we really have to work with inside. Needless to say, there is loads of room in here. On the lines of generosity, Corsair definitely made your life easier with the oversized hole on the motherboard tray, and the standoffs are integrated into the tray. One of the standoff locations is also a guide pin. These simple things are what I like to see and they do make life easier for everyone. There are five wire pass-thru holes that have rubber grommets, and the grommets are a nice thick rubber.

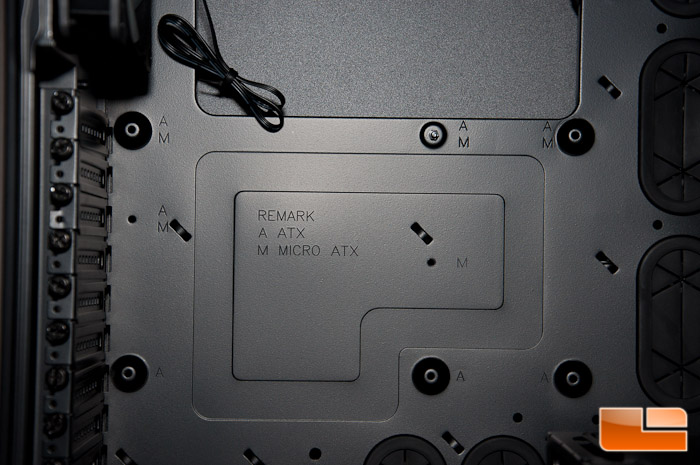
Corsair did stamp the interior with standoff locations for ATX and Micro ATX boards.
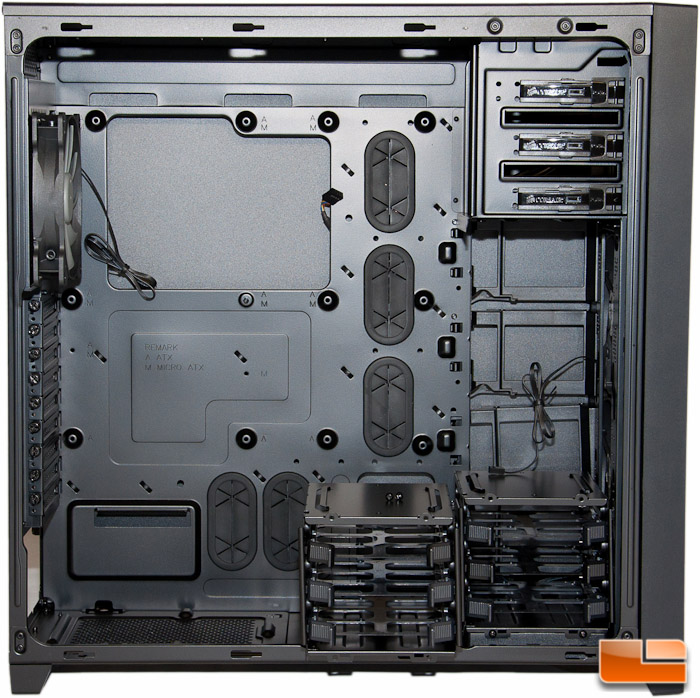
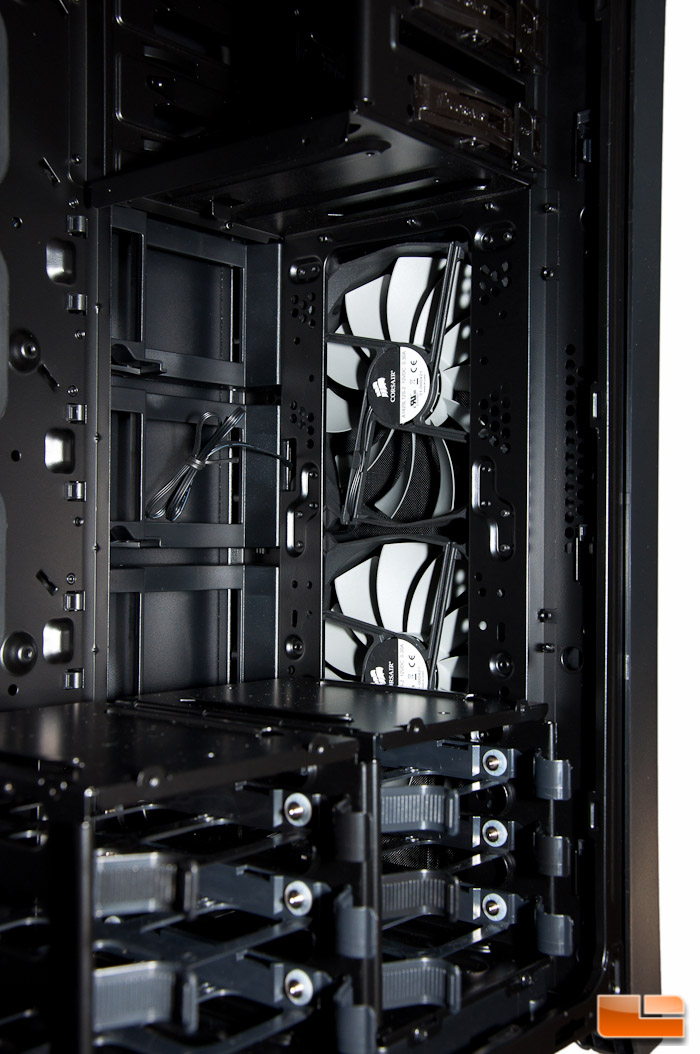
The 3.5 HDD cages on the bottom right can be moved or removed, and quite easily, too. If you want to move or remove the cages, there are two screws beneath them by default. Take these out and slide the cage forward and they remove with ease. The cage on the left is slid forward slightly in the next picture. The plates that the drives are on by default can remove by removing four screws from the bottom. This will allow you to install additional cooling.
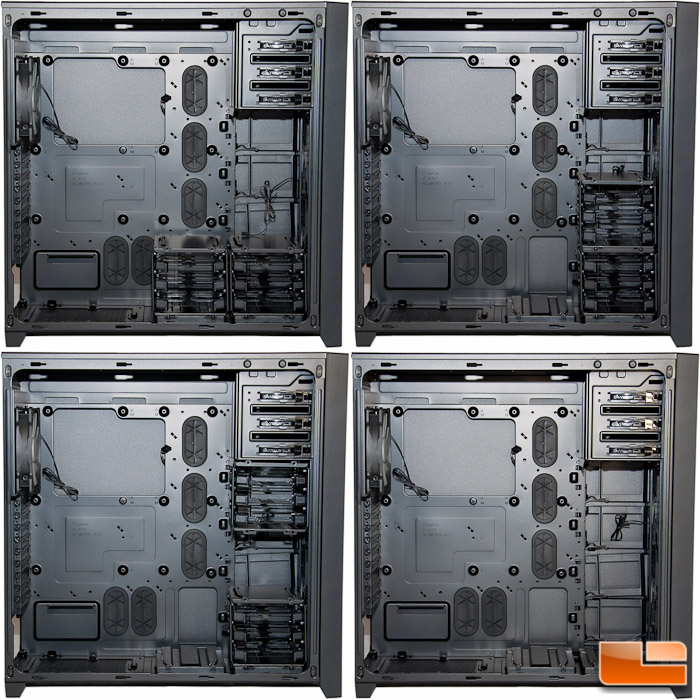
Here are a few configuration options for these cages. As with any of the images in this article, you can click it for a larger view.
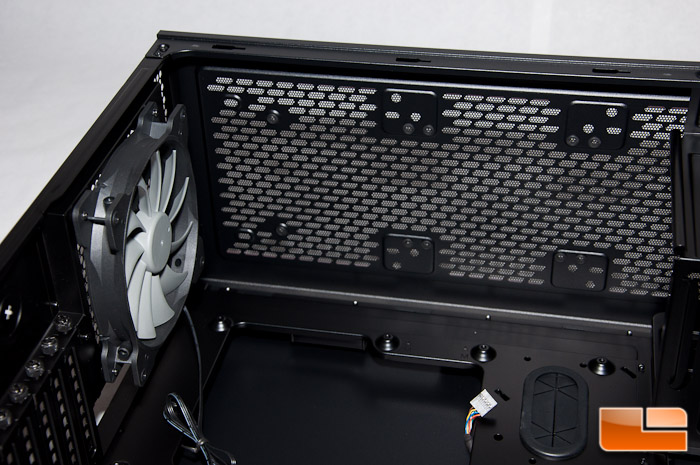
The top rear is where a single 140mm exhaust fan is located, and up top is where a radiator up to 360mm can be mounted. I’m really liking this because cases that support 360mm radiators aren’t the easiest to find. I had to modify my own personal full tower case to accept a radiator of this size.
Below that are the nine expansion slots, which all have thumb screws to make expansion card installation a snap. You’ll be able to do tri-SLI or Crossfire with ease inside this beast.
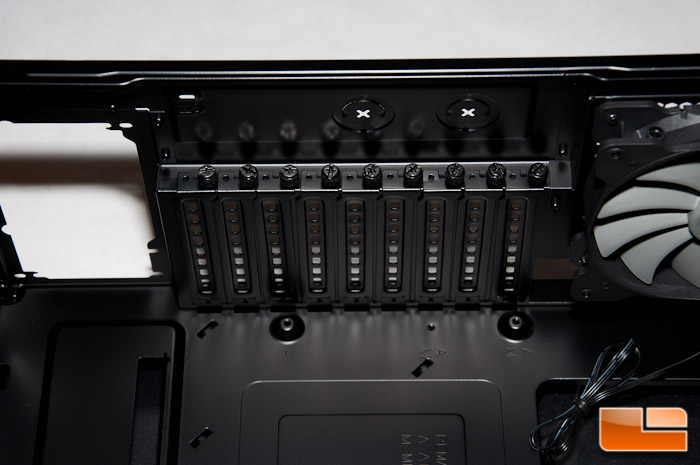
On the bottom rear is where the PSU is mounted. I was disappointed to see that there are no rubber or foam strips here to prevent vibration. I honestly half expected them considering the cost of this case.
Looking towards the front of the case are the two 140mm intake fans.
The 5.25 bays on the top front utilize a tool-free mechanism. Simply pop one of the filler plates out, slide your ODD in and itll click in place. If you want to remove the ODD, you will just push the button and slide out.
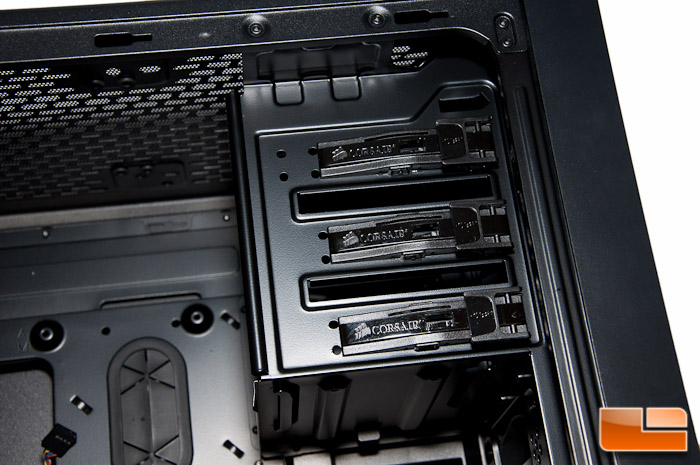
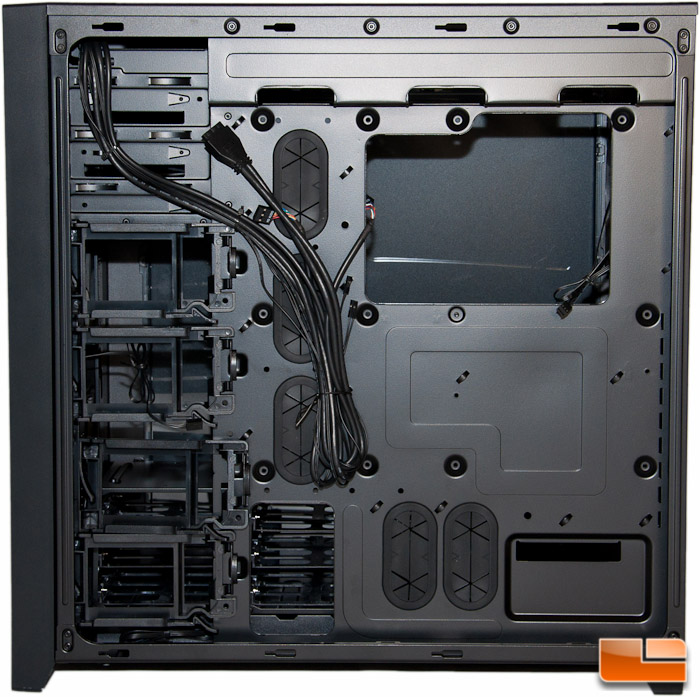
On the reverse side of the motherboard tray is where youll get your view of the 2.5 SSD trays. One of these trays was actually hanging loose inside from the factory. There are four in total here and they just snap in place. Also back here are the front I/O connectors, which include your front audio, USB 2.0, USB 3.0, and the necessary cables for the power/reset buttons and activity lights.
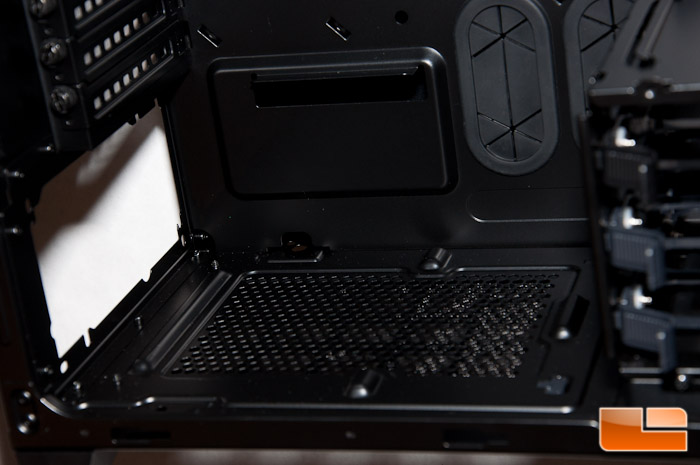
I removed the bottom two SSD trays and this is what you see.
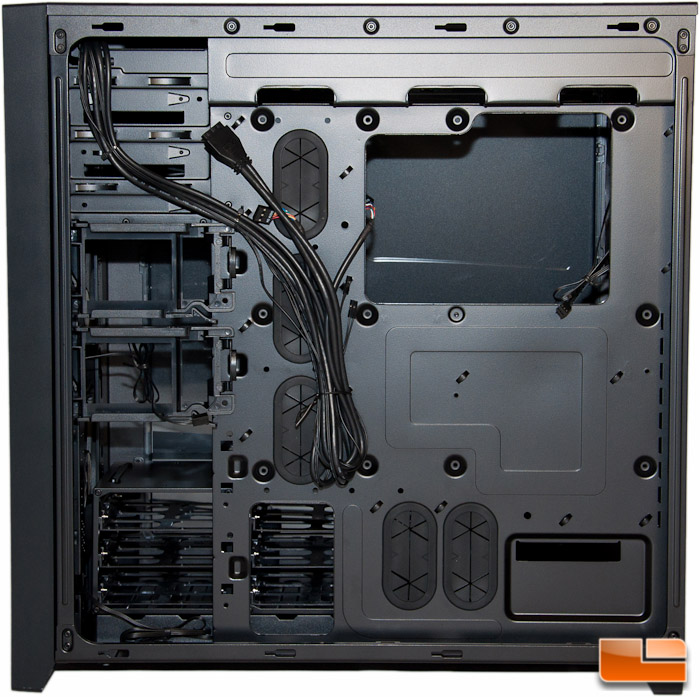
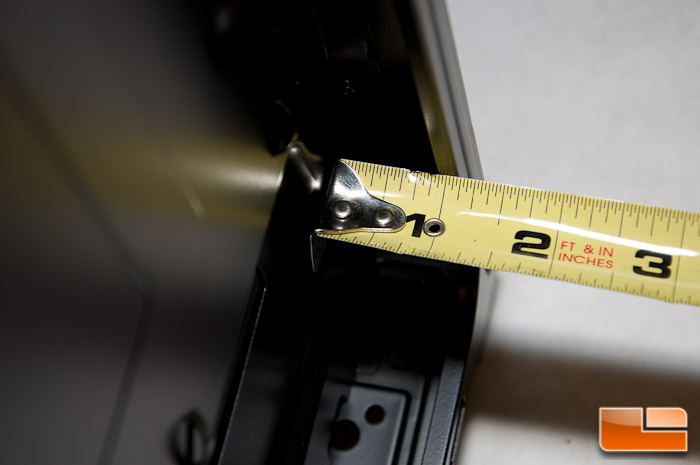
Back here you get roughly 15/16 of room to work with, which is going to be more than enough for hiding all of your wires. If you need more than this, well, I really dont know what to say.
This wraps up the exterior and interior impressions. Next up well take a look and see how installing a basic setup is.