Corsair Obsidian 500D Premium Mid-Tower Case Review
Obsidian 500D Build
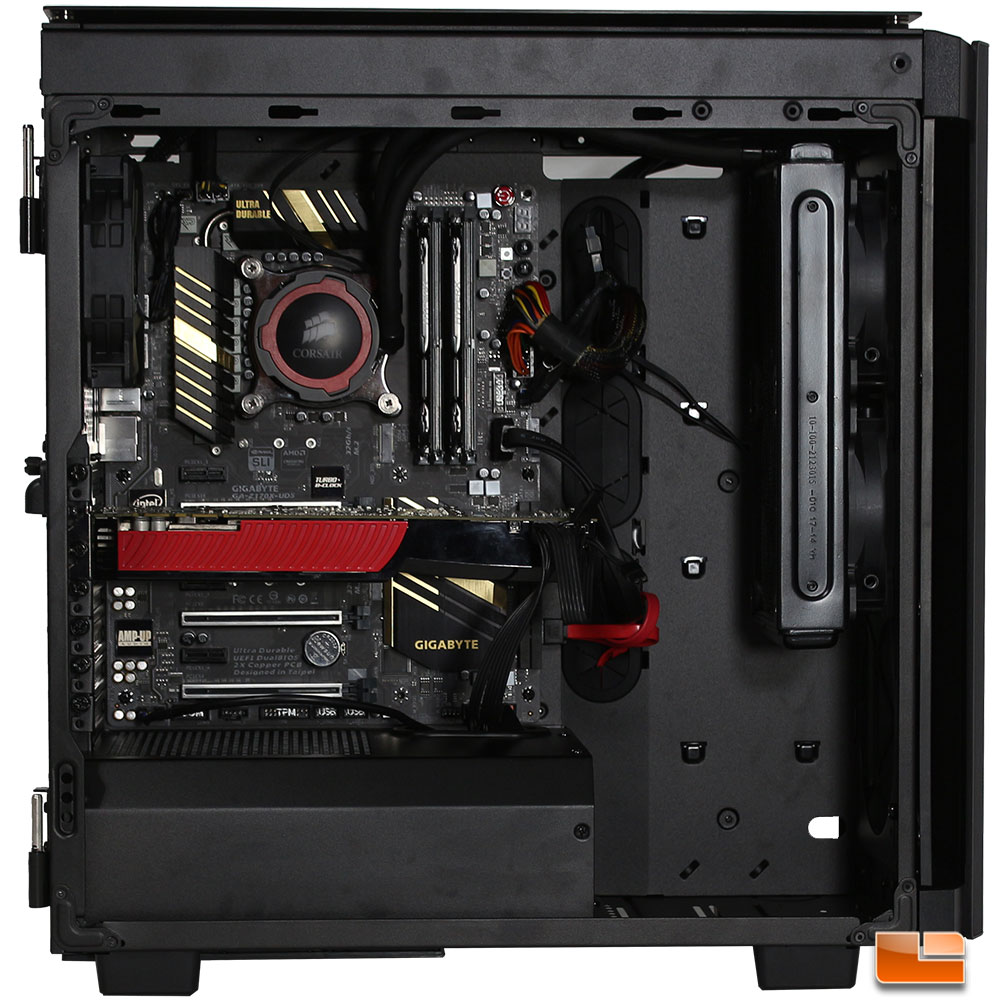
With the Obsidian 500D, Corsair shows they know how to design an interior so it is easy to install your components, while still keeping a clean interior. For those that want to build a custom liquid cooling setup, there is plenty of room to install a large reservoir at the front of the case. For those that go with air cooling or an AIO cooling solution, it becomes a large amount of “unused” space. With one exception, all the cables easily come through the proper holes to reach their associated plug. Only the front Audio cable need to be routed a small distance from the nearest cable management hole.
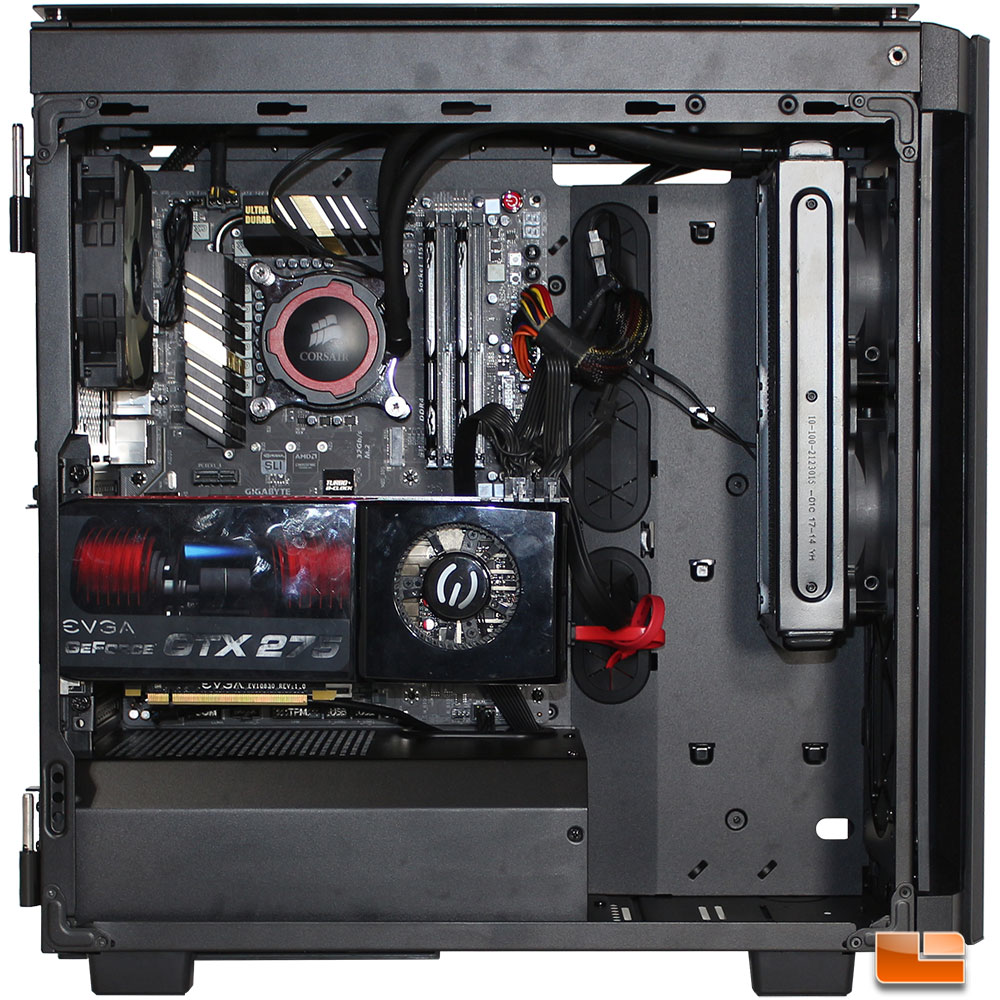
One of the features of the Obsidian 500D is the ability to install your graphics card in a vertical position. When it is installed, it is held in place by two thumbscrews on the back side of the case. There are also two slots at the bottom for the bracket to slide into. With the thumbscrews in place, the card hangs in place, there is going to be some wiggle of the card, but it won’t move. You will have to supply your own vertical graphics card adapter as Corsair has not included that. The two expansion slot covers for the vertical graphics card installation hasn’t been completely removed from the case, they will need to be busted out in order for the graphics card to install properly.
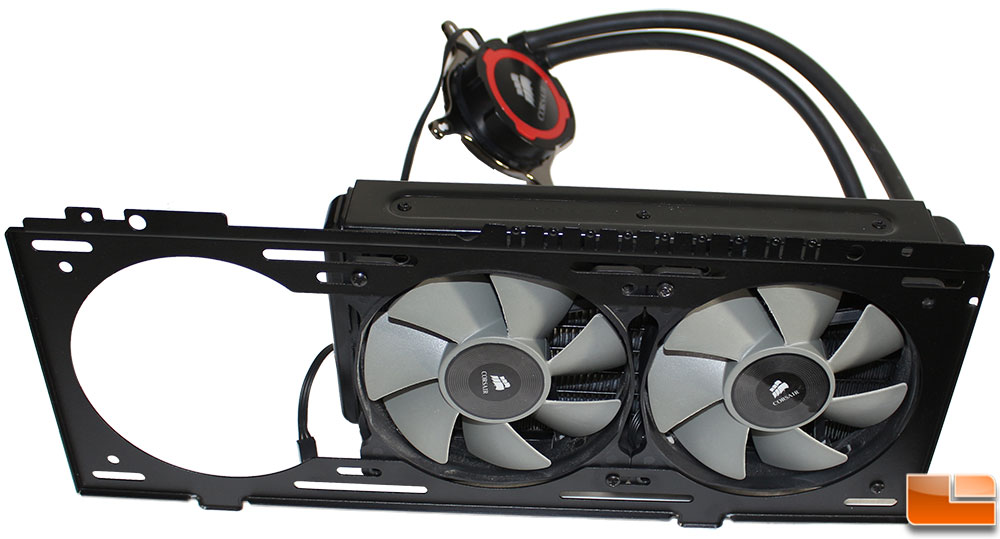
Removing the included fan brackets makes installing additional fans or AIO liquid coolers a breeze. On the front panel, the Corsair H105i was installed. A 360mm radiator would also fit if you wanted the ultimate AIO solution.
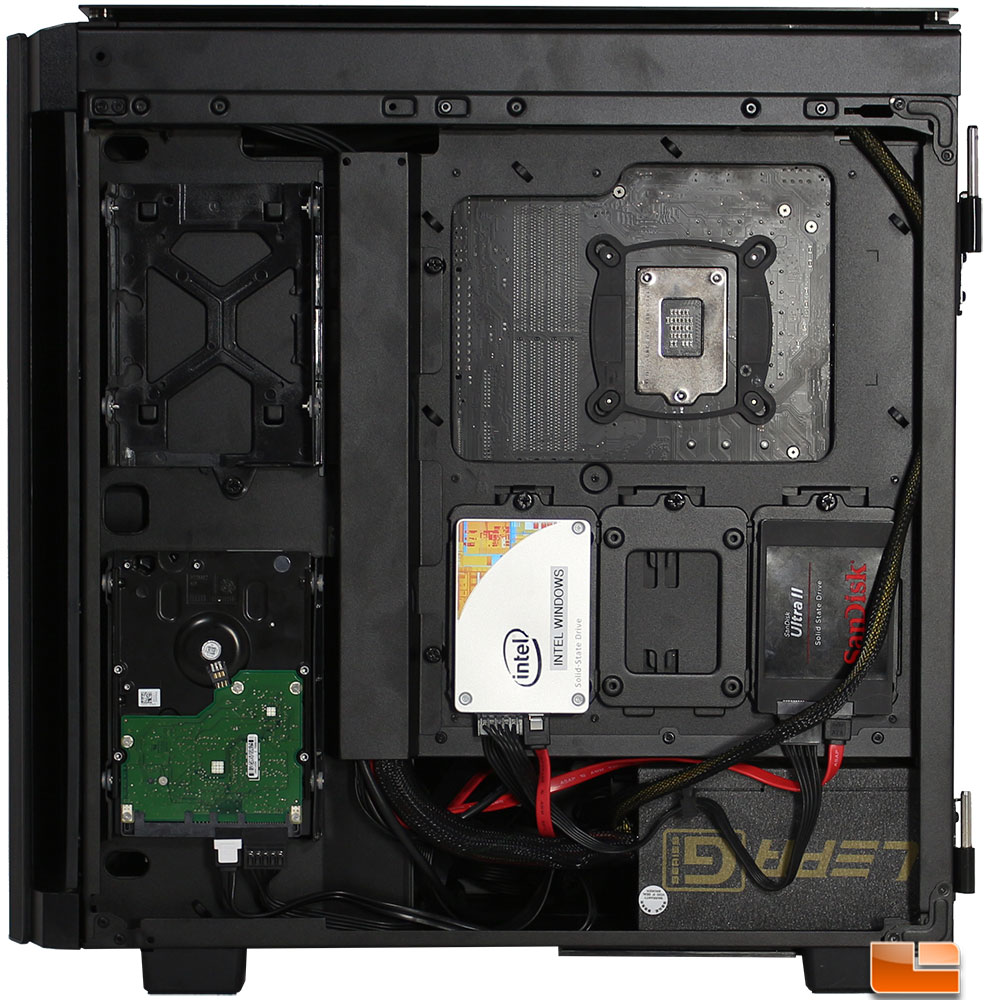
Routing the cables behind the cover worked flawlessly. All of the cables fit nicely, this included all the front panel connectors, 24-pin ATX power cable, and three SATA cables. The 8-pin ATX Auxillary power cable was routed along the back edge, and could have been routed behind the SSD power/data cables to keep a slightly cleaner routing. The only little concern I have with the back of the case is the 3.5″ hard drive. The mounting style and location work great. However with the back panel being Tempered Glass you are most likely wanting to be able to see all of your hardware, with the 3.5″ drives needing to be mounted in this position, you won’t be able to see the label. Granted I understand why it needs to be installed this way, just hoped for a better way to do it.
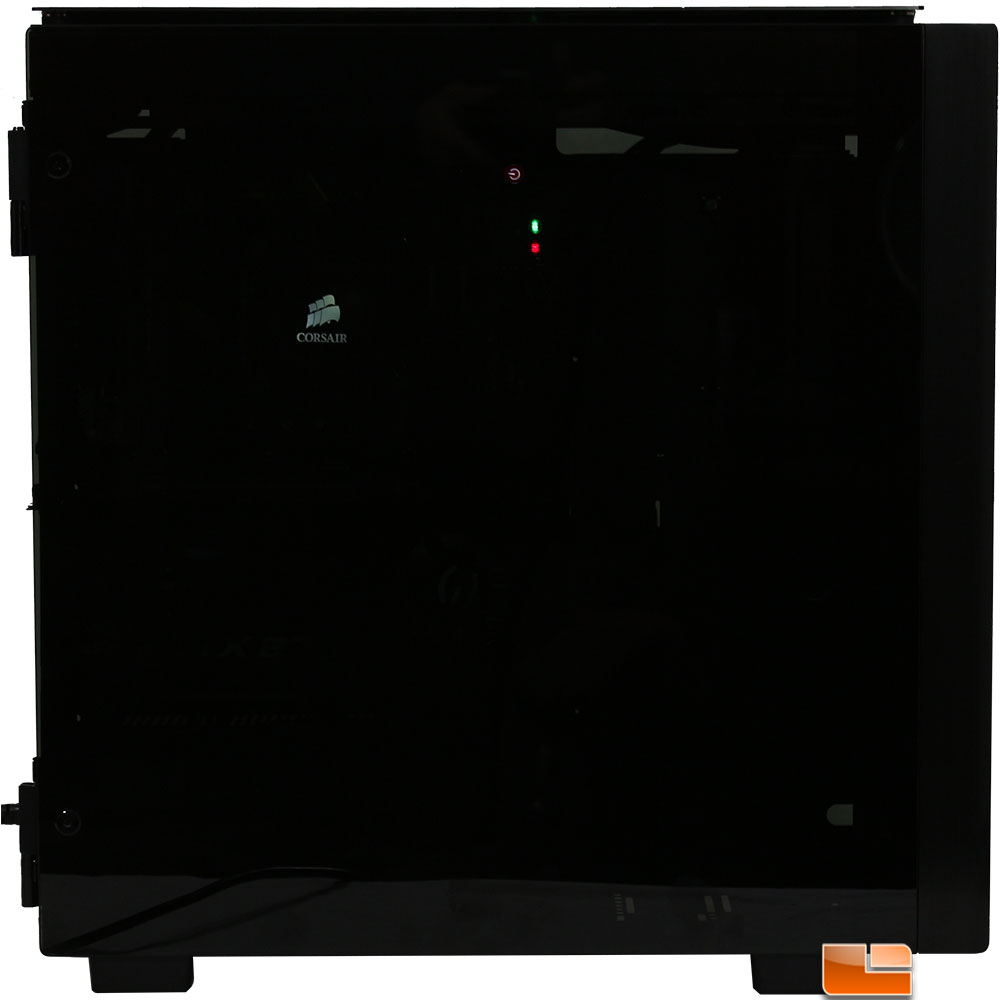
The Tempered Glass has been smoked, which makes seeing your system through the side panel a little difficult without some lights. The Corsair H105i has a lighted water block, which shows through the Tempered Glass panel, as does the few LEDs on the motherboard. If you really want the system to shine though the panel, I would recommend some LED light strips, or fans.